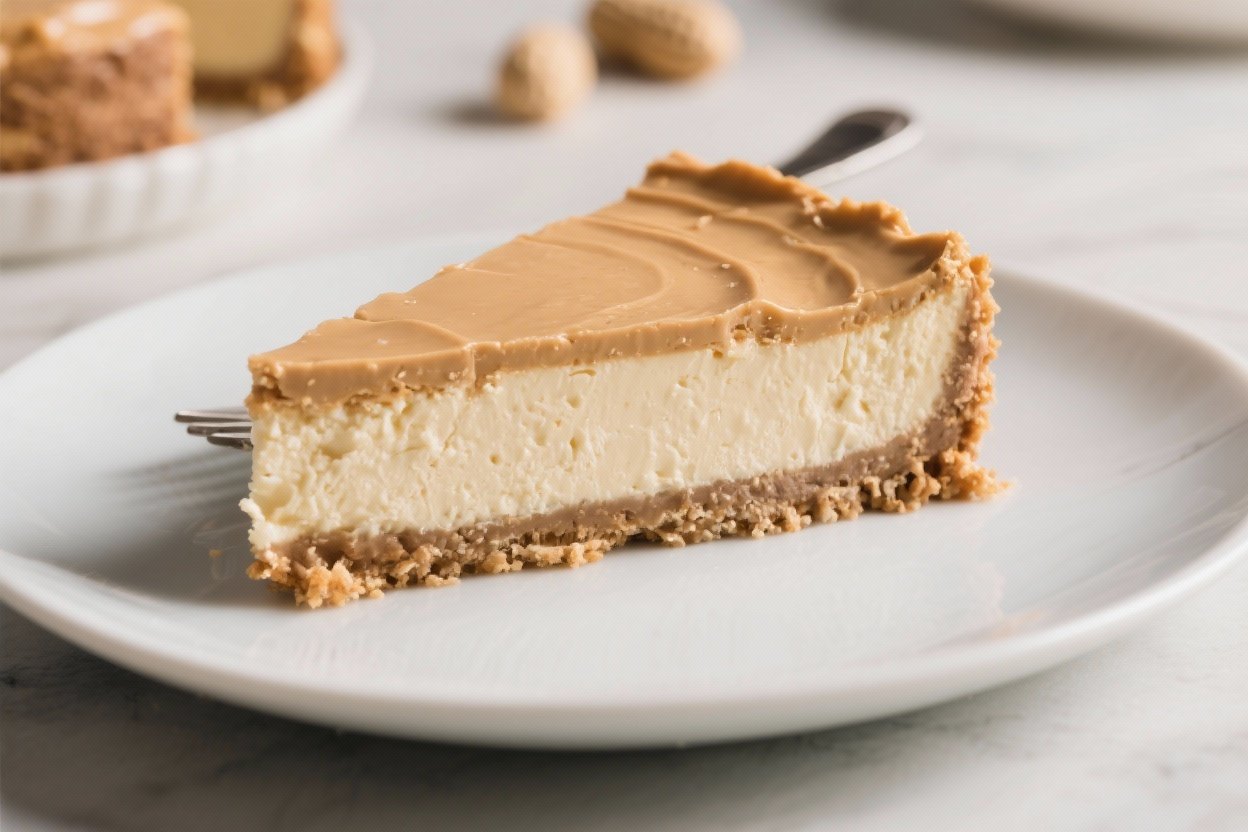
Keto Peanut Butter Cheesecake – Creamy, Low-Carb Comfort
This Keto Peanut Butter Cheesecake is a creamy, indulgent dessert that doesn’t derail your goals. It tastes like a classic cheesecake with a rich peanut butter twist, but without the sugar crash. The texture is smooth and velvety, and the crust has that satisfying crunch you expect in a cheesecake.
Need More Easy Dinner Ideas?
Get my FREE 7-Day Easy Dinner Reset and enjoy a full week of healthy dinners without the meal-planning stress.
Whether you’re hosting, meal prepping, or treating yourself, this dessert feels special without being complicated. If you love peanut butter cups and cheesecake, this is your sweet spot.
Why This Recipe Works
This cheesecake uses a simple almond flour crust that bakes up crisp and buttery, so you get structure without the carbs. The filling relies on full-fat cream cheese and natural peanut butter for a lush texture and balanced flavor.
Using a powdered, zero-calorie sweetener keeps the consistency smooth and avoids graininess. A long, gentle bake and cool-down prevent cracks and give you a silky, bakery-style slice. It’s low effort, highly satisfying, and naturally portion-friendly.
Ingredients
- For the crust:
- 1 1/2 cups fine almond flour
- 3 tablespoons powdered erythritol or allulose (or a blend)
- 1/4 teaspoon fine sea salt
- 5 tablespoons unsalted butter, melted
- 1/2 teaspoon vanilla extract
- For the filling:
- 24 ounces full-fat cream cheese, softened to room temperature
- 3/4 cup natural creamy peanut butter (unsweetened, no added oils)
- 3/4 cup powdered erythritol or allulose (adjust to taste)
- 3 large eggs, room temperature
- 1/2 cup sour cream
- 2 teaspoons vanilla extract
- 1/4 teaspoon fine sea salt
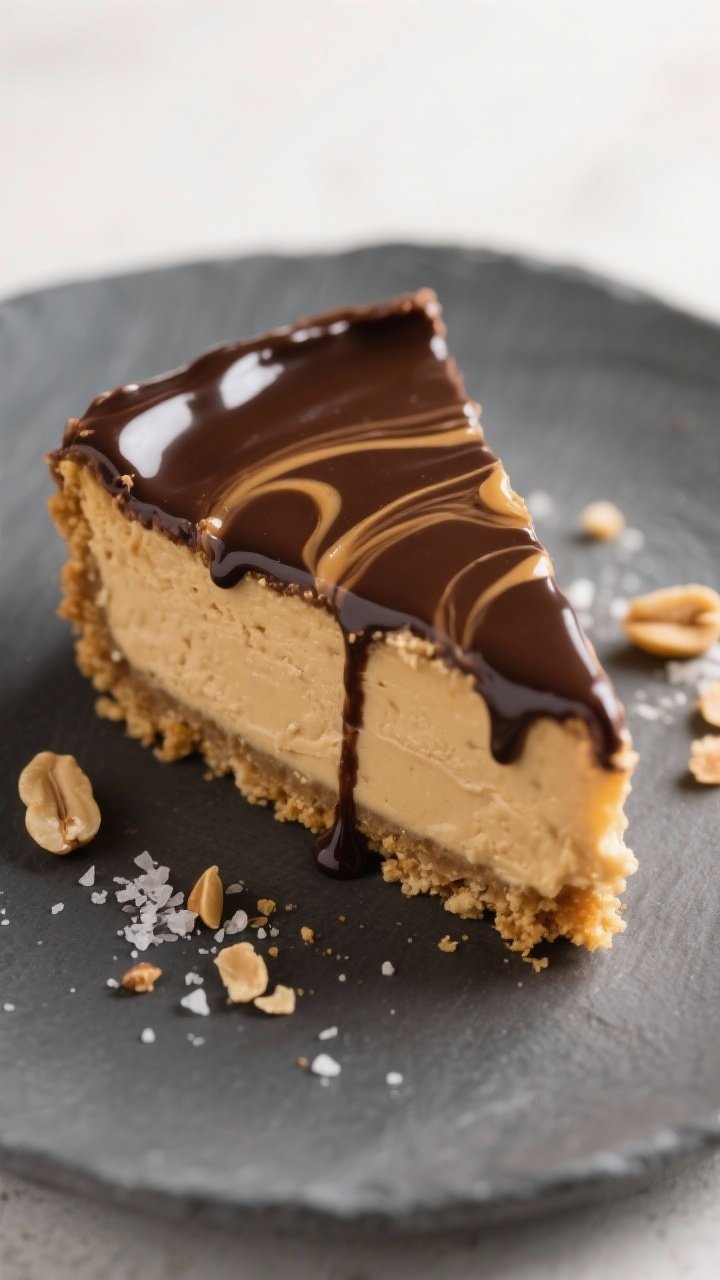
- For the optional chocolate topping:
- 3 ounces sugar-free dark chocolate, chopped
- 2 tablespoons heavy cream
- 1 tablespoon peanut butter (for extra richness)
Step-by-Step Instructions
- Prep your pan. Line the bottom of a 9-inch springform pan with parchment and lightly grease the sides.
Preheat your oven to 325°F (163°C).
- Make the crust. In a bowl, mix almond flour, sweetener, and salt. Stir in melted butter and vanilla until the mixture looks like damp sand. Press firmly into the pan, creating an even layer.
Use the bottom of a measuring cup to compact it.
- Par-bake the crust. Bake for 10–12 minutes, until lightly golden at the edges. Set aside to cool for at least 10 minutes.
- Beat the cream cheese. In a large bowl, beat softened cream cheese until smooth and fluffy, about 2 minutes. Scrape the sides to avoid lumps.
- Add peanut butter and sweetener. Mix in the peanut butter, powdered sweetener, salt, and vanilla.
Beat until creamy and uniform.
- Blend in sour cream. Add sour cream and mix just until combined. Don’t overbeat.
- Add the eggs. Beat in the eggs one at a time on low speed, just until incorporated. Overmixing can add air and cause cracks.
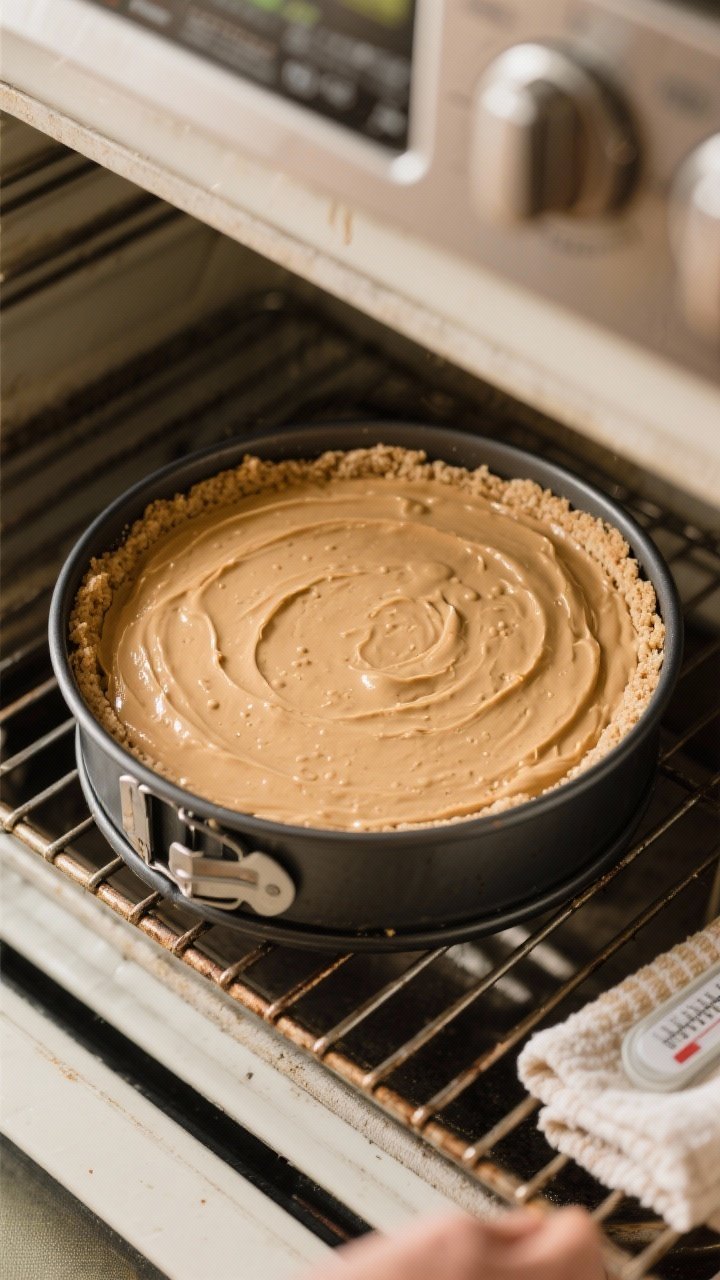
- Fill and smooth. Pour the filling over the cooled crust.
Tap the pan on the counter a few times to release air bubbles. Smooth the top with a spatula.
- Bake gently. Place the pan on the middle rack. Bake at 325°F (163°C) for 45–55 minutes.
The edges should be set and the center slightly wobbly like gelatin.
- Cool slowly. Turn off the oven, crack the door, and let the cheesecake sit for 30–60 minutes. This gradual cooling helps prevent cracks.
- Chill completely. Transfer to a wire rack for 30 minutes, then refrigerate uncovered for at least 6 hours, preferably overnight.
- Optional chocolate topping. Warm the cream until steaming. Add chocolate and peanut butter, let sit 1 minute, then stir until smooth.
Spread over the chilled cheesecake and let set 15–20 minutes.
- Slice cleanly. Run a knife around the edge to loosen. Remove the ring. For neat slices, dip a sharp knife in hot water, wipe dry, and cut.
How to Store
- Refrigerator: Cover and refrigerate for up to 5 days.
Keep it in an airtight container to prevent absorbing fridge odors.
- Freezer: Freeze individual slices wrapped tightly in plastic, then in a freezer bag, for up to 2 months. Thaw overnight in the fridge for best texture.
- Make-ahead: This cheesecake tastes better the next day. Bake the day before serving for easier slicing and deeper flavor.

Health Benefits
- Low-carb and keto-friendly: Using almond flour and a zero-calorie sweetener keeps net carbs low, so it fits into ketogenic and low-carb plans.
- Healthy fats: Peanut butter and cream cheese provide satisfying fats that help curb cravings and support satiety.
- No added sugar: You get a sweet, dessert-worthy payoff without the blood sugar spikes.
- Protein boost: Peanut butter and dairy add a modest amount of protein, helping balance this treat.
What Not to Do
- Don’t use sweetened peanut butter. Added sugars will bump up carbs and change the texture.
- Don’t skip room-temperature ingredients. Cold cream cheese or eggs create lumps and uneven baking.
- Don’t overmix. Too much air in the batter leads to cracks and a spongy texture.
- Don’t rush the cooling. Rapid temperature changes can cause a split top.
- Don’t bake at high heat. Cheesecake needs a gentle bake for a creamy center.
Alternatives
- No-bake version: Skip the eggs.
Whip 1 cup heavy cream to soft peaks and fold into the filling after beating cream cheese, peanut butter, sweetener, and vanilla. Pour over the baked crust (cooled) and chill 6–8 hours.
- Nut-free crust: Use finely ground sunflower seed flour instead of almond flour. Flavor is similar and keeps it keto.
- Swirl it: Warm a few tablespoons of peanut butter and swirl into the top before baking for a marbled look.
- Chocolate crust: Add 2 tablespoons unsweetened cocoa powder to the crust and increase butter by 1 tablespoon to keep it cohesive.
- Dairy-free option: Use dairy-free cream cheese and coconut cream in place of sour cream.
Texture will be slightly softer but still rich.
- Sweetener swaps: Allulose gives the smoothest texture; erythritol is sweeter but can crystallize slightly. Monk fruit blends work well too.
FAQ
Can I make this without a springform pan?
Yes. Use a deep 9-inch cake pan lined with a parchment sling for easy lifting.
Watch the bake time and test for a jiggly center.
How do I prevent cracks on top?
Never Wonder What's For Dinner Again
Save time, eat healthier, and take the stress out of dinner. Get a full week of easy healthy dinners delivered straight to your inbox.
Use room-temperature ingredients, avoid overmixing, bake low and slow, and cool gradually in the oven with the door cracked. Running a knife around the edge after baking also helps release tension.
Is peanut butter keto?
Natural, unsweetened peanut butter is keto-friendly in moderate portions. Check labels to avoid added sugar and hydrogenated oils.
What if my batter is lumpy?
It usually means the cream cheese was too cold.
Keep mixing on low, scraping down the bowl, or briefly beat just the cream cheese first next time before adding other ingredients.
Can I use crunchy peanut butter?
Yes, but expect a slightly textured filling. If you want a classic silky cheesecake, stick with creamy peanut butter.
How many carbs per slice?
It varies by brand, but typically around 5–7g net carbs per slice when cut into 12 pieces, using almond flour and a zero-calorie sweetener. Always calculate with your exact ingredients.
Do I need a water bath?
It’s optional.
This recipe works well without one if you bake gently and cool slowly. A water bath can add insurance against cracks if you prefer.
Can I add a peanut butter drizzle?
Absolutely. Warm 2 tablespoons peanut butter with a splash of cream, stir until fluid, and drizzle over the chilled cheesecake before serving.
How long should I chill it?
At least 6 hours, but overnight is best.
The texture sets fully and flavors meld, making cleaner slices and a richer taste.
What’s the best way to slice cleanly?
Use a long, sharp knife warmed in hot water. Wipe the blade between cuts for smooth, bakery-style slices.
In Conclusion
This Keto Peanut Butter Cheesecake delivers classic cheesecake comfort with a low-carb twist. It’s creamy, balanced, and simple enough for a weeknight project, yet impressive for guests.
With the right ingredients and a gentle baking approach, you’ll get a smooth, crack-free dessert every time. Keep a few slices in the freezer, and you’ve got a ready-made treat whenever a craving hits.
Printable Recipe Card
Want just the essential recipe details without scrolling through the article? Get our printable recipe card with just the ingredients and instructions.
Loved This Recipe?
If you're looking for more simple, healthy dinners your family will actually eat, grab my FREE 7-Day Easy Dinner Reset. You'll get 7 easy dinner recipes, simple grocery lists, and a done-for-you plan that takes the stress out of mealtime.