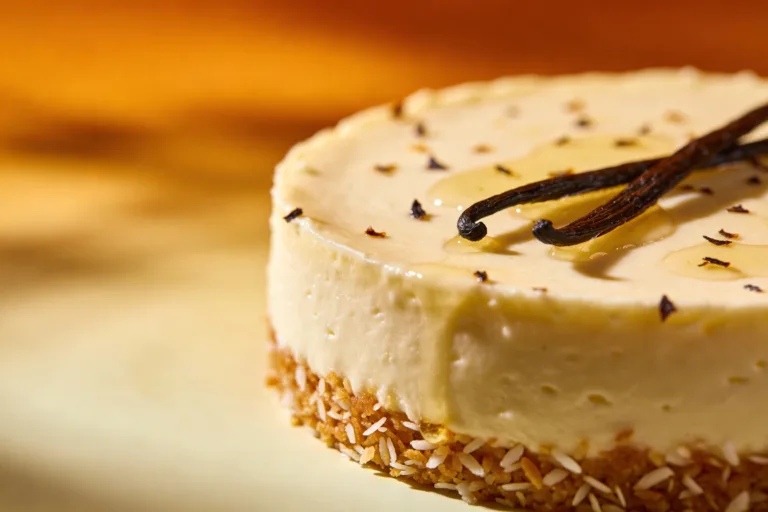
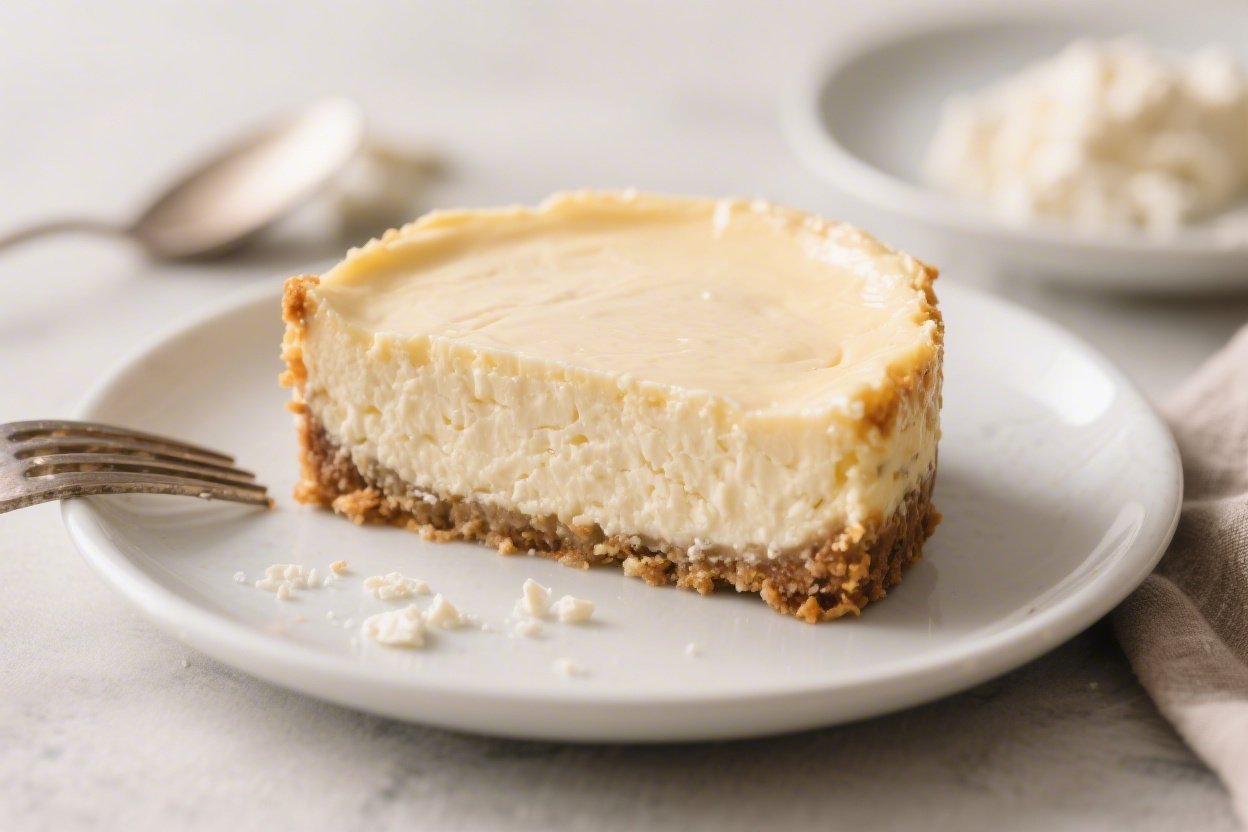
3-Ingredient Keto Cheesecake – Simple, Creamy, and Low-Carb
If you’re craving cheesecake but want to keep things low-carb and low-fuss, this 3-ingredient keto cheesecake hits the sweet spot. It’s rich, creamy, and surprisingly easy to make—no water bath, no complicated steps. You’ll only need cream cheese, eggs, and a keto-friendly sweetener to pull it off.
Need More Easy Dinner Ideas?
Get my FREE 7-Day Easy Dinner Reset and enjoy a full week of healthy dinners without the meal-planning stress.
The texture is smooth and custardy, with that classic cheesecake tang. It’s the kind of recipe you’ll make once and then keep on repeat.
Ingredients
Method
- Prep the pan and oven: Heat your oven to 325°F (165°C). Grease an 8-inch or 9-inch springform pan. For extra insurance against sticking, line the bottom with parchment.
- Soften the cream cheese: Make sure the cream cheese is truly at room temp. This prevents lumps and helps it blend smoothly. If it’s cold, microwave in short 10-second bursts until pliable but not warm.
- Beat the cream cheese: In a large bowl, beat the cream cheese with a hand mixer on medium speed until smooth and fluffy, about 1–2 minutes. Scrape the bowl to catch any clumps.
- Add sweetener: Sprinkle in the sweetener and beat until fully dissolved and glossy, 1–2 minutes. Taste and adjust sweetness if needed. Different sweeteners vary in sweetness, so fine-tune here.
- Mix in eggs: Add the eggs one at a time, mixing on low just until each is incorporated. Don’t overmix—too much air invites cracks. Scrape down the sides as needed.
- Optional flavor boost: Stir in vanilla and a tiny pinch of salt to round out the flavor. Not required, but it enhances the cheesecake vibe.
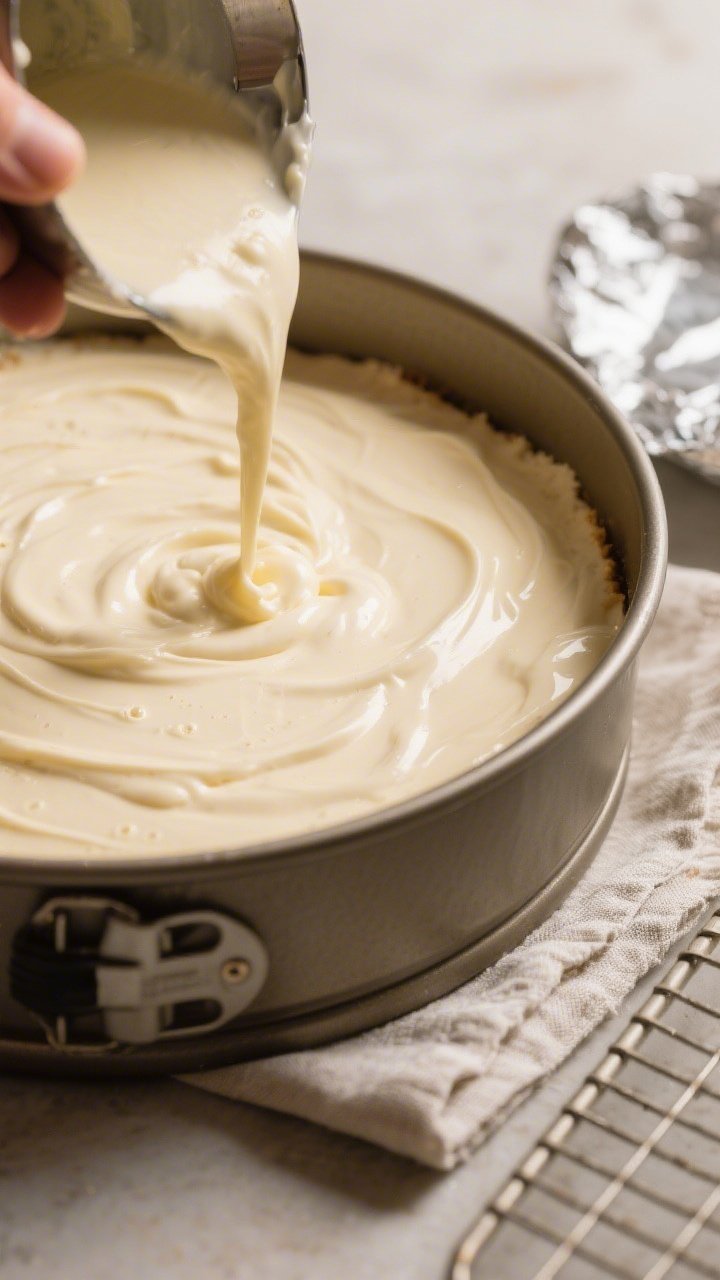
- Pour and smooth: Pour the batter into the prepared pan. Tap the pan a few times on the counter to pop air bubbles and level the surface.
- Bake: Bake for 40–50 minutes, depending on your pan size. The edges should be set and the center should have a slight jiggle, like set Jell-O. If the top is browning too fast, tent with foil.
- Cool gradually: Turn off the oven and crack the door for 30 minutes. Then remove the cheesecake and let it cool to room temp on the counter.
- Chill to set: Cover and refrigerate for at least 4 hours, preferably overnight. This step is crucial for the texture.
- Slice and serve: Run a thin knife around the edge before releasing the springform. Wipe the knife between slices for clean cuts.
Why This Recipe Works
This cheesecake keeps things simple without sacrificing flavor. With just three ingredients, you avoid fillers that can mess with texture or add carbs.
Cream cheese provides the body and tang, eggs set the structure, and a low-carb sweetener brings balance without sugar spikes. The oven method is straightforward, and a quick chill in the fridge firms everything up. It’s a straight-shooting dessert that actually delivers.
Ingredients
- 24 ounces (680 g) full-fat cream cheese, softened to room temperature
- 3 large eggs, at room temperature
- 2/3 to 3/4 cup keto-friendly granulated sweetener (like erythritol, allulose, or a blend), to taste
Optional but helpful: 1 teaspoon vanilla extract, a pinch of salt, and butter or coconut oil for greasing the pan.
Instructions
- Prep the pan and oven: Heat your oven to 325°F (165°C).
Grease an 8-inch or 9-inch springform pan. For extra insurance against sticking, line the bottom with parchment.
- Soften the cream cheese: Make sure the cream cheese is truly at room temp. This prevents lumps and helps it blend smoothly.
If it’s cold, microwave in short 10-second bursts until pliable but not warm.
- Beat the cream cheese: In a large bowl, beat the cream cheese with a hand mixer on medium speed until smooth and fluffy, about 1–2 minutes. Scrape the bowl to catch any clumps.
- Add sweetener: Sprinkle in the sweetener and beat until fully dissolved and glossy, 1–2 minutes. Taste and adjust sweetness if needed.
Different sweeteners vary in sweetness, so fine-tune here.
- Mix in eggs: Add the eggs one at a time, mixing on low just until each is incorporated. Don’t overmix—too much air invites cracks. Scrape down the sides as needed.
- Optional flavor boost: Stir in vanilla and a tiny pinch of salt to round out the flavor.
Not required, but it enhances the cheesecake vibe.
- Pour and smooth: Pour the batter into the prepared pan. Tap the pan a few times on the counter to pop air bubbles and level the surface.
- Bake: Bake for 40–50 minutes, depending on your pan size. The edges should be set and the center should have a slight jiggle, like set Jell-O.
If the top is browning too fast, tent with foil.
- Cool gradually: Turn off the oven and crack the door for 30 minutes. Then remove the cheesecake and let it cool to room temp on the counter.
- Chill to set: Cover and refrigerate for at least 4 hours, preferably overnight. This step is crucial for the texture.
- Slice and serve: Run a thin knife around the edge before releasing the springform.
Wipe the knife between slices for clean cuts.
Keeping It Fresh
Store the cheesecake covered in the fridge for up to 5 days. A cake carrier or well-wrapped pan keeps it from drying out or absorbing fridge smells. For longer storage, slice and freeze individual pieces for up to 2 months.
Wrap each slice in plastic, then place in a freezer bag. Thaw overnight in the fridge or at room temperature for 30–60 minutes before serving.
Health Benefits
- Low in carbs: Using a keto sweetener keeps net carbs low, making this dessert friendly for keto and low-carb lifestyles.
- High in fat and protein: Cream cheese and eggs offer satisfying fat and protein that can help keep you full.
- Gluten-free by default: With no crust or flour, this recipe fits many dietary needs without extra swaps.
- No added sugar: Sweetness comes from non-sugar alternatives, which can help reduce blood sugar spikes.
Pitfalls to Watch Out For
- Cold ingredients cause lumps: Make sure your cream cheese and eggs are at room temp for a silky batter.
- Overmixing adds too much air: Airy batter can crack as it bakes. Mix on low once the eggs go in.
- Overbaking dries it out: Pull it when the center still has a slight wobble.
It sets as it cools.
- Sweetener choice matters: Erythritol can recrystallize and feel gritty when chilled. Allulose tends to stay smoother. Blends often give the best texture.
- Skipping the chill: Warm cheesecake tastes eggy and loose.
The chill time transforms the texture and flavor.
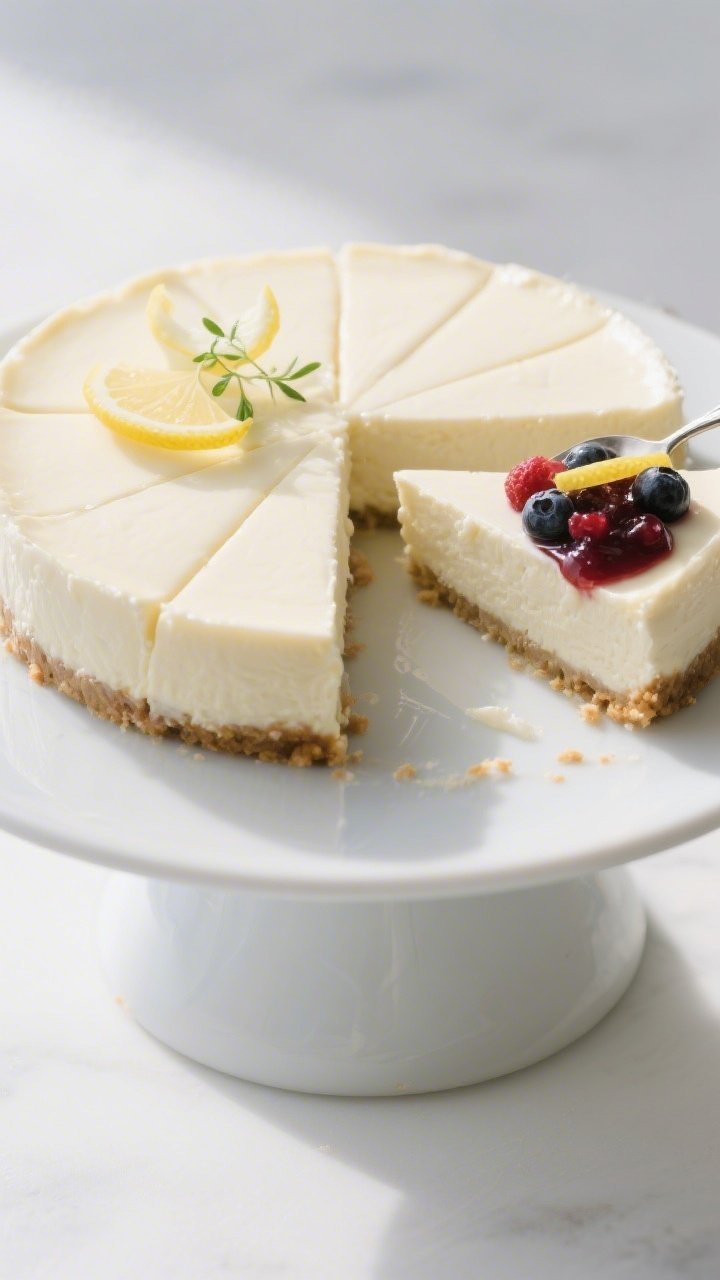
Variations You Can Try
- Lemon zest and vanilla: Add 1–2 teaspoons lemon zest and 1 teaspoon vanilla for a bright, classic flavor.
- Mini cheesecakes: Divide batter into a lined muffin tin and bake 15–20 minutes. Great for portion control and faster chilling.
- Chocolate swirl: Melt a few tablespoons of sugar-free chocolate chips with a splash of cream. Swirl into the batter before baking.
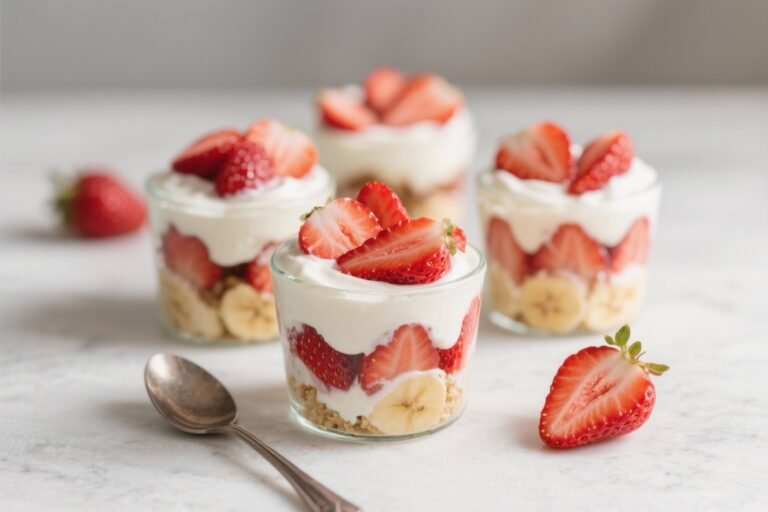
- Berry topping: Spoon over a quick compote made with frozen berries and a touch of allulose.
Simmer until thick, cool, then top before serving.
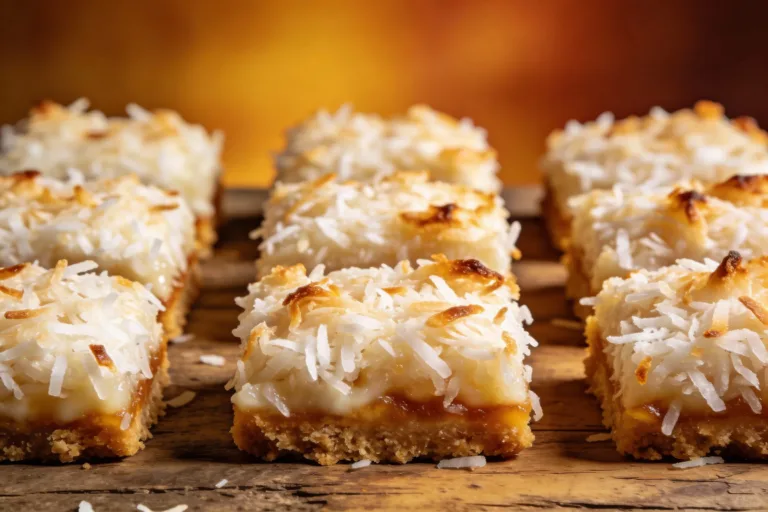
- Crust option (still low-carb): Press a mix of almond flour, melted butter, and sweetener into the pan and par-bake 8–10 minutes. Then add the filling.
- Espresso kick: Dissolve 1–2 teaspoons instant espresso in a teaspoon of hot water and mix into the batter.
Never Wonder What's For Dinner Again
Save time, eat healthier, and take the stress out of dinner. Get a full week of easy healthy dinners delivered straight to your inbox.
FAQ
Can I make this without a springform pan?
Yes. Use a well-greased 8- or 9-inch cake pan lined with parchment on the bottom.
To remove, chill thoroughly, run a knife around the edge, and invert onto a plate, then flip upright.
What sweetener works best?
Allulose gives a smooth texture and no cooling effect, but is less sweet, so you may need a bit more. Erythritol is sweeter but can crystallize once chilled. A blend (like erythritol plus monk fruit) often hits the sweet spot for taste and texture.
How do I prevent cracks?
Use room-temperature ingredients, avoid overmixing, and don’t overbake.
Let the cheesecake cool gradually in the oven with the door cracked, and always chill before slicing. A crack won’t hurt the flavor, though.
Can I add sour cream?
You can, but then it’s not a 3-ingredient recipe. If you choose to, whisk in 1/2 to 3/4 cup for extra tang and a slightly softer texture, and add a few more minutes to the bake time.
Is this recipe suitable for diabetics?
It’s low in carbs and uses non-sugar sweeteners, which many people with diabetes find helpful.
That said, individual responses vary. Check nutrition labels for your specific sweetener and ingredients, and consult your healthcare provider if needed.
Can I use a water bath?
You can, but it’s not required here. A lower oven temperature and careful cooling keep the texture smooth.
If you want the ultra-satiny finish a water bath provides, wrap the pan in foil and bake in a pan of hot water.
How many servings does this make?
In an 8- or 9-inch pan, you’ll get 10–12 slices. For accurate macros, divide the total nutrition by your exact number of slices and the brands you use.
Final Thoughts
This 3-ingredient keto cheesecake proves that simple can be seriously good. With minimal prep and a forgiving bake, it’s a reliable dessert for weeknights, gatherings, or anytime a craving hits.
Personalize it with a zest of lemon, a ribbon of chocolate, or a handful of berries on top. Keep a few slices in the freezer, and you’ll always have a low-carb treat ready to go.
Printable Recipe Card
Want just the essential recipe details without scrolling through the article? Get our printable recipe card with just the ingredients and instructions.
Loved This Recipe?
If you're looking for more simple, healthy dinners your family will actually eat, grab my FREE 7-Day Easy Dinner Reset. You'll get 7 easy dinner recipes, simple grocery lists, and a done-for-you plan that takes the stress out of mealtime.