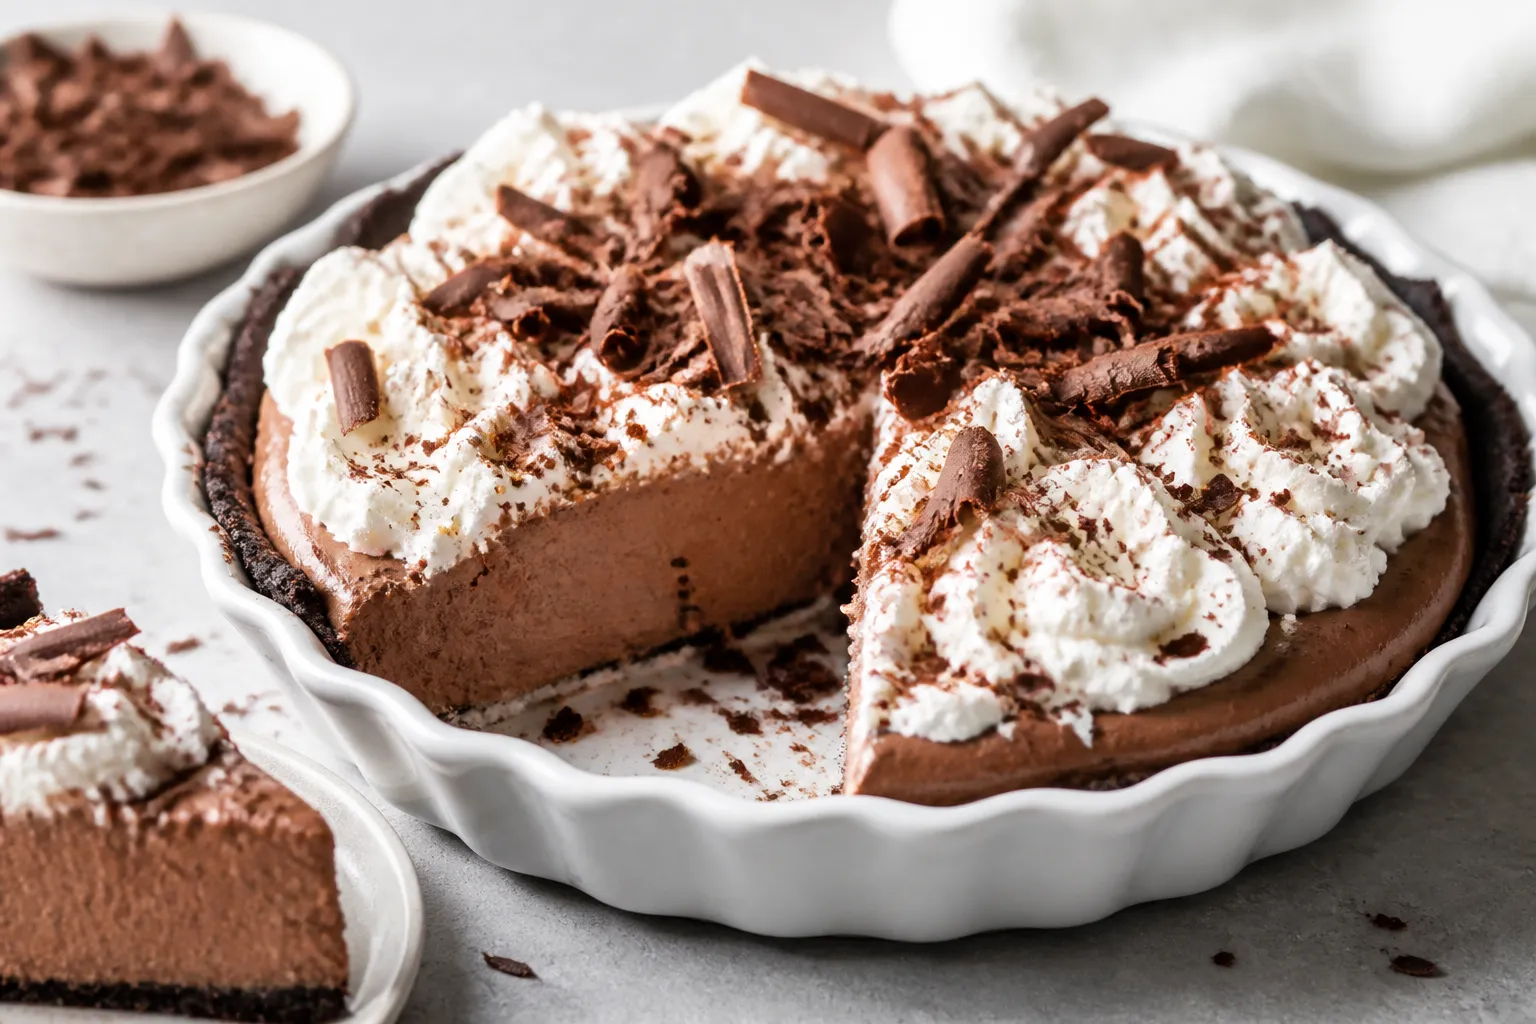
Low Carb Chocolate Cream Pie – Rich, Silky, and Surprisingly Simple
Chocolate cream pie feels like a luxury, but it doesn’t have to throw off your low carb goals. This version keeps the lush texture and deep chocolate flavor you want, without the sugar crash. The crust is nutty and crisp, the filling is smooth and silky, and the whipped topping makes it feel like a bakery treat.
Need More Easy Dinner Ideas?
Get my FREE 7-Day Easy Dinner Reset and enjoy a full week of healthy dinners without the meal-planning stress.
It’s the kind of dessert you can serve to anyone at the table—no one will guess it’s low carb. Best of all, the steps are straightforward and the ingredients are easy to find.
Ingredients
Method
- Heat the oven and prep the pan. Set the oven to 350°F (175°C). Lightly grease a 9-inch pie dish.
- Make the crust. In a bowl, mix almond flour, shredded coconut (if using), powdered sweetener, and salt. Stir in melted butter and vanilla until the mixture looks like damp sand and holds together when pressed.
- Press and bake. Firmly press the crust into the bottom and up the sides of the pie dish. Prick the bottom a few times with a fork. Bake for 10–12 minutes until lightly golden. Cool while you make the filling.
- Bloom the gelatin (if using). Sprinkle gelatin over 3 tablespoons cold water in a small bowl and let it stand for 5 minutes. If using xanthan gum instead, skip this step and you’ll whisk it into the hot mixture later.
- Heat the dairy. In a medium saucepan, whisk heavy cream and almond milk. Warm over medium heat until steaming, not boiling.
- Whisk the dry mix. In a separate bowl, whisk cocoa powder, powdered sweetener, and salt to break up any lumps.
- Temper the yolks. Whisk egg yolks in a medium bowl. Slowly pour in about 1/2 cup of the hot cream while whisking constantly, then another 1/2 cup. This prevents scrambling.
- Cook the custard. Pour the tempered yolk mixture back into the saucepan. Whisk in the cocoa-sweetener mix. Cook over medium-low heat, stirring constantly, until the mixture thickens slightly and reaches about 170–175°F (it should coat the back of a spoon), 5–8 minutes. Do not boil.
- Thicken. Remove from heat. Stir in the bloomed gelatin until fully dissolved. If using xanthan gum, sprinkle it in gradually while whisking vigorously to avoid clumps.
- Add chocolate and butter. Stir in chopped dark chocolate, butter, and vanilla until smooth and glossy.
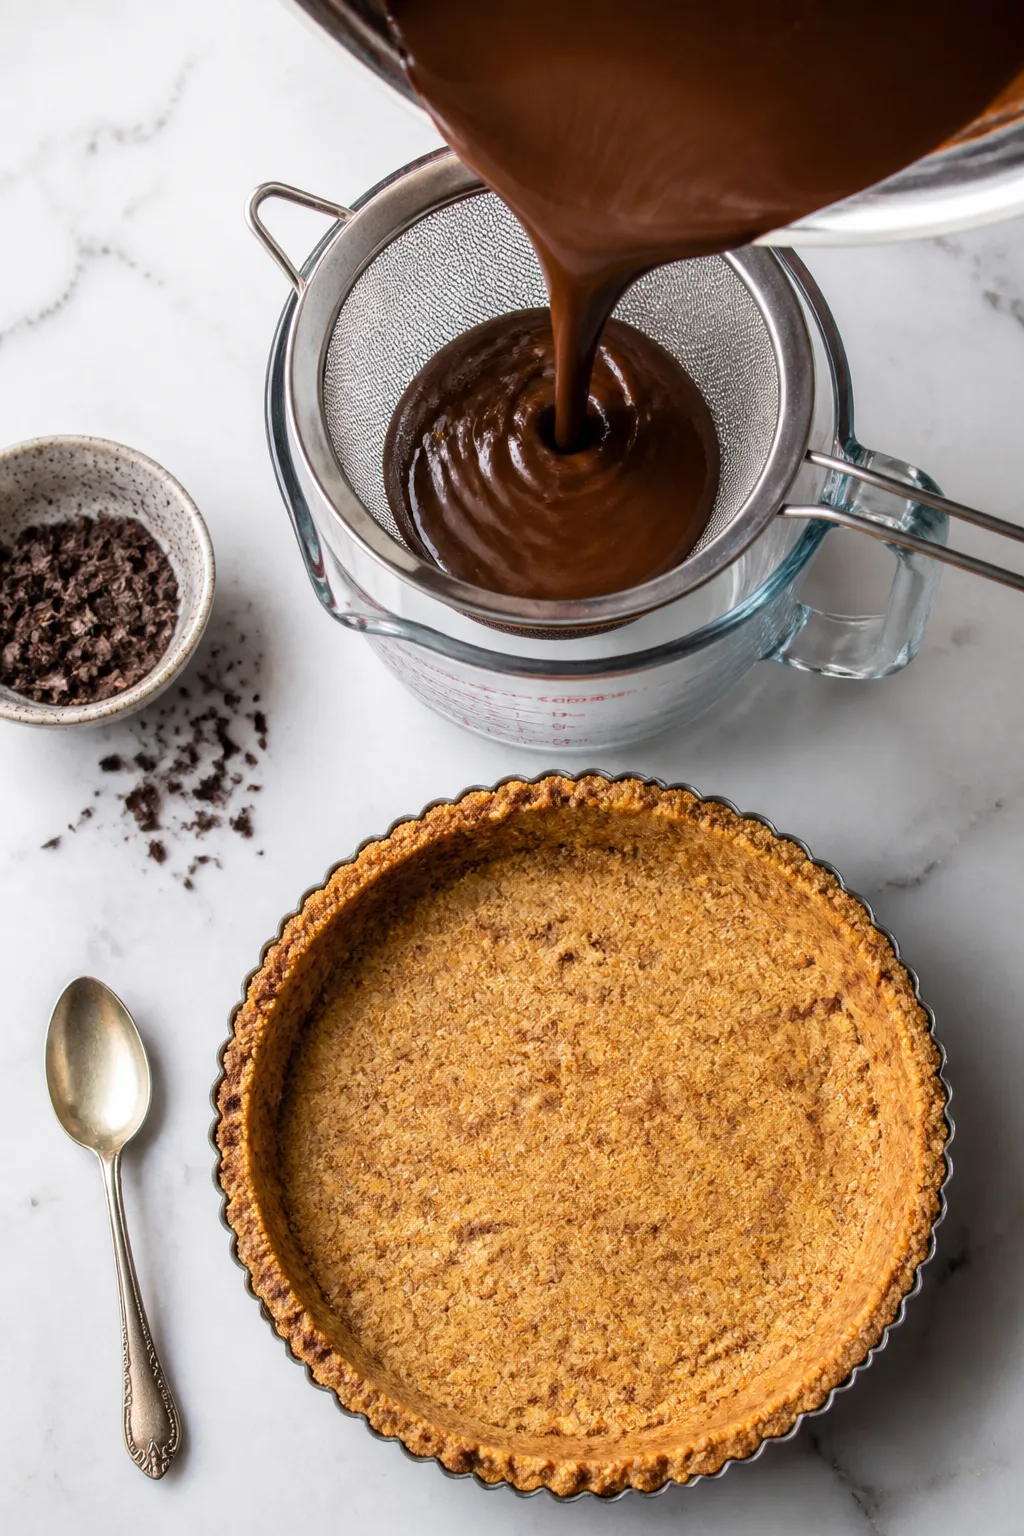
- Strain for silkiness. For the smoothest texture, pour the custard through a fine-mesh sieve into a bowl or large measuring cup.
- Fill the crust. Pour the warm filling into the cooled crust. Smooth the top with a spatula. Let it cool to room temperature, then cover and chill at least 4 hours, preferably overnight, until set.
- Whip the topping. Beat heavy cream, sweetener, and vanilla to soft peaks. Spread or pipe over the chilled pie.
- Garnish and serve. Add shaved chocolate or a dusting of cocoa if you like. Slice with a warm, dry knife for clean wedges.
What Makes This Special
- Truly low carb: Almond flour crust, no refined sugar, and smart thickeners keep carbs in check without sacrificing taste.
- Real chocolate flavor: Cocoa powder and a touch of dark chocolate create a deep, satisfying taste.
- Silky texture: Egg yolks and heavy cream make the filling rich and custardy.
- Make-ahead friendly: The pie sets in the fridge and slices cleanly the next day.
- Customizable: Swap sweeteners, dairy options, or toppings to fit your preferences.
Shopping List
- For the crust:
- Almond flour (2 cups, finely ground)
- Unsweetened shredded coconut (optional, 2 tablespoons for texture)
- Powdered erythritol or allulose (3 tablespoons)
- Unsalted butter (5 tablespoons, melted)
- Vanilla extract (1 teaspoon)
- Pinch of salt
- For the chocolate filling:
- Heavy cream (1 3/4 cups)
- Unsweetened almond milk or coconut milk (1 cup)
- Cocoa powder, unsweetened (1/3 cup, Dutch-process if possible)
- Powdered erythritol or allulose (1/2 to 2/3 cup, to taste)
- Egg yolks (4 large)
- Unflavored gelatin (2 teaspoons) or xanthan gum (1/2 teaspoon)
- Dark chocolate, 85–90% cacao (2 ounces), finely chopped
- Butter (2 tablespoons)
- Vanilla extract (2 teaspoons)
- Pinch of salt
- For the topping:
- Heavy cream (1 cup)
- Powdered sweetener (1–2 tablespoons)
- Vanilla extract (1/2 teaspoon)
- Shaved dark chocolate or cocoa powder for garnish (optional)
How to Make It
- Heat the oven and prep the pan. Set the oven to 350°F (175°C). Lightly grease a 9-inch pie dish.
- Make the crust. In a bowl, mix almond flour, shredded coconut (if using), powdered sweetener, and salt.
Stir in melted butter and vanilla until the mixture looks like damp sand and holds together when pressed.
- Press and bake. Firmly press the crust into the bottom and up the sides of the pie dish. Prick the bottom a few times with a fork. Bake for 10–12 minutes until lightly golden.
Cool while you make the filling.
- Bloom the gelatin (if using). Sprinkle gelatin over 3 tablespoons cold water in a small bowl and let it stand for 5 minutes. If using xanthan gum instead, skip this step and you’ll whisk it into the hot mixture later.
- Heat the dairy. In a medium saucepan, whisk heavy cream and almond milk. Warm over medium heat until steaming, not boiling.
- Whisk the dry mix. In a separate bowl, whisk cocoa powder, powdered sweetener, and salt to break up any lumps.
- Temper the yolks. Whisk egg yolks in a medium bowl.
Slowly pour in about 1/2 cup of the hot cream while whisking constantly, then another 1/2 cup. This prevents scrambling.
- Cook the custard. Pour the tempered yolk mixture back into the saucepan. Whisk in the cocoa-sweetener mix.
Cook over medium-low heat, stirring constantly, until the mixture thickens slightly and reaches about 170–175°F (it should coat the back of a spoon), 5–8 minutes. Do not boil.
- Thicken. Remove from heat. Stir in the bloomed gelatin until fully dissolved.
If using xanthan gum, sprinkle it in gradually while whisking vigorously to avoid clumps.
- Add chocolate and butter. Stir in chopped dark chocolate, butter, and vanilla until smooth and glossy.
- Strain for silkiness. For the smoothest texture, pour the custard through a fine-mesh sieve into a bowl or large measuring cup.
- Fill the crust. Pour the warm filling into the cooled crust. Smooth the top with a spatula. Let it cool to room temperature, then cover and chill at least 4 hours, preferably overnight, until set.
- Whip the topping. Beat heavy cream, sweetener, and vanilla to soft peaks.
Spread or pipe over the chilled pie.
- Garnish and serve. Add shaved chocolate or a dusting of cocoa if you like. Slice with a warm, dry knife for clean wedges.
Storage Instructions
- Refrigerate: Cover and store in the fridge for up to 4 days. The crust stays crisp best for the first 48 hours.
- Freeze: Freeze slices on a tray until firm, then wrap well.
Keep up to 1 month. Thaw overnight in the fridge.
- Make-ahead: Bake crust and prepare filling a day ahead. Add whipped cream the day you plan to serve.
Why This is Good for You
- Lower in carbs and sugar: Using erythritol or allulose helps keep blood sugar steadier than traditional sugar.
- Healthy fats for satisfaction: Almonds and dairy provide fats that help you feel full and reduce cravings.
- Cocoa benefits: Unsweetened cocoa is rich in polyphenols and may support heart health.
- Protein boost: Egg yolks add protein and nutrients like choline and vitamin D.
Pitfalls to Watch Out For
- Overheating the custard: Boiling can curdle the eggs.
Keep the heat moderate and stir constantly.
- Grainy sweetener: Use a powdered low-carb sweetener and whisk well for a smooth finish.
- Skipping the strain: Any tiny egg bits or cocoa lumps can ruin the texture. A quick strain makes a big difference.
- Crust too crumbly: If the crust won’t hold together, add another tablespoon of melted butter and press more firmly.
- Setting time: Cutting too soon leads to messy slices. Chill until fully set, at least 4 hours.
Recipe Variations
- Mocha Cream Pie: Add 1 teaspoon instant espresso powder to the cocoa mixture and a splash of coffee extract to the topping.
- Coconut Chocolate Cream: Use full-fat canned coconut milk for half the cream and top with toasted coconut flakes.
- Peanut Butter Swirl: Warm 1/4 cup natural peanut butter and gently swirl into the filling before chilling.
- Chocolate Hazelnut: Replace half the almond flour with finely ground hazelnut meal and add a teaspoon of hazelnut extract.
- No-Bake Crust: Use a mix of almond flour, melted butter, and a tablespoon of cocoa; chill to set instead of baking.
Great when you don’t want to turn on the oven.
- Dairy-Light: Use lactose-free cream or a blend of coconut cream and almond milk; add a pinch more gelatin for structure.
Never Wonder What's For Dinner Again
Save time, eat healthier, and take the stress out of dinner. Get a full week of easy healthy dinners delivered straight to your inbox.
FAQ
Can I use a different sweetener?
Yes. Allulose gives the smoothest texture and least cooling effect. Powdered erythritol works well but can crystallize slightly when very cold.
Monk fruit blends are fine too. Start with a little less, taste, and adjust.
Is the gelatin necessary?
It helps the pie slice cleanly. If you prefer, use 1/2 teaspoon xanthan gum instead, whisked in off the heat.
With no thickener, the pie will be softer and may not hold its shape as well.
Can I make it completely dairy-free?
You can. Use full-fat canned coconut milk in place of heavy cream and plant butter for the crust and filling. Increase gelatin slightly (to about 2 1/2 teaspoons) to help it set.
How many carbs per slice?
Exact numbers vary by brands, but a typical slice (1/10 of the pie) is roughly 5–7 net carbs when made with allulose, almond flour, and 90% chocolate.
Check your labels and calculate with the products you use.
Why is my filling bitter?
High-cocoa chocolate and unsweetened cocoa can taste intense. Balance it with a bit more sweetener and a pinch more salt. Vanilla also rounds out the flavor.
Can I use a pre-made low-carb crust?
Sure.
If you have a trusted store-bought almond flour crust, use it to save time. Just make sure it’s fully baked and cooled before adding the filling.
How long does it take to set?
Expect at least 4 hours in the fridge. Overnight is ideal for clean cuts and a fully developed chocolate flavor.
In Conclusion
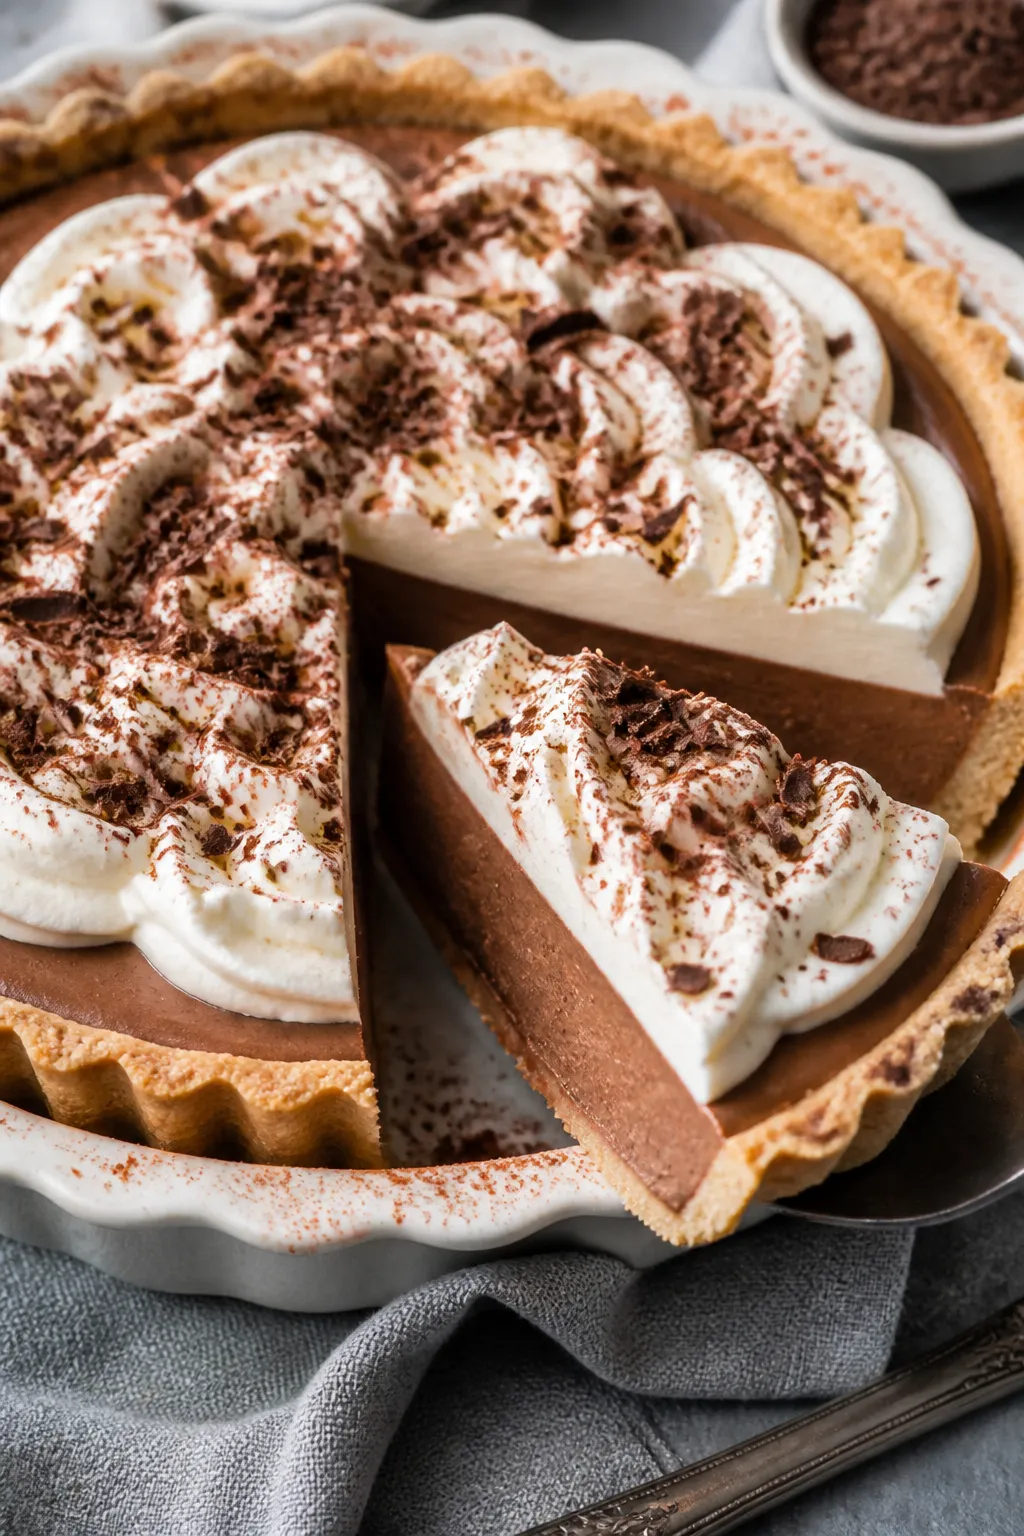
This Low Carb Chocolate Cream Pie gives you everything you love about classic chocolate pie—silky custard, deep cocoa notes, and a creamy topping—without the sugar overload.
The method is simple, the ingredients are everyday, and the results feel special enough for guests. Make it ahead, keep it chilled, and enjoy a dessert that fits your goals while still tasting like a true treat.
Printable Recipe Card
Want just the essential recipe details without scrolling through the article? Get our printable recipe card with just the ingredients and instructions.
Loved This Recipe?
If you're looking for more simple, healthy dinners your family will actually eat, grab my FREE 7-Day Easy Dinner Reset. You'll get 7 easy dinner recipes, simple grocery lists, and a done-for-you plan that takes the stress out of mealtime.