High Protein Breakfast Brownies – Easy, Satisfying, and Great for Mornings
If you like starting your day with something chocolatey but still want steady energy, these High Protein Breakfast Brownies are a game changer. They’re soft, fudgy, and naturally sweetened, with just enough structure to feel like a real brownie. You can prep a pan on Sunday and have breakfast ready all week.
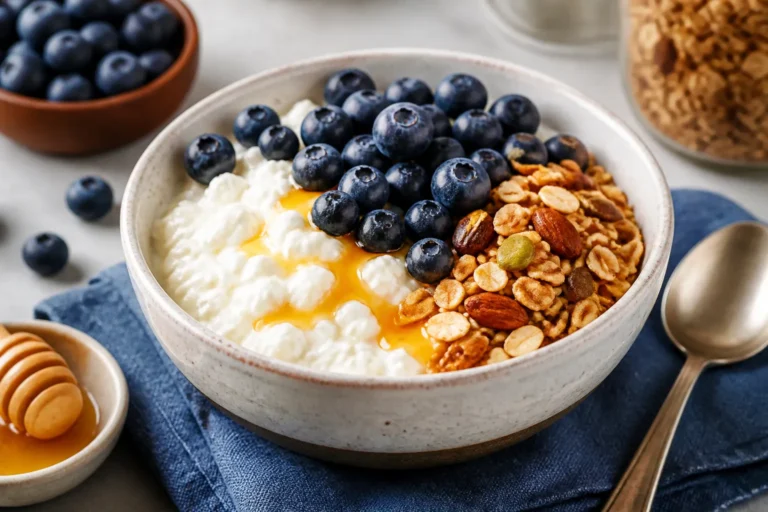
They pair well with coffee, yogurt, or a quick piece of fruit. Best of all, you won’t need fancy ingredients or a ton of time.

Ingredients
Method
- Preheat and prep the pan: Heat your oven to 350°F (175°C). Line an 8x8-inch pan with parchment, leaving a little overhang for easy lifting. Lightly grease the sides.
- Blend the wet ingredients: In a large bowl, mash 1 large ripe banana until smooth. Whisk in 3/4 cup Greek yogurt, 2 large eggs, 1/3 cup almond butter, 1/4 cup maple syrup, and 1 teaspoon vanilla until creamy.
- Mix the dry ingredients: In a separate bowl, combine 1/2 cup unsweetened cocoa powder, 1/2 cup protein powder, 3/4 cup finely ground oats (or oat flour), 1 teaspoon baking powder, and 1/4 teaspoon salt.
- Combine: Add the dry mix to the wet mix. Stir just until no streaks remain. The batter will be thick but spreadable. If it seems too stiff, add 1–2 tablespoons milk or water to loosen slightly.
- Fold in extras: Stir in 1/4–1/3 cup dark chocolate chips or chopped nuts if you like. Keep add-ins moderate so the brownies stay tender.
- Bake: Spread batter evenly into the prepared pan. Bake 18–24 minutes, or until the center is set with a light spring and a toothpick comes out with a few moist crumbs.
- Cool and slice: Let brownies cool in the pan for at least 20–30 minutes. Lift out using the parchment and cut into 9 or 12 squares. Cooling helps them firm up and taste fudgier.
- Serve: Enjoy warm, at room temperature, or chilled. A spoonful of yogurt or a smear of nut butter on top is excellent.

What Makes This Recipe So Good
- High in protein, low in fuss: Protein powder and Greek yogurt add staying power without complicated steps.
- Balanced sweetness: Ripe banana and a touch of maple syrup or honey keep sugar in check while still tasting like dessert.
- Moist and fudgy: Almond butter and cocoa deliver that brownie texture you crave, without loads of oil or butter.
- Meal prep friendly: They store well, freeze well, and reheat beautifully.
- Gluten-free friendly: Use certified gluten-free oats and you’re set.
What You’ll Need
- Ripe banana: Adds moisture and natural sweetness.
- Greek yogurt (2% or whole): Creaminess and protein.
- Eggs: Help bind and add structure.
- Almond butter or peanut butter: Healthy fats and that brownie chew.
- Maple syrup or honey: A little extra sweetness and better texture.
- Vanilla extract: Rounds out the chocolate flavor.
- Unsweetened cocoa powder: The backbone of the brownie flavor.
- Chocolate or vanilla whey or plant protein powder: Choose one you enjoy; it drives both taste and texture.
- Rolled oats or oat flour: Light structure without wheat flour.
- Baking powder: Gentle lift.
- Salt: Enhances sweetness and cocoa.
- Optional add-ins: Dark chocolate chips, chopped nuts, chia seeds, or a sprinkle of cinnamon.
Step-by-Step Instructions
- Preheat and prep the pan: Heat your oven to 350°F (175°C). Line an 8×8-inch pan with parchment, leaving a little overhang for easy lifting.
Lightly grease the sides.
- Blend the wet ingredients: In a large bowl, mash 1 large ripe banana until smooth. Whisk in 3/4 cup Greek yogurt, 2 large eggs, 1/3 cup almond butter, 1/4 cup maple syrup, and 1 teaspoon vanilla until creamy.
- Mix the dry ingredients: In a separate bowl, combine 1/2 cup unsweetened cocoa powder, 1/2 cup protein powder, 3/4 cup finely ground oats (or oat flour), 1 teaspoon baking powder, and 1/4 teaspoon salt.
- Combine: Add the dry mix to the wet mix. Stir just until no streaks remain.
The batter will be thick but spreadable. If it seems too stiff, add 1–2 tablespoons milk or water to loosen slightly.
- Fold in extras: Stir in 1/4–1/3 cup dark chocolate chips or chopped nuts if you like. Keep add-ins moderate so the brownies stay tender.
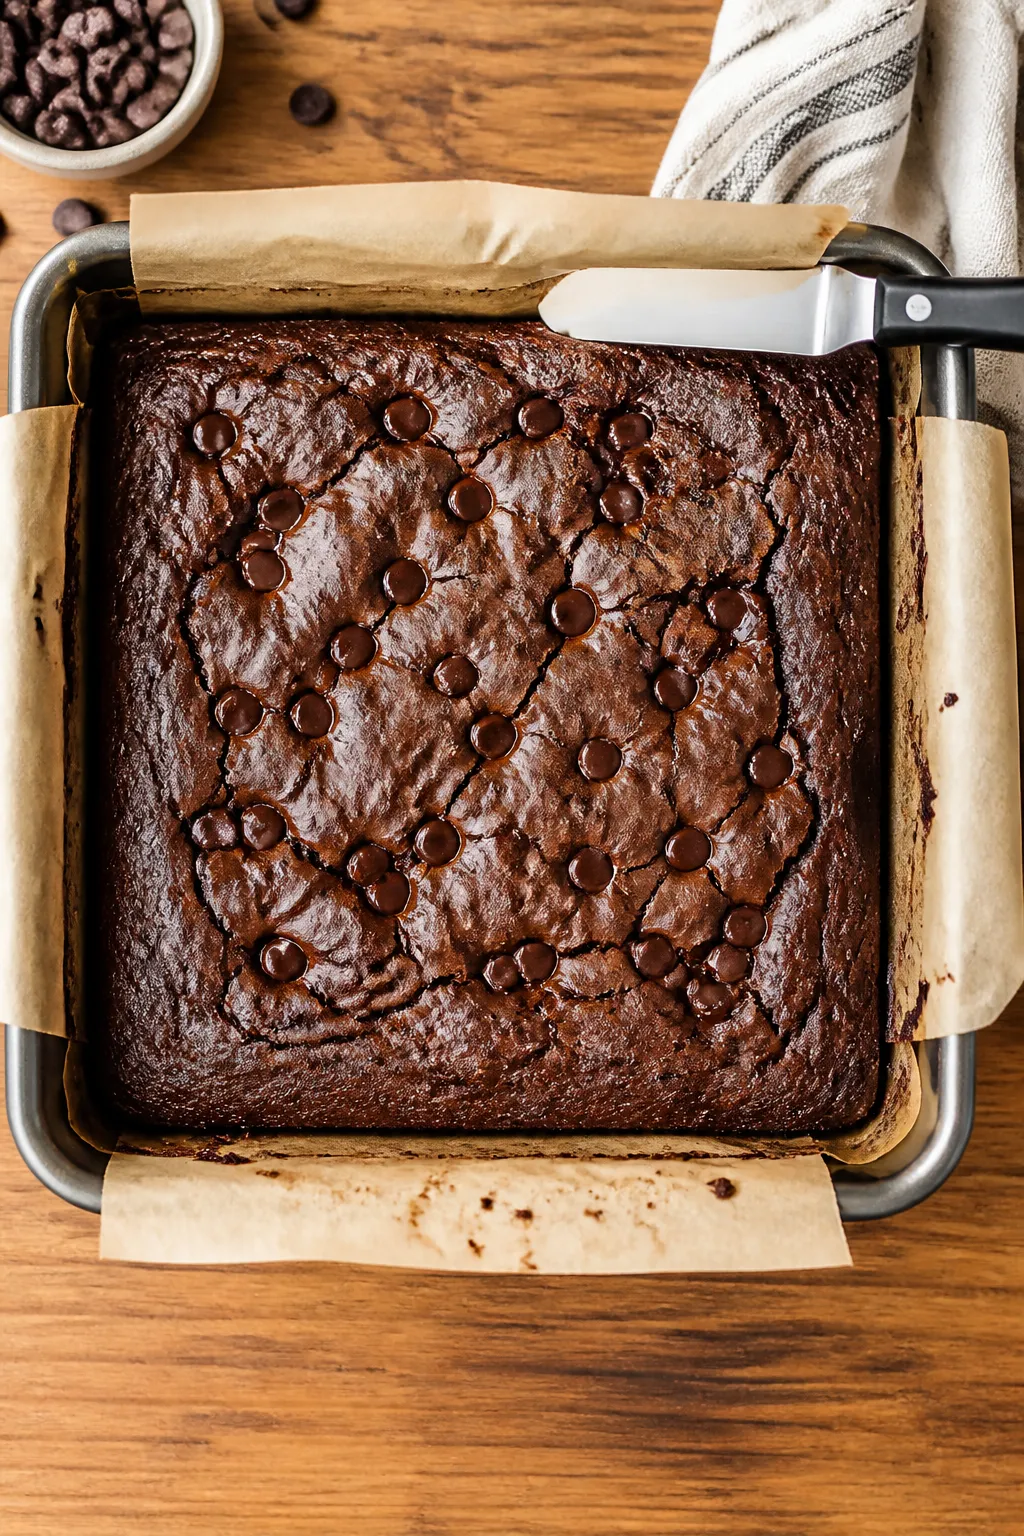
- Bake: Spread batter evenly into the prepared pan.
Bake 18–24 minutes, or until the center is set with a light spring and a toothpick comes out with a few moist crumbs.
- Cool and slice: Let brownies cool in the pan for at least 20–30 minutes. Lift out using the parchment and cut into 9 or 12 squares. Cooling helps them firm up and taste fudgier.
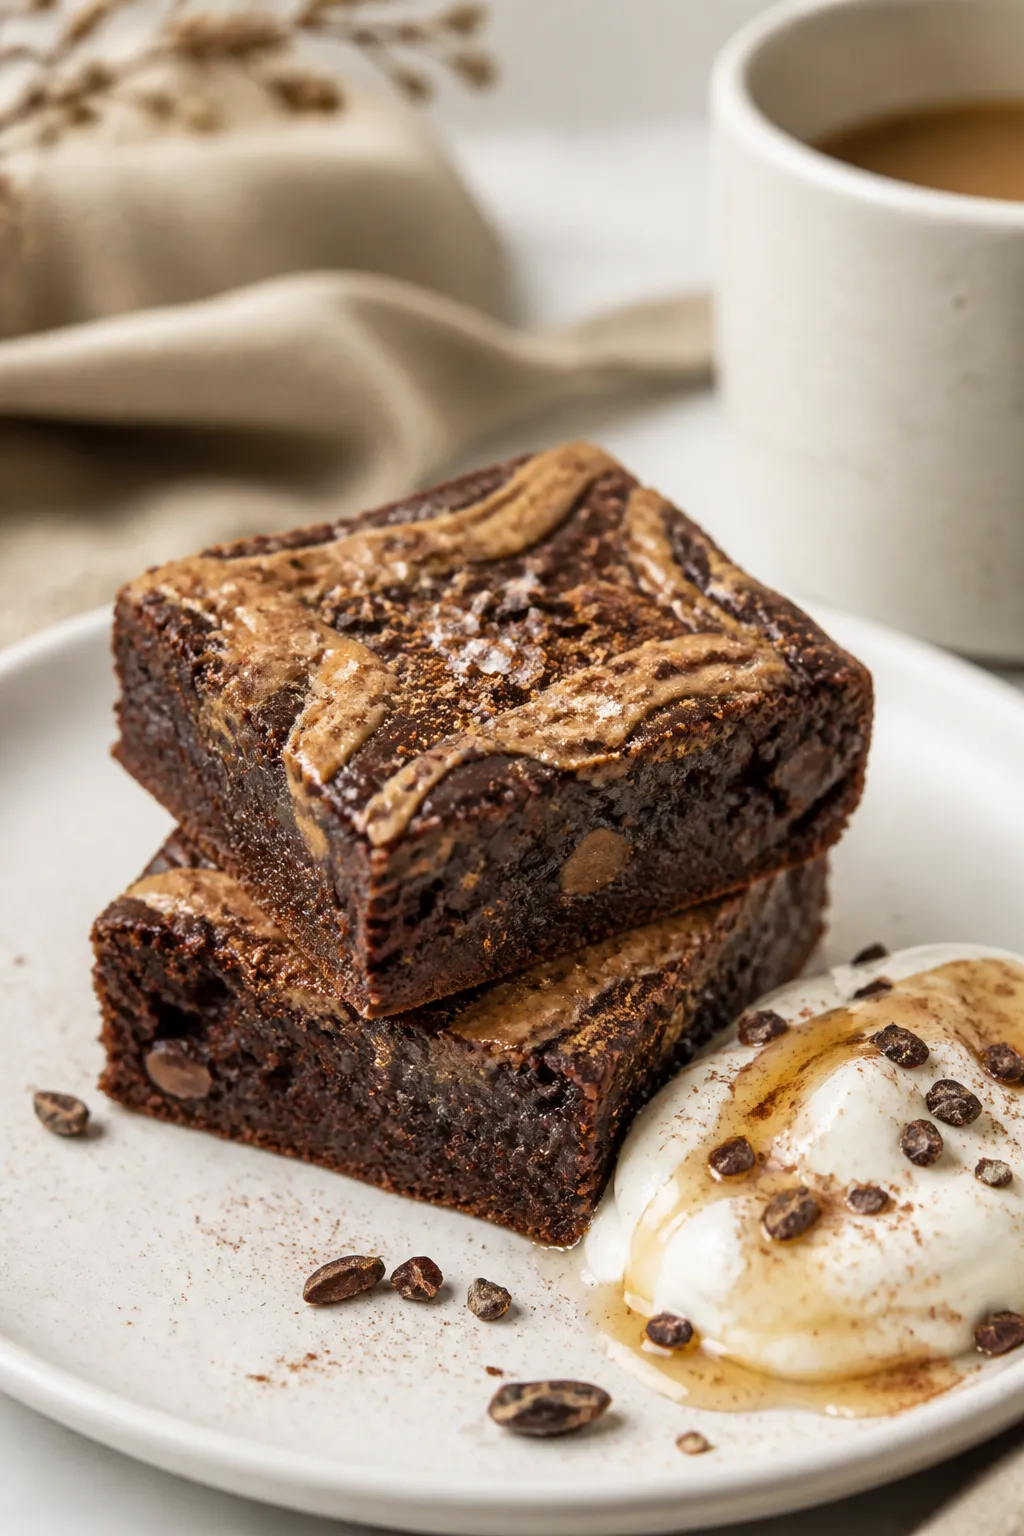
- Serve: Enjoy warm, at room temperature, or chilled.
A spoonful of yogurt or a smear of nut butter on top is excellent.
Storage Instructions
- Room temperature: Keep in an airtight container up to 24 hours if your kitchen is cool.
- Refrigerator: Store in a sealed container for 4–5 days. They actually get fudgier by day two.
- Freezer: Wrap individual squares, then place in a freezer bag for up to 2 months. Thaw overnight in the fridge or microwave in 15–20 second bursts.
- Reheating: Warm briefly in the microwave to soften and bring back that fresh-baked feel.
Benefits of This Recipe
- Steady energy: Protein, fiber, and healthy fats help keep you full longer and reduce mid-morning crashes.
- Customizable: Adjust sweetness, swap nut butters, and choose your favorite protein powder.
- Kid-friendly: They taste like a treat, but you control the ingredients.
- Budget-smart: Pantry staples make this an affordable breakfast or snack option.
- Macro-friendly: Easy to fit into many nutrition goals, from higher protein to gluten-free approaches.
What Not to Do
- Don’t overbake: Dry brownies are sad brownies.
Pull them when slightly underdone for a fudgy middle.
- Don’t pack the oats: Measure by spooning into the cup and leveling. Too much oat flour makes them dense.
- Don’t skip the salt: A small pinch sharpens the chocolate flavor and balances sweetness.
- Don’t use a gritty or chalky protein: If you dislike the taste in a shake, you won’t like it in brownies. Pick a brand you already enjoy.
- Don’t cut while piping hot: They’ll crumble.
Give them time to set.
Recipe Variations
- Mocha Brownies: Add 1–2 teaspoons instant espresso powder to the dry ingredients.
- Peanut Butter Swirl: Dollop 2 tablespoons peanut butter on top of the batter and swirl with a knife before baking.
- Berry Boost: Fold in 1/2 cup chopped strawberries or raspberries. Bake a couple minutes longer if needed.
- Extra Fiber: Add 1–2 tablespoons ground flaxseed or chia seeds to the dry mix.
- Dairy-Free: Use a dairy-free yogurt and a plant-based protein powder. Check chocolate chips for dairy-free labeling.
- Nut-Free: Swap almond butter for sunflower seed butter and use oat milk if thinning the batter.
- Double Chocolate: Use chocolate protein powder and increase chocolate chips to 1/3 cup.
FAQ
How much protein is in each brownie?
It depends on your protein powder and the size of your squares.
As a ballpark, using whey protein and cutting the pan into 9 squares, each brownie often lands around 10–13 grams of protein. If you cut 12 squares, it will be a bit less per piece.
Can I make these without banana?
Yes. Replace the banana with 1/2 cup unsweetened applesauce plus 1–2 extra tablespoons maple syrup if you want more sweetness.
Texture will stay moist, but flavor will be milder.
Which protein powder works best?
Whey blends tend to bake up soft and moist. Casein or a whey–casein mix will be slightly denser and very fudgy. For plant-based, pea or a pea–rice blend works well.
Avoid powders with lots of gums or artificial sweeteners if you don’t enjoy the aftertaste.
Do I need a blender?
No. You can mash the banana well and whisk by hand. If you only have rolled oats and want a smoother texture, pulse them in a food processor to make oat flour first.
Why did my brownies turn out dry?
Common culprits are overbaking, packing too much oat flour, or using a very absorbent protein powder.
Next time, measure carefully, check doneness a few minutes early, and add a tablespoon of milk if the batter seems too thick.
Can I add vegetables like zucchini?
Absolutely. Fold in 1/2 cup finely grated, well-squeezed zucchini. It adds moisture without changing flavor much.
You may need to bake for an extra 2–3 minutes.
Final Thoughts
These High Protein Breakfast Brownies make mornings easier and tastier. They’re simple to prep, easy to store, and flexible enough to fit your routine. Keep the ingredients on hand, and you can have a satisfying breakfast ready in under 30 minutes.
Once you find your favorite protein powder and sweetness level, this will become a weekly staple. Enjoy them warm with coffee or pack a square for a quick, filling snack anytime.
Printable Recipe Card
Want just the essential recipe details without scrolling through the article? Get our printable recipe card with just the ingredients and instructions.