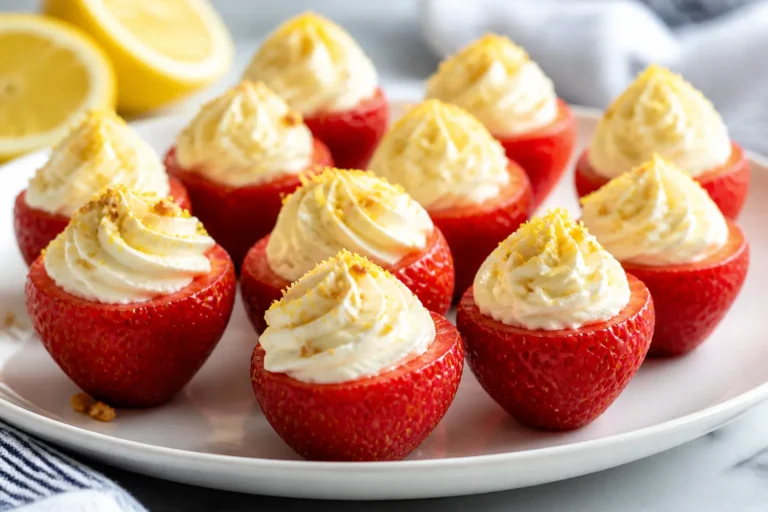
No-Bake Greek Yogurt Berry Cheesecake Cups – Light, Fresh, and So Simple
These cheesecake cups taste like a summer dessert you’d get at a café, but they take minutes to make and require zero baking. The filling is creamy and tangy thanks to Greek yogurt and a touch of cream cheese, and the fresh berries on top keep it bright and not overly sweet. They’re perfect for a make-ahead dessert, a brunch treat, or a weeknight “just because.” You only need a handful of ingredients, and you can customize them with whatever fruit you have on hand.
Need More Easy Dinner Ideas?
Get my FREE 7-Day Easy Dinner Reset and enjoy a full week of healthy dinners without the meal-planning stress.
If you love cheesecake flavor but want something lighter and easier, this is your recipe.
Ingredients
Method
- Prep your cups: Use 8–10 small glass jars, ramekins, or sturdy paper cups. Aim for 4–6 ounce portions. Set them on a tray for easy transport to the fridge.
- Make the crust: In a bowl, combine graham cracker crumbs, melted butter, and a pinch of salt. Mix until the crumbs look like wet sand and hold together when pressed.
- Press the base: Spoon 2–3 tablespoons of crust into each cup. Press down firmly with the back of a spoon. For a firmer base, chill the crusts while you make the filling.
- Soften the cream cheese: Make sure it’s truly at room temperature. Beat with a hand mixer until smooth and fluffy, 1–2 minutes.
- Mix the filling: Add Greek yogurt, honey or maple syrup, vanilla, lemon zest, and lemon juice. Beat until smooth and creamy. Taste and adjust sweetness. If you want a slightly thicker set, beat in 1–2 tablespoons powdered sugar.
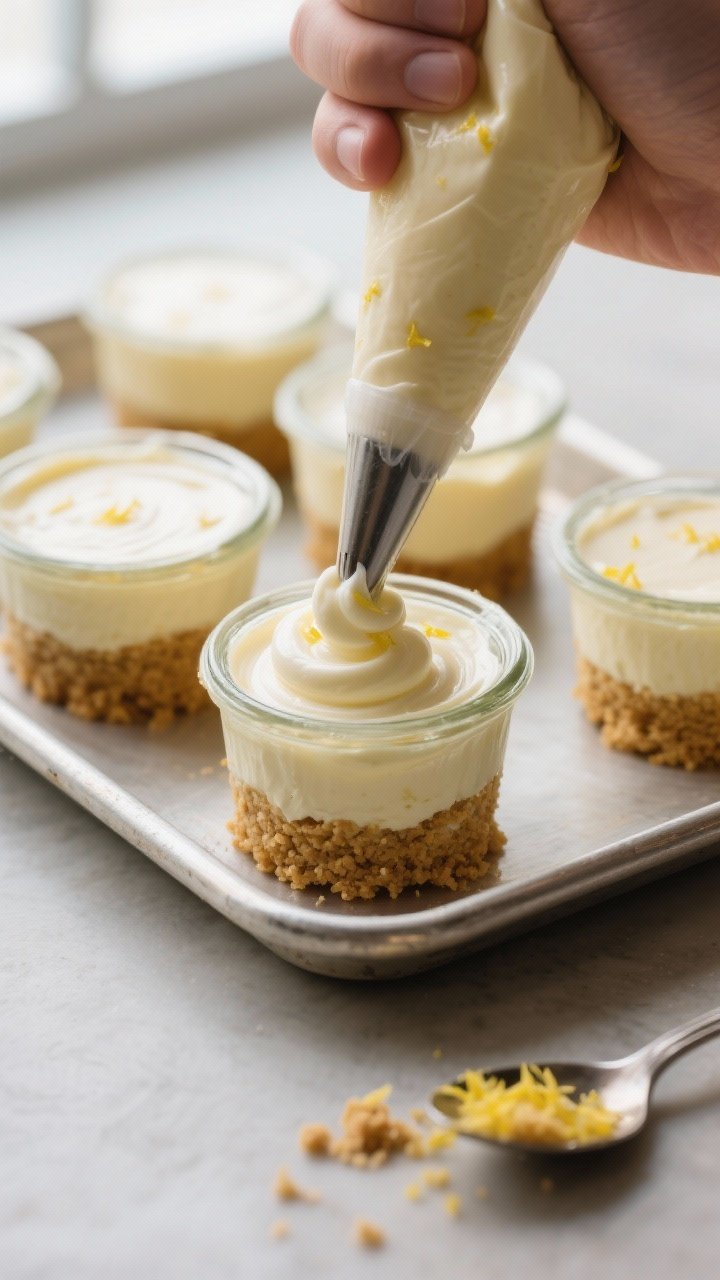
- Assemble the cups: Spoon or pipe the cheesecake filling over the crusts, dividing evenly. Smooth the tops with the back of a spoon.
- Chill: Cover and refrigerate for at least 2–3 hours, or up to 24 hours. The longer they chill, the firmer the texture.
- Prep the berries: Right before serving, toss berries with a teaspoon or two of sugar if desired to lightly macerate. This brings out juices and a glossy finish.
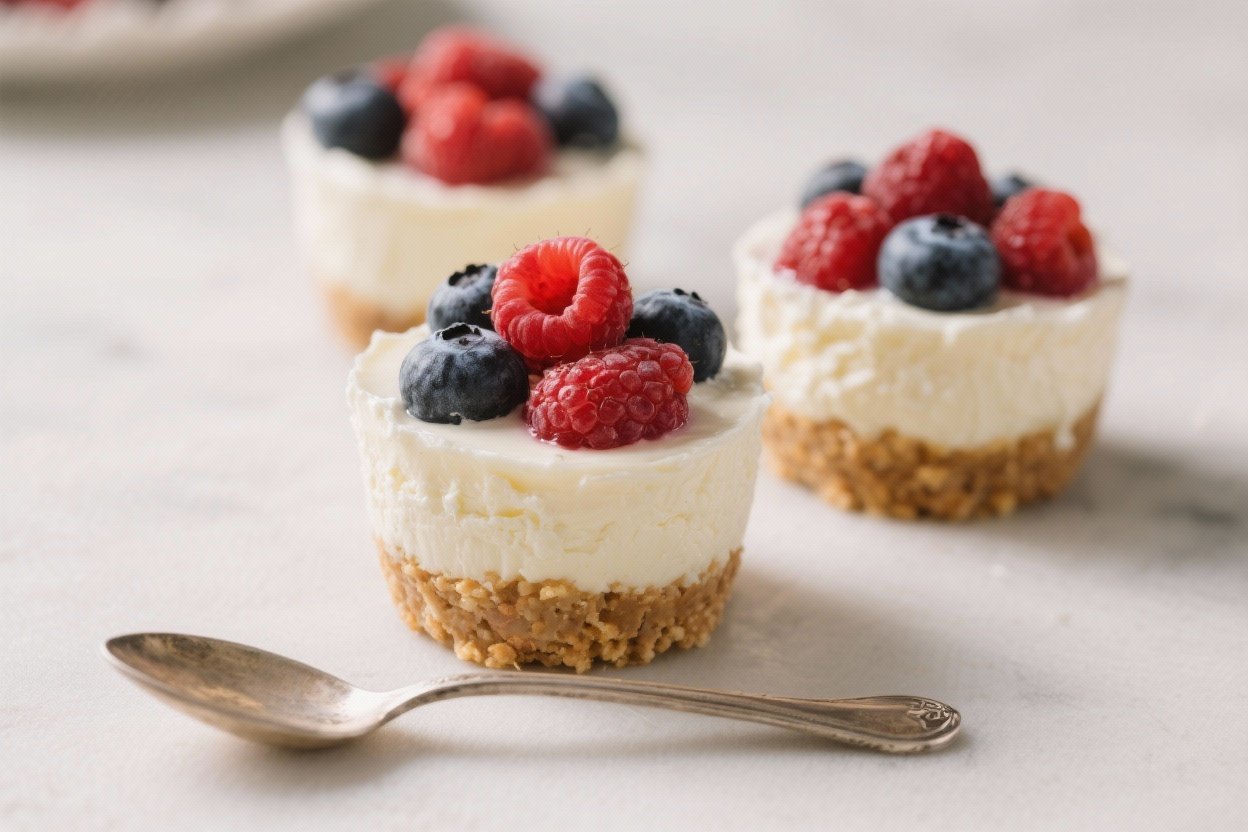
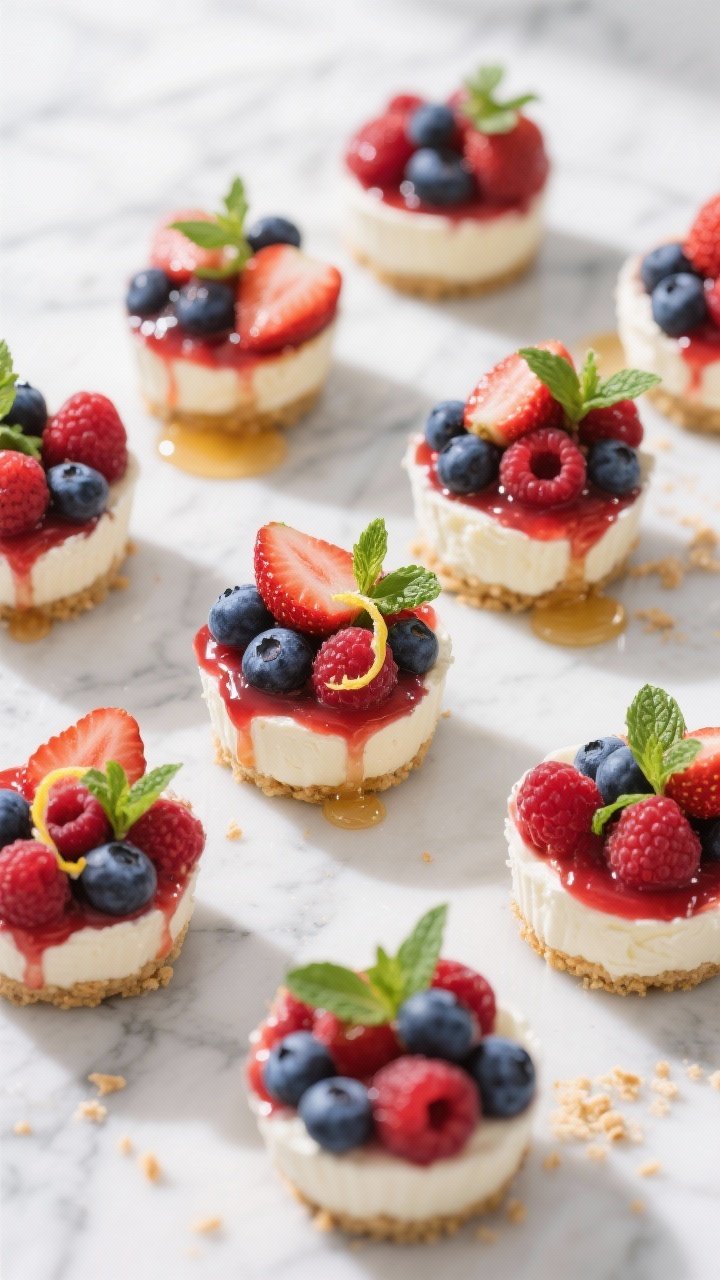
- Top and serve: Spoon berries over each cheesecake cup. If you like, add a tiny drizzle of honey or a swirl of berry jam for extra color and shine.
- Garnish (optional): Add fresh mint, a dusting of lemon zest, or a sprinkle of crushed crackers for texture.
What Makes This Recipe So Good
- No baking required: Everything sets in the fridge. No oven, no water bath, no stress.
- Lighter than classic cheesecake: Greek yogurt adds protein and tang while keeping the filling light and creamy.
- Perfect portion control: Individual cups are great for entertaining, meal prep, or lunchbox desserts.
- Customizable: Use any berries, swap the crust, or adjust the sweetness to taste.
- Fast to assemble: You can put these together in about 20 minutes, then chill until set.
Shopping List
- Greek yogurt: 1 1/2 cups, plain, full-fat or 2% for best texture
- Cream cheese: 8 ounces, softened to room temperature
- Honey or maple syrup: 1/4 to 1/3 cup, to taste
- Vanilla extract: 1 teaspoon
- Lemon zest and juice: 1 teaspoon zest + 1–2 teaspoons juice
- Graham cracker crumbs: 1 1/4 cups (or digestive biscuits)
- Unsalted butter: 5 tablespoons, melted
- Pinch of salt for the crust
- Fresh berries: 1 1/2 to 2 cups mixed (strawberries, blueberries, raspberries, or blackberries)
- Optional topping: 1–2 tablespoons sugar for macerating berries, or a spoon of berry jam
- Optional thickener: 1–2 tablespoons powdered sugar if you prefer a firmer filling
Step-by-Step Instructions
- Prep your cups: Use 8–10 small glass jars, ramekins, or sturdy paper cups. Aim for 4–6 ounce portions.
Set them on a tray for easy transport to the fridge.
- Make the crust: In a bowl, combine graham cracker crumbs, melted butter, and a pinch of salt. Mix until the crumbs look like wet sand and hold together when pressed.
- Press the base: Spoon 2–3 tablespoons of crust into each cup. Press down firmly with the back of a spoon.
For a firmer base, chill the crusts while you make the filling.
- Soften the cream cheese: Make sure it’s truly at room temperature. Beat with a hand mixer until smooth and fluffy, 1–2 minutes.
- Mix the filling: Add Greek yogurt, honey or maple syrup, vanilla, lemon zest, and lemon juice. Beat until smooth and creamy.
Taste and adjust sweetness. If you want a slightly thicker set, beat in 1–2 tablespoons powdered sugar.
- Assemble the cups: Spoon or pipe the cheesecake filling over the crusts, dividing evenly. Smooth the tops with the back of a spoon.
- Chill: Cover and refrigerate for at least 2–3 hours, or up to 24 hours.
The longer they chill, the firmer the texture.
- Prep the berries: Right before serving, toss berries with a teaspoon or two of sugar if desired to lightly macerate. This brings out juices and a glossy finish.
- Top and serve: Spoon berries over each cheesecake cup. If you like, add a tiny drizzle of honey or a swirl of berry jam for extra color and shine.
- Garnish (optional): Add fresh mint, a dusting of lemon zest, or a sprinkle of crushed crackers for texture.
Storage Instructions
- Refrigeration: Keep covered in the fridge for up to 4 days.
Add berries within 24 hours of serving for the freshest look.
- Make-ahead: You can assemble the crust and filling up to a day in advance. Add toppings just before serving.
- Freezing: Not ideal due to yogurt texture, but you can freeze without toppings for up to 1 month. Thaw overnight in the fridge.
Expect a slightly looser texture.
Benefits of This Recipe
- High in protein: Greek yogurt boosts protein and keeps the dessert satisfying without being heavy.
- Lower effort, lower mess: No baking pans, no cracking, no water bath. Just mix, chill, and eat.
- Flexible for diets: Easy to make gluten-free with a suitable cookie, and it’s simple to reduce added sugar.
- Great for gatherings: Individual servings look polished and eliminate slicing and plating stress.
Pitfalls to Watch Out For
- Cold cream cheese: If it’s not softened, your filling can turn lumpy. Let it sit out 30–60 minutes first.
- Overmixing: Whipping too long can make the filling airy and loose.
Mix just until smooth.
- Watery berries: Super juicy berries can bleed into the filling. Pat them dry or add just before serving.
- Skimping on chill time: The texture improves after a few hours. Don’t rush it.
- Too little butter in crust: The base may crumble.
It should hold when pinched before pressing into cups.
Variations You Can Try
- Gluten-free crust: Use gluten-free graham crackers or almond flour mixed with a bit of sugar and butter.
- Chocolate base: Swap in chocolate wafer cookies or Oreos (remove filling if you prefer).
- Citrus twist: Add orange zest to the filling and top with sliced mandarins and raspberries.
- Honey-vanilla: Use only honey and vanilla, and top with just blueberries for a clean, classic flavor.
- Strawberry swirl: Warm a spoonful of strawberry jam until loose and swirl into each cup before chilling.
- High-protein: Use skyr or a strained high-protein yogurt and keep the sweetener minimal.
- Mini pies: Make them in a muffin tin with liners for pop-out portions.
- Tropical: Use crushed shortbread for the crust and top with mango, pineapple, and a squeeze of lime.
FAQ
Never Wonder What's For Dinner Again
Save time, eat healthier, and take the stress out of dinner. Get a full week of easy healthy dinners delivered straight to your inbox.
Can I use low-fat or nonfat Greek yogurt?
Yes, but the filling will be a bit looser and less creamy. For the best texture, use 2% or full-fat yogurt, or add a little powdered sugar to help it set.
Do I need gelatin to make it firm?
No. This recipe sets nicely in the fridge without gelatin, especially if you use full-fat dairy.
If you want a firmer, sliceable set, you can bloom 1 teaspoon gelatin in 1 tablespoon water, melt gently, and beat it in.
What’s the best way to sweeten the filling?
Honey or maple syrup works beautifully for flavor and texture. You can also use powdered sugar for a smoother finish. Start with less, taste, and adjust.
How far ahead can I make these?
You can make the cups up to 24 hours ahead.
Add the berries just before serving for the freshest look and best texture.
Can I replace graham crackers with something else?
Absolutely. Try digestive biscuits, Biscoff cookies, vanilla wafers, or even a mix of almond flour and a little sugar and butter for a gluten-free option.
What if my filling is too thin?
Chill it longer first. If it’s still loose, gently fold in 2–3 tablespoons whipped cream or beat in a little powdered sugar.
Next time, use thicker yogurt and make sure cream cheese is fully softened before mixing.
Can I make these less sweet?
Yes. Reduce the honey/maple to 2 tablespoons and lean on the berries for natural sweetness. A touch of lemon zest keeps the flavor lively even with less sugar.
Final Thoughts
These No-Bake Greek Yogurt Berry Cheesecake Cups deliver creamy cheesecake flavor with a lighter feel and a refreshingly simple process.
They look special, taste bright and tangy, and come together with pantry staples and fresh fruit. Whether you’re hosting friends or just want a smart make-ahead dessert, this is an easy win you’ll come back to again and again. Keep a few in the fridge, and dessert is always ready when you are.
Printable Recipe Card
Want just the essential recipe details without scrolling through the article? Get our printable recipe card with just the ingredients and instructions.
Loved This Recipe?
If you're looking for more simple, healthy dinners your family will actually eat, grab my FREE 7-Day Easy Dinner Reset. You'll get 7 easy dinner recipes, simple grocery lists, and a done-for-you plan that takes the stress out of mealtime.