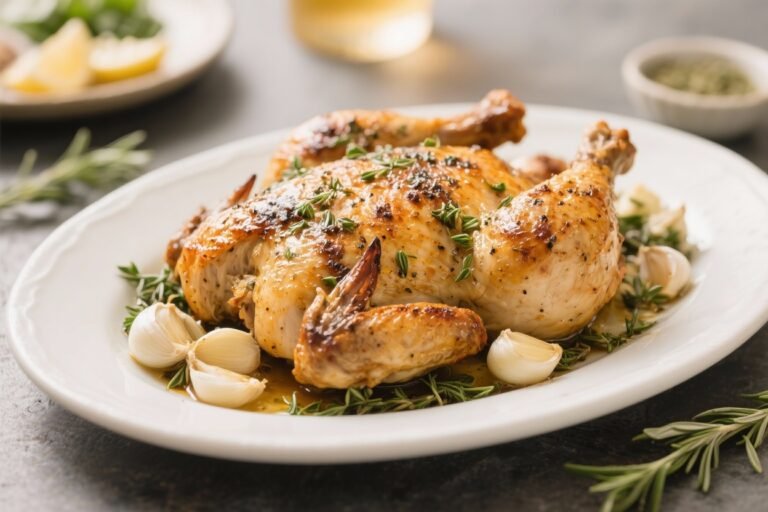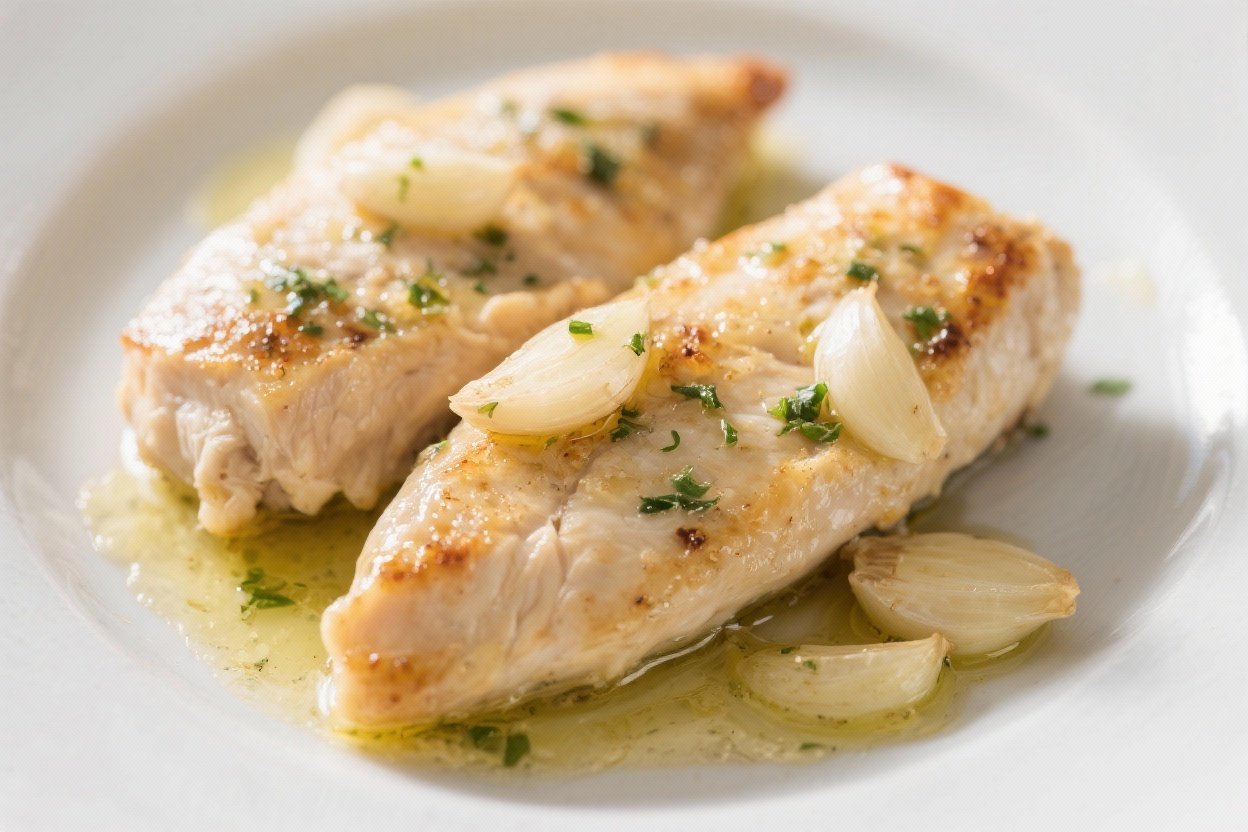
Garlic Butter Chicken Tenderloins – Simple, Juicy, and Flavor-Packed
Chicken tenderloins are the weeknight hero you didn’t know you needed. They cook fast, stay juicy, and soak up flavor like a sponge. This garlic butter version leans on a handful of pantry staples to deliver restaurant-quality results with almost no fuss.
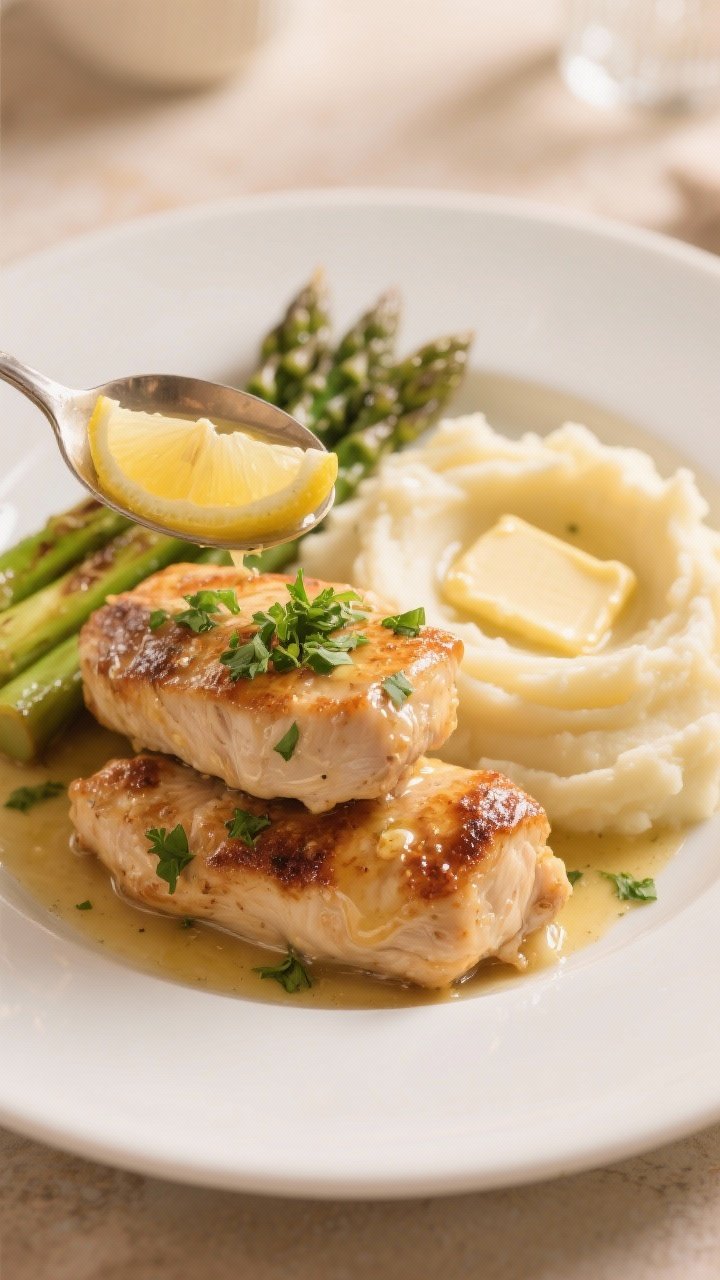
It’s perfect for busy evenings, cozy dinners, or meal prep. Serve it with rice, mashed potatoes, or a crisp salad, and you’ve got a crowd-pleasing plate in minutes.
Overeating is a pattern. This helps you fix that problem. A quick reset for cravings, snacking, and “I’ll start tomorrow” moments.
Built for busy home cooks who want real-life structure. Simple steps that fit meal prep, family dinners, and late-night snack attacks.
Why This Recipe Works
This recipe focuses on high heat, quick cooking, and a rich butter finish for maximum flavor without drying out the meat. Tenderloins are naturally tender, so you don’t need a long marinade or complicated technique.
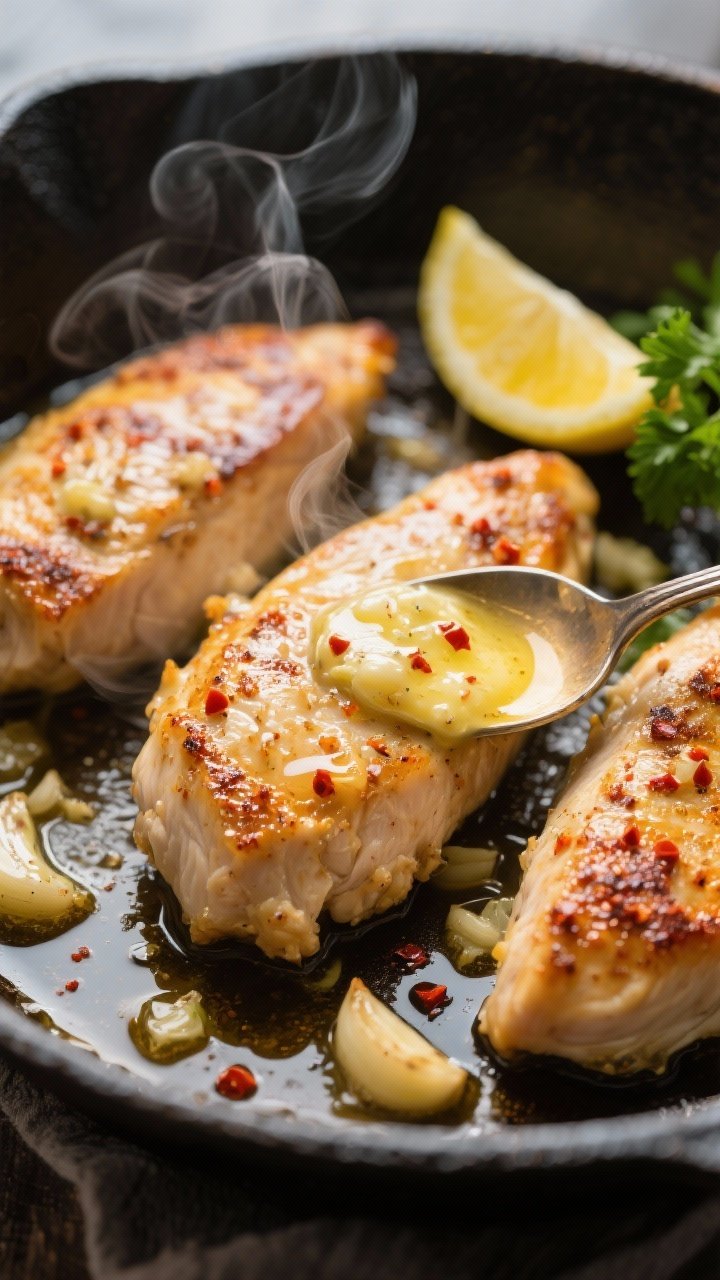
A quick sear creates a golden crust while keeping the inside juicy. Adding garlic near the end protects it from burning and lets the butter carry those savory notes through every bite.
The method is straightforward and reliable. You season, sear, baste with butter and garlic, then finish with a splash of lemon for brightness.
The result is balanced, buttery, and deeply satisfying.
Ingredients
- 1.5 pounds chicken tenderloins (about 10–12 pieces)
- 1 teaspoon kosher salt, plus more to taste
- 1/2 teaspoon freshly ground black pepper
- 1 teaspoon paprika (smoked or sweet)
- 1/2 teaspoon garlic powder
- 1/2 teaspoon onion powder
- 2 tablespoons olive oil (or avocado oil)
- 3 tablespoons unsalted butter
- 4 cloves garlic, minced (or grated)
- 1 tablespoon fresh lemon juice, plus lemon wedges for serving
- 2 tablespoons chopped fresh parsley (optional)
- Optional add-ins: pinch of red pepper flakes, 1/2 teaspoon Italian seasoning, or a splash of white wine
Step-by-Step Instructions
- Pat dry and season. Use paper towels to pat the tenderloins dry. This helps them brown. In a small bowl, mix salt, pepper, paprika, garlic powder, and onion powder.
Sprinkle evenly over both sides of the chicken.
- Preheat the pan. Set a large skillet over medium-high heat. Add olive oil and heat until it shimmers. A hot pan is key for a good sear.
- Sear the first side. Place the tenderloins in a single layer without crowding.
Cook undisturbed for 3–4 minutes until golden brown. If your pan is small, work in batches.
- Flip and start the butter. Flip the chicken. Add the butter to the pan.
As it melts, tilt the pan and spoon the buttery drippings over the chicken.
- Add garlic at the right time. After 1 minute, stir in the minced garlic (and red pepper flakes, if using). Keep basting to prevent the garlic from scorching. Cook another 2–3 minutes, or until the thickest tenderloin reaches 165°F on an instant-read thermometer.
- Finish with brightness. Turn off the heat.
Add lemon juice and swirl the pan to combine. Taste and add a pinch of salt if needed.
- Garnish and serve. Sprinkle with parsley. Spoon the garlic butter over the top and serve with your favorite sides.
Storage Instructions
- Refrigerate: Cool completely, then store in an airtight container for up to 4 days.
- Freeze: Freeze in a freezer-safe bag or container for up to 3 months.
Add a label with the date.
- Reheat: Warm gently in a skillet over low heat with a splash of water or chicken broth, then cover until heated through. You can also microwave in short bursts at 50–60% power to avoid drying.
- Meal prep tip: Keep extra garlic butter sauce on the side when storing. Add a spoonful when reheating to restore moisture and flavor.

Health Benefits
Chicken tenderloins are a lean protein source, making them a smart choice for muscle repair and steady energy.
The recipe uses a modest amount of butter for richness without going overboard. Olive oil adds heart-healthy fats, and garlic may support immune health and cardiovascular function.
Pairing with vegetables or whole grains turns this into a balanced meal. Try roasted broccoli, sautéed green beans, quinoa, or brown rice to round out the plate with fiber and micronutrients.

Pitfalls to Watch Out For
- Overcrowding the pan: Crowding traps steam and prevents searing.
Work in batches for better browning.
- Adding garlic too early: Garlic burns fast at high heat. Add it after you flip the chicken and the butter has melted.
- Undercooking or overcooking: Tenderloins cook quickly. Use an instant-read thermometer and pull at 165°F.
- Skipping the pat-dry step: Moisture is the enemy of browning.
Dry chicken equals better crust.
- Not seasoning enough: Season both sides and taste your pan sauce. A small pinch of salt at the end can make flavors pop.
Variations You Can Try
- Herb-forward: Add chopped fresh thyme, rosemary, or basil with the butter. Finish with more lemon zest.
- Parmesan crust: After searing, sprinkle 2–3 tablespoons of grated Parmesan over the chicken and baste quickly.
It melts into the butter for a savory finish.
- Creamy garlic butter: Stir in 2–3 tablespoons of heavy cream after the lemon for a quick pan sauce. Simmer 1 minute to thicken.
- Spicy kick: Add cayenne or extra red pepper flakes. Serve with a drizzle of hot honey for sweet heat.
- Lemon pepper: Swap paprika for lemon pepper seasoning and finish with extra lemon zest.
- White wine pan sauce: After searing, splash in 1/4 cup dry white wine.
Reduce by half, then add butter and garlic.
- Air fryer option: Toss seasoned tenderloins with 1 tablespoon oil. Air fry at 400°F for 7–9 minutes, flipping halfway. Melt butter with garlic separately and drizzle over to serve.
FAQ
Can I use chicken breasts instead of tenderloins?
Yes.
Cut boneless, skinless breasts into 1-inch thick strips to mimic tenderloins. Cook times may be slightly longer depending on thickness, so rely on the thermometer for doneness.
What kind of pan works best?
A heavy skillet like cast iron or stainless steel gives you a better sear. Nonstick works too, but you may not get the same browning.
How do I keep the garlic from burning?
Add it after the chicken is mostly cooked and the butter has melted.
Keep the heat at medium to medium-high and baste frequently so the garlic cooks gently in the butter.
Is there a dairy-free option?
Use a plant-based butter or extra olive oil. You’ll lose some buttery richness, but the garlic and lemon still make it delicious.
What sides pair well with this?
Mashed potatoes, garlic rice, buttered noodles, roasted asparagus, sautéed zucchini, or a crisp Caesar salad are all great choices. A lemony couscous also works well with the sauce.
Can I marinate the chicken first?
You can, but it’s not necessary.
If you want extra flavor, marinate with olive oil, lemon zest, and spices for 30 minutes. Avoid acidic marinades for hours on end; they can make the texture mushy.
How can I tell if the chicken is done without a thermometer?
Cut into the thickest piece. The juices should run clear and the center should be opaque, not pink.
Still, a thermometer is the most reliable way to avoid overcooking.
In Conclusion
Garlic Butter Chicken Tenderloins are simple, fast, and full of flavor. The method is easy, the ingredients are basic, and the results feel special. With a few smart steps—hot pan, quick sear, late garlic, and a bright finish—you get juicy chicken every time.
Keep this recipe in your weeknight rotation and dress it up with your favorite variations when you want something new.
Printable Recipe Card
Want just the essential recipe details without scrolling through the article? Get our printable recipe card with just the ingredients and instructions.