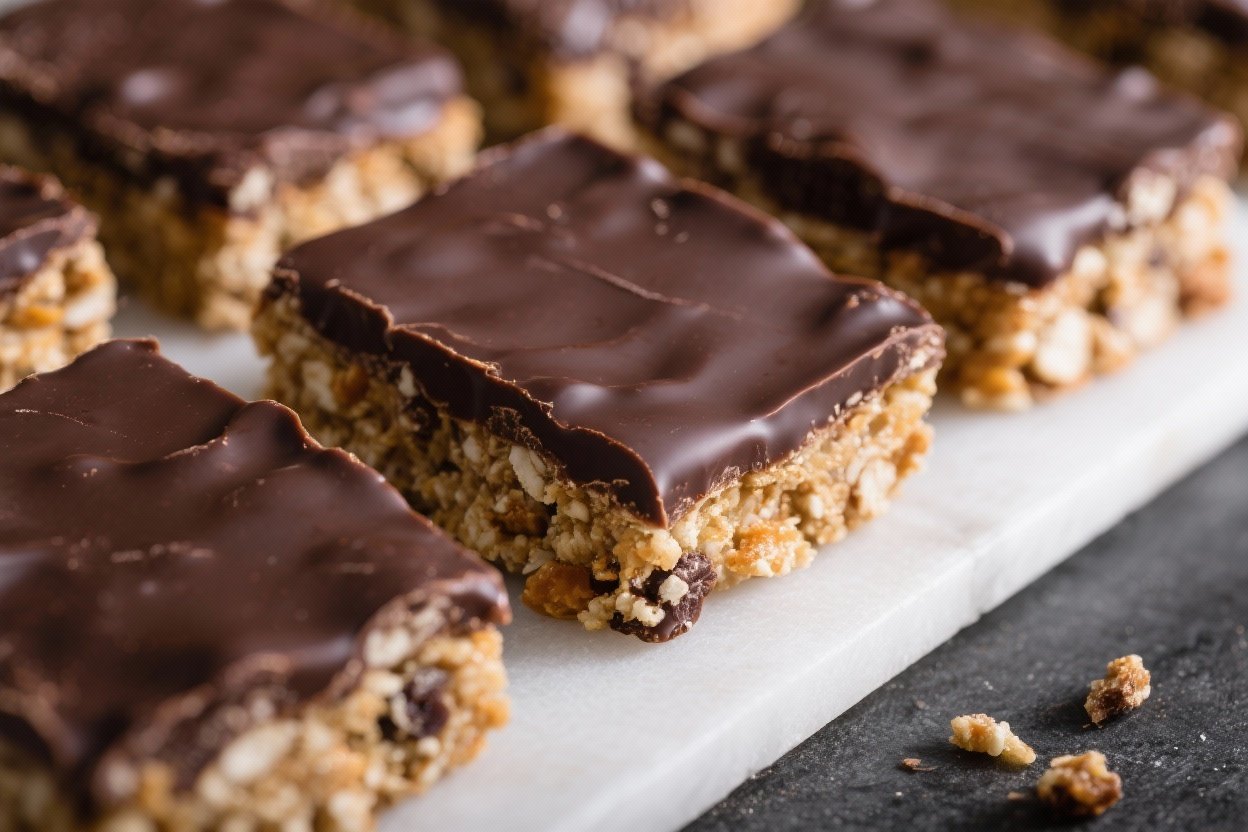
No-Bake Dark Chocolate Covered Energy Squares – Simple, Satisfying, and Snack-Ready
These no-bake dark chocolate covered energy squares are the kind of snack you’ll want to keep on repeat. They’re rich, chewy, and just sweet enough to feel like a treat without the crash. With simple pantry staples and zero oven time, they come together fast and hold up beautifully in the fridge.
Think of them as an upgraded energy bar—homemade, customizable, and covered in a thin layer of dark chocolate. Make a batch once, and you’ll have quick fuel for the week.
No-Bake Dark Chocolate Covered Energy Squares - Simple, Satisfying, and Snack-Ready
Ingredients
Method
- Prep your pan: Line an 8x8-inch (20x20 cm) baking pan with parchment, leaving overhang on two sides for easy lifting. Lightly grease the paper if it tends to stick.
- Soften the dates (if needed): If your dates feel dry, soak them in warm water for 5–10 minutes, then drain well. Pat dry to avoid extra moisture.
- Pulse the dry base: In a food processor, add oats, nuts, shredded coconut, chia or flax, cinnamon, and salt. Pulse until it resembles coarse crumbs—small pieces are good for texture.
- Add the sticky binders: Add dates, nut butter, vanilla, and 1 tablespoon maple syrup. Pulse until the mixture starts to clump and holds together when pressed. If it’s dry or crumbly, add the second tablespoon of maple or 1–2 teaspoons water.
- Press into the pan: Transfer the mixture to the lined pan. Use a piece of parchment or the bottom of a measuring cup to press it into an even, compact layer.
- Chill the base: Refrigerate for 20–30 minutes to firm up. This helps the chocolate layer set neatly.
- Melt the chocolate: In a microwave-safe bowl, add dark chocolate and coconut oil. Microwave in 20–30 second bursts, stirring between each, until smooth. Or use a double boiler on the stovetop.
- Coat the top: Pour the melted chocolate over the chilled base and tilt the pan to spread it evenly. Tap the pan gently on the counter to smooth the surface and release air bubbles.
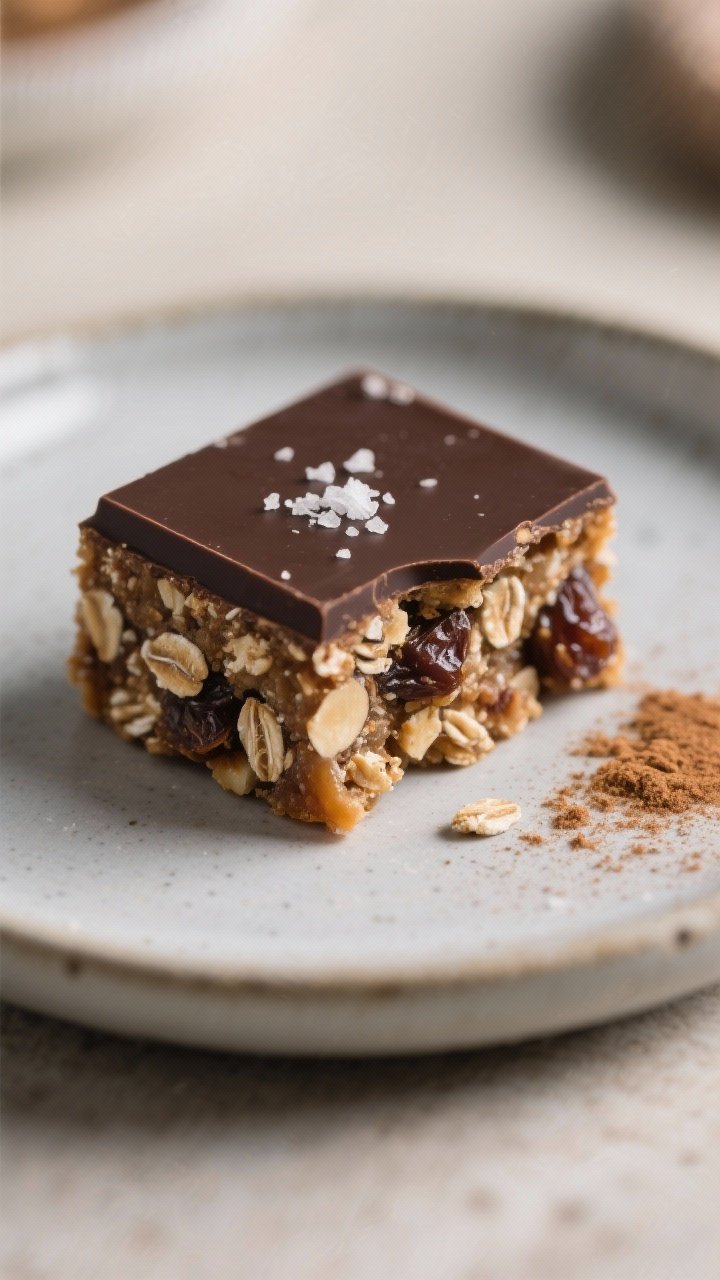
- Add a finishing touch: Sprinkle flaky sea salt on top while the chocolate is still wet. This balances the sweetness and amps up the flavor.
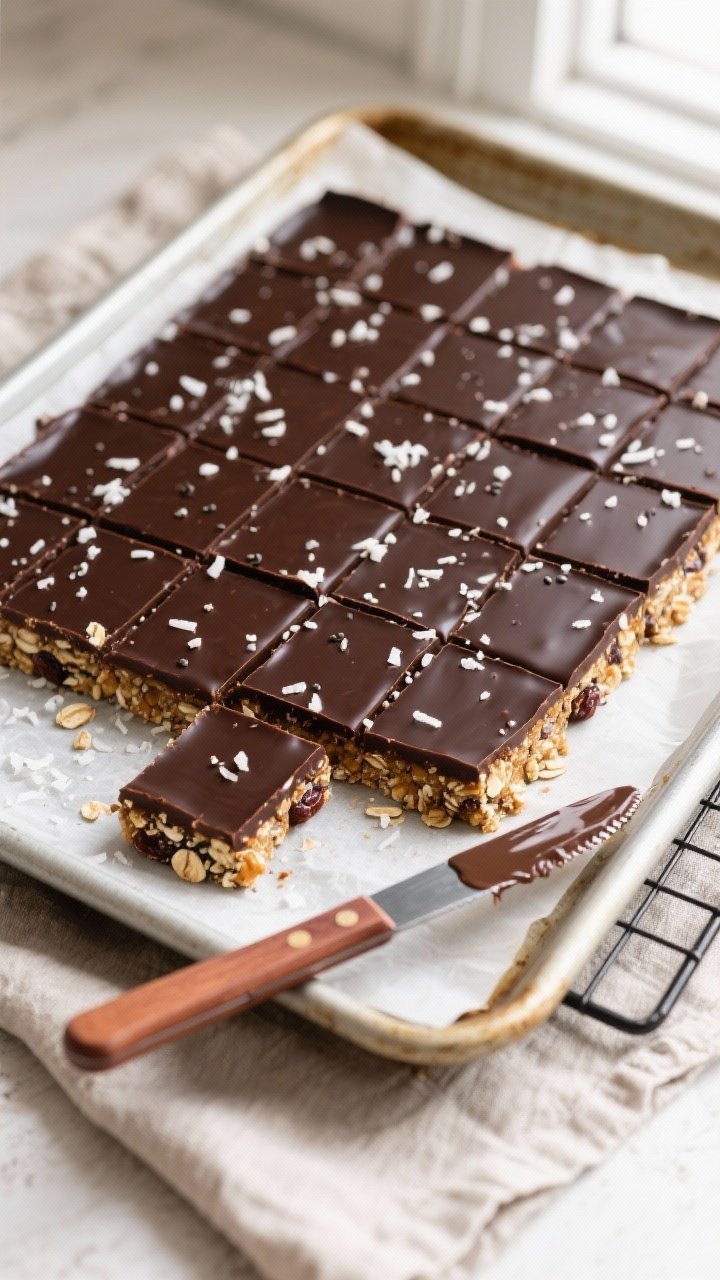
- Set and slice: Chill for 30–45 minutes, or until the chocolate is firm but not rock hard. Lift out using the parchment and cut into 16–20 squares with a sharp knife. Wipe the blade between cuts for clean edges.
Overeating is a pattern. This helps you fix that problem. A quick reset for cravings, snacking, and “I’ll start tomorrow” moments.
Built for busy home cooks who want real-life structure. Simple steps that fit meal prep, family dinners, and late-night snack attacks.
What Makes This Recipe So Good
- No baking required: Everything comes together in a bowl and sets in the fridge. Perfect for warm days or busy schedules.
- Balanced energy: A mix of healthy fats, fiber, and protein helps keep you full and steady between meals.
- Customizable: Swap nuts, stir in seeds, or change the flavor with spices and extracts.
It’s easy to adapt to what you like.
- Make-ahead friendly: These squares keep well and travel easily. Great for lunch boxes, hikes, and mid-afternoon cravings.
- Not too sweet: Natural sweetness from dates and a touch of maple keeps the flavor clean, while dark chocolate adds that finishing touch.
Ingredients
- 1 1/2 cups (about 250g) soft Medjool dates, pitted
- 1 cup old-fashioned rolled oats (use certified gluten-free if needed)
- 3/4 cup raw or roasted nuts (almonds, walnuts, or cashews work well)
- 1/4 cup unsweetened shredded coconut (optional but adds great texture)
- 2 tablespoons chia seeds or ground flaxseed
- 2 tablespoons nut butter (almond, peanut, or cashew)
- 1–2 tablespoons maple syrup or honey (adjust to taste)
- 1 teaspoon vanilla extract
- 1/4 teaspoon fine sea salt
- 1 teaspoon ground cinnamon (optional)
- 5 ounces (140g) dark chocolate (60–75% cacao)
- 1 teaspoon coconut oil (for smoother chocolate, optional)
- Flaky sea salt for topping (optional but highly recommended)
Step-by-Step Instructions
- Prep your pan: Line an 8×8-inch (20×20 cm) baking pan with parchment, leaving overhang on two sides for easy lifting. Lightly grease the paper if it tends to stick.
- Soften the dates (if needed): If your dates feel dry, soak them in warm water for 5–10 minutes, then drain well.
Pat dry to avoid extra moisture.
- Pulse the dry base: In a food processor, add oats, nuts, shredded coconut, chia or flax, cinnamon, and salt. Pulse until it resembles coarse crumbs—small pieces are good for texture.
- Add the sticky binders: Add dates, nut butter, vanilla, and 1 tablespoon maple syrup. Pulse until the mixture starts to clump and holds together when pressed.
If it’s dry or crumbly, add the second tablespoon of maple or 1–2 teaspoons water.
- Press into the pan: Transfer the mixture to the lined pan. Use a piece of parchment or the bottom of a measuring cup to press it into an even, compact layer.
- Chill the base: Refrigerate for 20–30 minutes to firm up. This helps the chocolate layer set neatly.
- Melt the chocolate: In a microwave-safe bowl, add dark chocolate and coconut oil.
Microwave in 20–30 second bursts, stirring between each, until smooth. Or use a double boiler on the stovetop.
- Coat the top: Pour the melted chocolate over the chilled base and tilt the pan to spread it evenly. Tap the pan gently on the counter to smooth the surface and release air bubbles.
- Add a finishing touch: Sprinkle flaky sea salt on top while the chocolate is still wet.
This balances the sweetness and amps up the flavor.
- Set and slice: Chill for 30–45 minutes, or until the chocolate is firm but not rock hard. Lift out using the parchment and cut into 16–20 squares with a sharp knife. Wipe the blade between cuts for clean edges.
Keeping It Fresh
- Fridge: Store in an airtight container for up to 10 days.
Separate layers with parchment to prevent sticking.
- Freezer: Freeze for up to 3 months. Thaw at room temperature for 10–15 minutes, or enjoy slightly chilled for a firmer bite.
- On the go: Pack with an ice pack if it’s warm out. The chocolate can soften in heat.

Benefits of This Recipe
- Whole-food ingredients: Dates, oats, and nuts deliver fiber, minerals, and steady energy.
- Healthy fats and protein: Nut butter and nuts help keep you satisfied longer.
- Lower added sugar: Most sweetness comes from dates.
You control how much extra sweetener goes in.
- Gluten-free friendly: Use certified gluten-free oats and you’re set.
- Kid-friendly, adult-approved: They taste like a treat but work like a smart snack.
What Not to Do
- Don’t skip the parchment: You’ll struggle to remove the slab cleanly without it.
- Don’t overprocess: If you blend to a paste, the base can turn dense. Aim for a slightly textured mixture that still holds together.
- Don’t add too much liquid: Extra water makes the base sticky and hard to set. Add moisture in tiny increments.
- Don’t cut when rock solid: If the chocolate is very hard, let it sit at room temperature for 5 minutes to prevent cracking.
- Don’t use ultra-bitter chocolate unless you love it: A 60–75% bar keeps the flavor balanced.
Alternatives
- Nut-free version: Swap nuts and nut butter for sunflower seeds and sunflower seed butter.
Add a splash more maple if needed to bind.
- Protein boost: Mix in 2 tablespoons of your favorite protein powder and reduce oats slightly if the mixture gets dry.
- Flavor twists: Add orange zest, a pinch of espresso powder, or a few drops of peppermint extract to the chocolate.
- Texture upgrades: Stir in mini chocolate chips, chopped dried cherries, or toasted sesame seeds before pressing into the pan.
- Lower sugar: Omit the maple and use extra nut butter for binding. Choose a higher cacao chocolate.
FAQ
Can I make these without a food processor?
Yes. Finely chop the dates and nuts by hand, then mix everything in a bowl.
It takes more effort, but it works. Soft dates are key.
What if my dates are very dry?
Soak them in warm water for 5–10 minutes, drain, and pat dry. This helps them blend and bind the mixture properly without adding too much extra moisture.
How do I prevent the chocolate from cracking when slicing?
Let the slab sit at room temperature for 5 minutes after chilling, then use a warm knife (dip in hot water and wipe dry).
Cut in confident, straight strokes.
Can I use quick oats instead of rolled oats?
Yes. Quick oats create a slightly softer texture, but they work well. Avoid instant oatmeal packets with added flavors or sugar.
What percentage of dark chocolate is best?
Aim for 60–75% cacao for a balanced taste.
If you prefer sweeter, go lower; if you like intense, go higher.
Are these good for kids?
Absolutely. They’re chewy, chocolatey, and not messy. If packing for school with nut restrictions, use the nut-free version with sunflower seed butter.
Can I make them into bars instead of squares?
Yes.
Use a loaf pan for thicker bars or a 9×9 pan for thinner ones. Adjust chill time slightly based on thickness.
Do I have to add coconut oil to the chocolate?
No, but it makes the topping smoother and easier to slice. If you skip it, warm the knife before cutting.
In Conclusion
These no-bake dark chocolate covered energy squares are the kind of snack that makes healthy eating feel easy.
They’re simple to prep, endlessly customizable, and satisfying without being heavy. Keep a batch in the fridge and you’ll always have something tasty and steadying to reach for. Whether you’re packing lunches, prepping for workouts, or just taming the 3 p.m. slump, these squares deliver every time.
Printable Recipe Card
Want just the essential recipe details without scrolling through the article? Get our printable recipe card with just the ingredients and instructions.