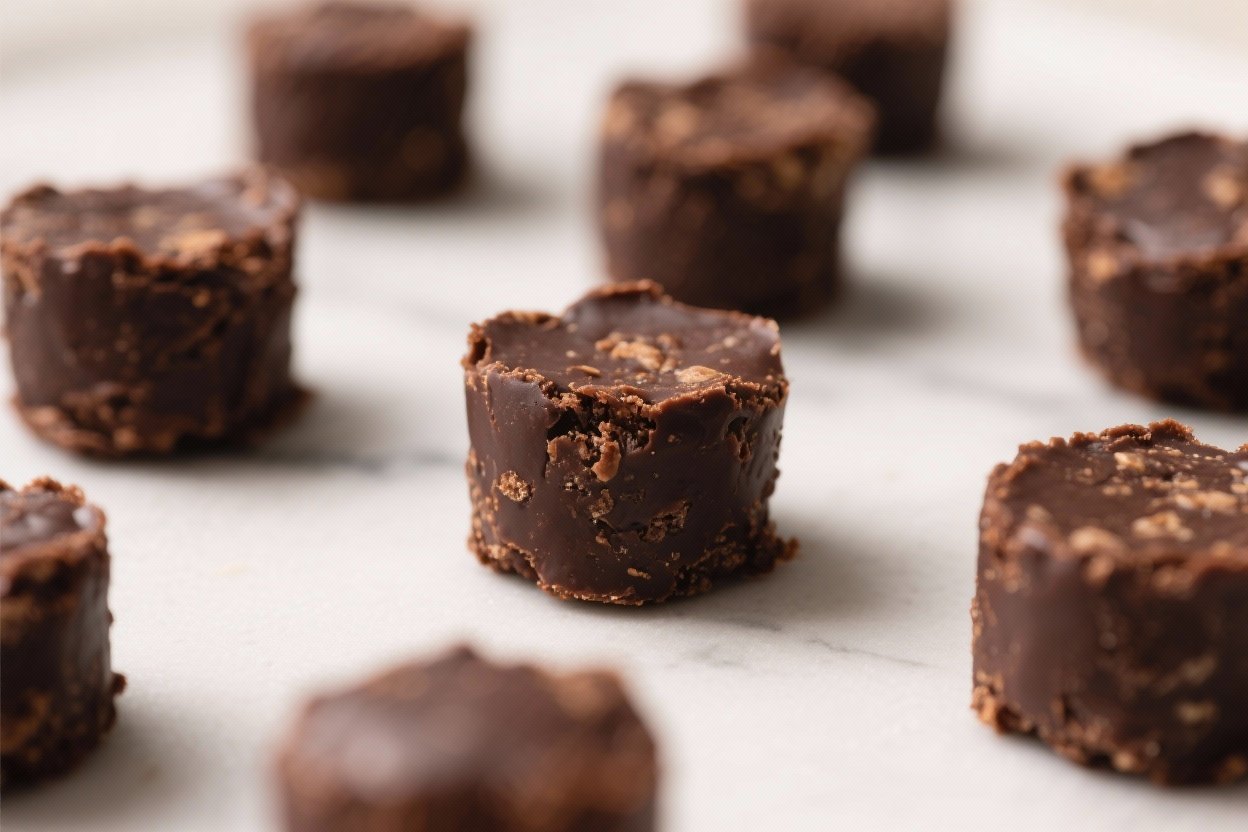
No-Bake Protein Brownie Bites (No Refined Sugar) – Quick, Fudgy, and Satisfying
These no-bake protein brownie bites are rich, fudgy, and naturally sweetened—no oven and no refined sugar needed. They come together in minutes, taste like dessert, and still deliver a solid protein boost. Keep them in the fridge for a quick snack, pre-workout bite, or late-night chocolate fix.
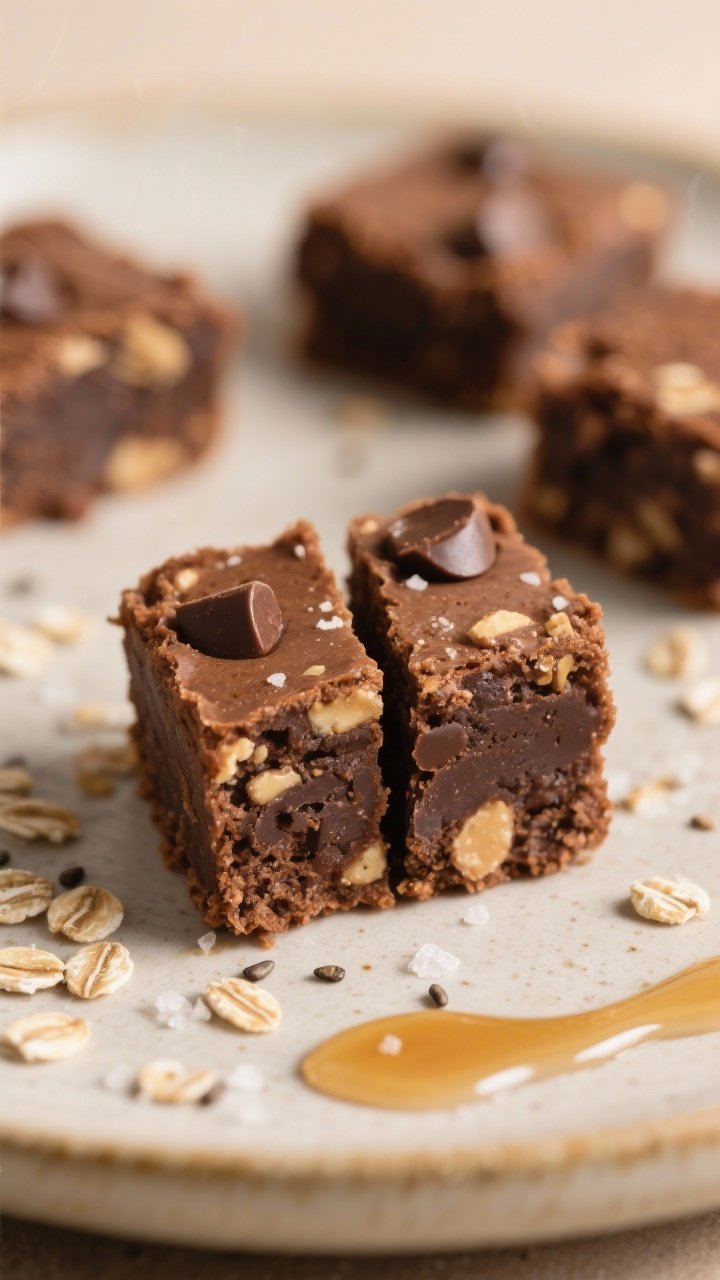
The texture is soft and brownie-like with just enough chew. You’ll only need a handful of pantry ingredients and one bowl or a food processor.
No-Bake Protein Brownie Bites (No Refined Sugar) - Quick, Fudgy, and Satisfying
Ingredients
Method
- Prep the dates: If using dates, soak them in warm water for 10 minutes to soften. Drain well.
- Make oat flour: If you don’t have oat flour, blitz rolled oats in a blender or food processor until fine.
- Combine dry ingredients: In a bowl (or processor), add 1 cup oat flour, 1/4 cup unsweetened cocoa powder, 1/3–1/2 cup protein powder, and a pinch of salt. Stir to combine.
- Add wet ingredients: Mix in 1/2 cup nut butter, 6–8 softened dates (or 3–4 tablespoons maple syrup), 1–3 tablespoons milk, and 1 teaspoon vanilla.
- Blend or mix: If using a food processor, pulse until a thick, cohesive dough forms. If mixing by hand, mash the dates first, then knead everything together. The dough should be soft but not sticky.
- Adjust texture: If the mixture is crumbly, add milk 1 teaspoon at a time. If it’s too sticky, add a tablespoon of oat flour or protein powder.
- Fold in extras: Stir in 2–3 tablespoons of mini chocolate chips, chopped nuts, or coconut if you like.
- Roll into bites: Scoop about 1 tablespoon of dough and roll into balls. You should get 14–18 bites depending on size.
- Chill: Refrigerate for at least 20–30 minutes to set. They’ll firm up and taste extra fudgy.
- Serve: Enjoy straight from the fridge or let them sit for 5 minutes for a softer bite.
Overeating is a pattern. This helps you fix that problem. A quick reset for cravings, snacking, and “I’ll start tomorrow” moments.
Built for busy home cooks who want real-life structure. Simple steps that fit meal prep, family dinners, and late-night snack attacks.
What Makes This Recipe So Good

- No bake and no fuss: Everything mixes in one bowl or blender, and you’re done in under 15 minutes.
- Fudgy texture: The combination of nut butter, dates, and cocoa gives a classic brownie feel without baking.
- Protein-packed: A quality protein powder boosts satiety and makes this snack more balanced.
- Naturally sweetened: Dates or pure maple syrup replace refined sugar while keeping the flavor rich and caramel-like.
- Customizable: Adjust sweetness, add mix-ins, or make them nut-free with simple swaps.
What You’ll Need
- Rolled oats (or oat flour): Creates structure and a subtle cookie-dough texture.
- Unsweetened cocoa powder: The main chocolate flavor—use a good-quality cocoa.
- Protein powder: Chocolate or vanilla works. Choose whey or a plant-based option.
Avoid gritty blends if possible.
- Nut butter: Almond, peanut, or cashew butter adds richness and helps bind the bites.
- Medjool dates (pitted) or pure maple syrup: For natural sweetness. Dates also add chew.
- Milk of choice: Dairy or unsweetened plant milk to bring the dough together.
- Vanilla extract: Deepens the dessert flavor.
- Fine sea salt: A pinch makes the chocolate pop.
- Optional add-ins: Mini dark chocolate chips (no refined sugar if using stevia-sweetened), chopped nuts, unsweetened shredded coconut, chia seeds, or a splash of espresso.
Instructions
- Prep the dates: If using dates, soak them in warm water for 10 minutes to soften. Drain well.
- Make oat flour: If you don’t have oat flour, blitz rolled oats in a blender or food processor until fine.
- Combine dry ingredients: In a bowl (or processor), add 1 cup oat flour, 1/4 cup unsweetened cocoa powder, 1/3–1/2 cup protein powder, and a pinch of salt.
Stir to combine.
- Add wet ingredients: Mix in 1/2 cup nut butter, 6–8 softened dates (or 3–4 tablespoons maple syrup), 1–3 tablespoons milk, and 1 teaspoon vanilla.
- Blend or mix: If using a food processor, pulse until a thick, cohesive dough forms. If mixing by hand, mash the dates first, then knead everything together. The dough should be soft but not sticky.
- Adjust texture: If the mixture is crumbly, add milk 1 teaspoon at a time.
If it’s too sticky, add a tablespoon of oat flour or protein powder.
- Fold in extras: Stir in 2–3 tablespoons of mini chocolate chips, chopped nuts, or coconut if you like.
- Roll into bites: Scoop about 1 tablespoon of dough and roll into balls. You should get 14–18 bites depending on size.
- Chill: Refrigerate for at least 20–30 minutes to set. They’ll firm up and taste extra fudgy.
- Serve: Enjoy straight from the fridge or let them sit for 5 minutes for a softer bite.
How to Store
- Refrigerator: Store in an airtight container for up to 1 week.
- Freezer: Freeze for up to 3 months.
Thaw at room temperature for 10–15 minutes, or enjoy slightly frozen for a chewier bite.
- Meal prep tip: Keep them in a single layer or separate layers with parchment to prevent sticking.

Benefits of This Recipe
- Balanced snack: Protein, healthy fats, and fiber help keep you satisfied between meals.
- No refined sugar: Sweetened naturally with dates or pure maple syrup, keeping the ingredient list simple.
- Faster than baking: No oven, no complicated steps, and minimal cleanup.
- Flexible for diets: Easy to make gluten-free (use certified GF oats) and dairy-free (use plant-based protein and milk).
- Kid-friendly: Chocolatey and bite-sized, with room to sneak in chia or flax for extra benefits.
Common Mistakes to Avoid
- Using a gritty protein powder: Some powders make the bites chalky. Choose a smoother blend you enjoy drinking.
- Skipping the date soak: Dry dates won’t blend well and can leave hard bits. Soaking makes the dough smooth and fudgy.
- Overloading on cocoa: Too much cocoa can make the bites bitter.
Stick to the suggested amount and taste as you go.
- Not adjusting moisture: Nut butters vary. If the dough crumbles, add milk slowly. If sticky, add a touch more oat flour.
- Adding large mix-ins: Big nut pieces can make rolling messy.
Chop finely for clean, sturdy bites.
Alternatives
- Nut-free: Swap nut butter for sunflower seed butter or tahini. Taste and add a little extra maple syrup if using tahini, which can be slightly bitter.
- No dates: Use 3–4 tablespoons pure maple syrup and reduce the milk slightly to keep the dough firm.
- Extra protein: Add 1–2 tablespoons hemp seeds or chia seeds. You may need a splash more milk.
- Flavor twists: Add orange zest, peppermint extract, a pinch of cinnamon, or a dash of espresso powder for a mocha vibe.
- Coatings: Roll in cocoa powder, finely chopped nuts, or unsweetened coconut for a truffle-like finish.
FAQ
Which protein powder works best?
Whey isolate or a smooth plant-based blend (pea and rice combo) works well.
Avoid powders with lots of added fibers or gums that can make the texture gummy.
Can I make these vegan?
Yes. Use a plant-based protein powder, dairy-free milk, and dairy-free chocolate chips if adding them.
Do I need a food processor?
No. It helps with dates, but you can mash softened dates with a fork and mix by hand.
It just takes a bit more elbow grease.
How sweet are these?
They’re mildly to moderately sweet—more like a dark chocolate brownie. For a sweeter bite, add an extra date or a teaspoon of maple syrup.
Can I use cacao powder instead of cocoa?
Yes. Cacao powder is slightly more bitter, so you may want to add one extra date or a splash more maple syrup.
How big should I make them?
Aim for 1 tablespoon per bite.
That size sets well, holds together, and makes portioning easy.
Are these gluten-free?
They can be. Use certified gluten-free oats and check that your protein powder is labeled gluten-free.
Can I turn this into bars?
Absolutely. Press the dough into a parchment-lined loaf pan, chill, and slice into bars or squares.
Final Thoughts
These no-bake protein brownie bites prove that a good snack can be simple, satisfying, and genuinely chocolatey.
With clean ingredients and no refined sugar, they’re ideal for busy days and sweet cravings alike. Keep a batch in the fridge or freezer, customize them to your taste, and enjoy a fudgy treat that works as hard as you do.
Printable Recipe Card
Want just the essential recipe details without scrolling through the article? Get our printable recipe card with just the ingredients and instructions.