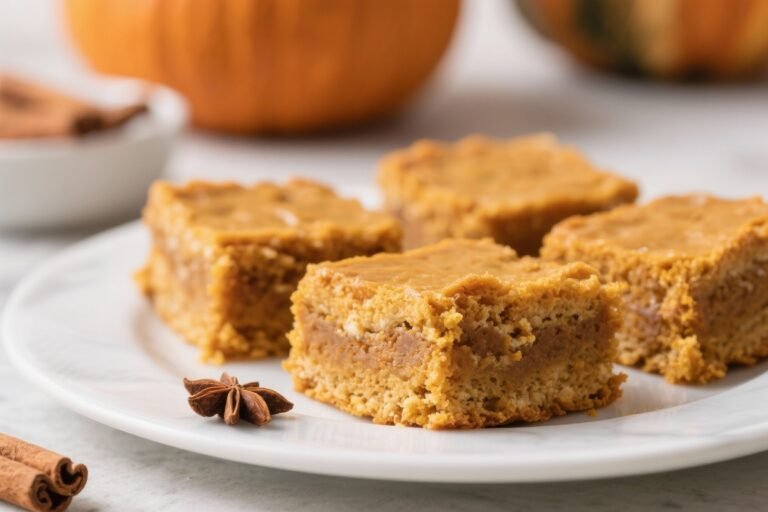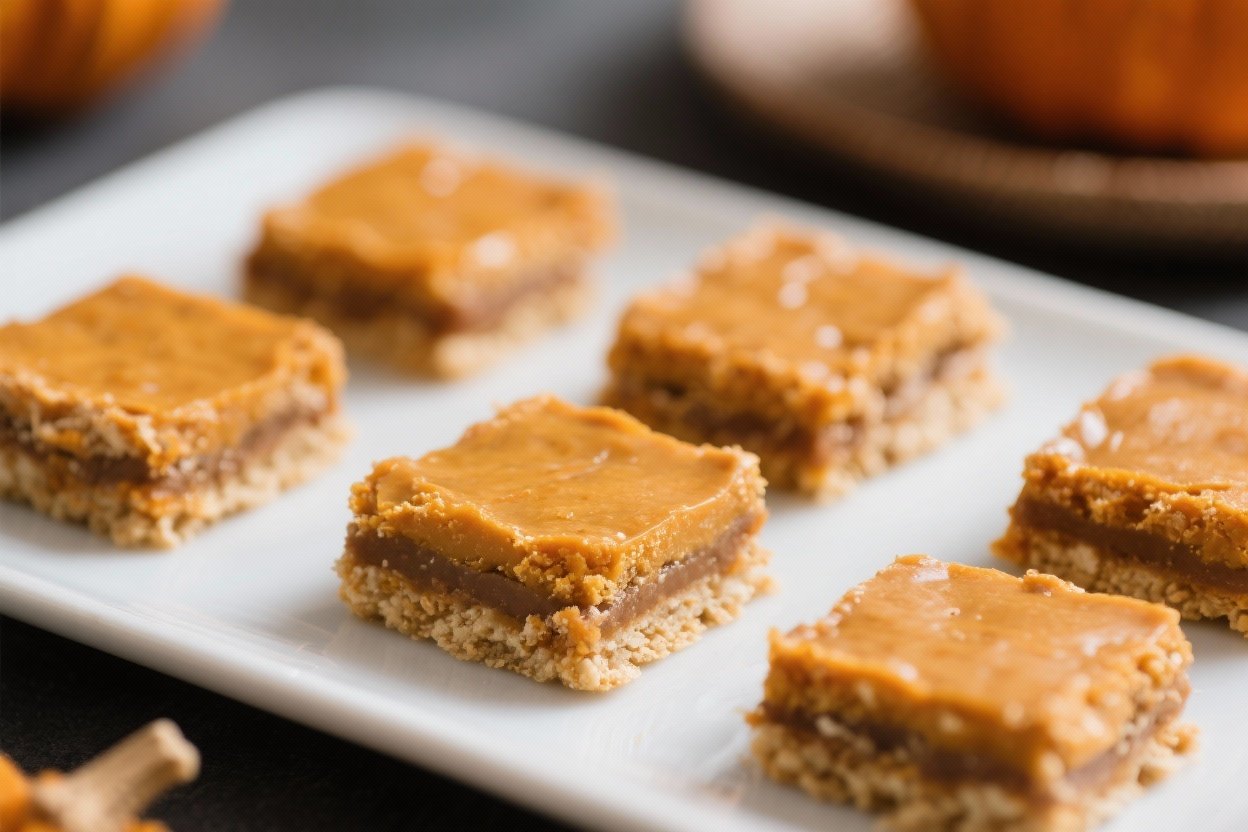
No-Bake Pumpkin Pie Bars That Break the Rules (and Your Dessert Expectations)
Pumpkin spice season isn’t a vibe—it’s an ultimatum. You want rich, creamy pumpkin pie flavor without turning your kitchen into a sauna or waiting an eternity for a crust to blind-bake. Enter these No-Bake Pumpkin Pie Bars: fast, foolproof, and outrageously good.
They slice clean, chill hard, and taste like your favorite holiday plus a mic drop. If you can stir, you can win dessert tonight.
Overeating is a pattern. This helps you fix that problem. A quick reset for cravings, snacking, and “I’ll start tomorrow” moments.
Built for busy home cooks who want real-life structure. Simple steps that fit meal prep, family dinners, and late-night snack attacks.
The Secret Behind This Recipe
The magic is in a two-layer setup: a salty-sweet, buttery cookie crust and a silky pumpkin filling that sets without a single minute in the oven. The crust gets its snap from crushed cookies and a pinch of salt—because contrast is king.
The filling leans on pumpkin puree, cream cheese, and whipped cream for structure, with gelatin or agar as insurance so every slice holds like a pro. The flavor hits hard thanks to real pumpkin, warm spices, and a touch of maple for depth.
What Goes Into This Recipe – Ingredients
- For the crust:
- 2 cups gingersnap or graham cracker crumbs (about 230 g)
- 6 tablespoons unsalted butter, melted
- 2 tablespoons brown sugar
- 1/4 teaspoon fine sea salt
- For the filling:
- 1 1/2 cups pumpkin puree (not pumpkin pie filling)
- 8 ounces cream cheese, softened
- 1/2 cup granulated sugar
- 1/4 cup pure maple syrup or honey
- 1 teaspoon vanilla extract
- 1 1/2 teaspoons pumpkin pie spice (or 1 tsp cinnamon + 1/4 tsp ginger + 1/4 tsp nutmeg + pinch cloves)
- 1/8 teaspoon fine sea salt
- 3/4 cup cold heavy whipping cream
- 1 packet unflavored gelatin (about 2 1/2 teaspoons) or 2 teaspoons agar-agar powder
- 3 tablespoons cold water (for blooming)
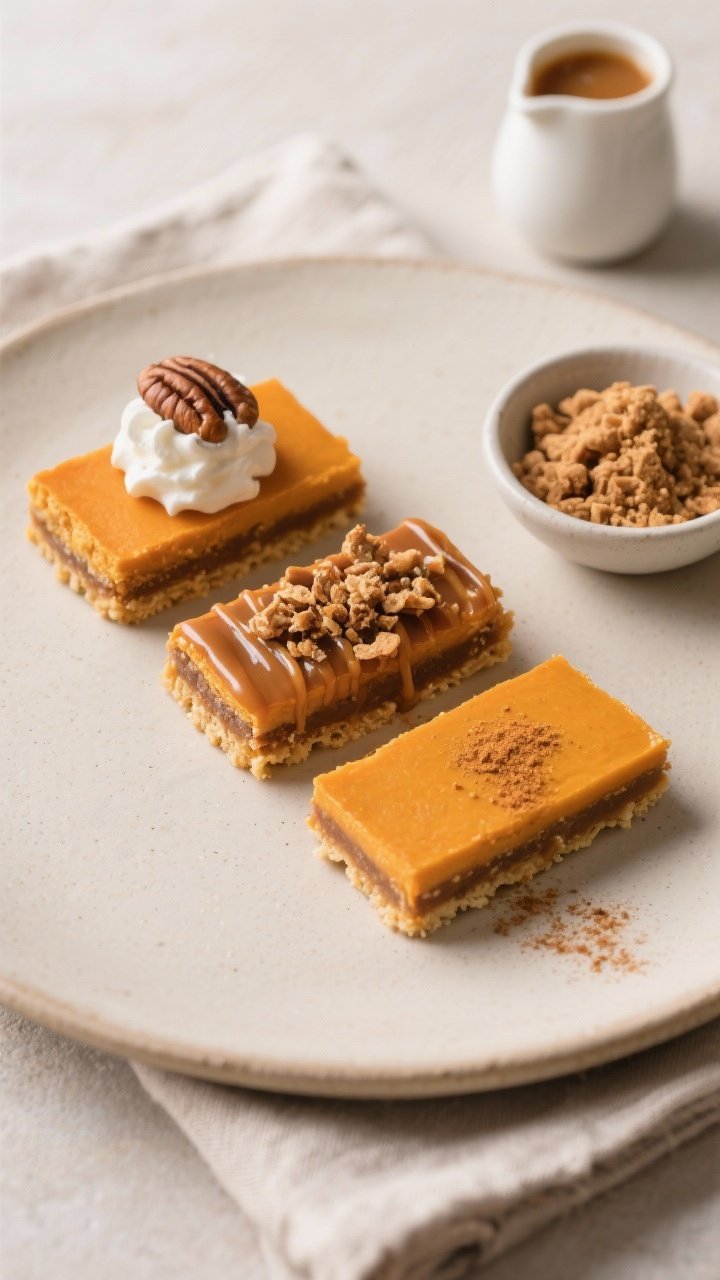
- Optional toppings:
- Lightly sweetened whipped cream
- Crushed gingersnaps or toasted pecans
- A drizzle of caramel
Let’s Get Cooking – Instructions
- Prep the pan: Line an 8×8-inch square pan with parchment, leaving overhang for easy lifting. Trust me—future you will applaud this.
- Make the crust: Stir cookie crumbs, melted butter, brown sugar, and salt until it looks like damp sand.
Press firmly into the pan, using the bottom of a measuring cup for tight edges. Chill while you make the filling.
- Bloom the setting agent: Sprinkle gelatin (or agar) over the cold water in a small bowl. Let it sit 5 minutes to bloom.
- Whip the cream: In a cold bowl, beat the heavy cream to medium-stiff peaks.
Do not overbeat unless you enjoy grainy vibes. Refrigerate.
- Beat the base: In a separate bowl, beat cream cheese until smooth. Add sugar, maple syrup, vanilla, pumpkin pie spice, and salt.
Mix until creamy. Add the pumpkin puree and beat until fully combined and silky.
- Melt the bloom: Gently heat the bloomed gelatin until just dissolved (microwave 10–15 seconds or melt in a small pan). For agar, simmer with 2 extra tablespoons water for 1–2 minutes to activate.
- Stabilize the filling: Stir 2–3 tablespoons of the pumpkin mixture into the warm gelatin, then pour that back into the main bowl, mixing thoroughly.
This helps prevent weird clumps—clumps are not the move.
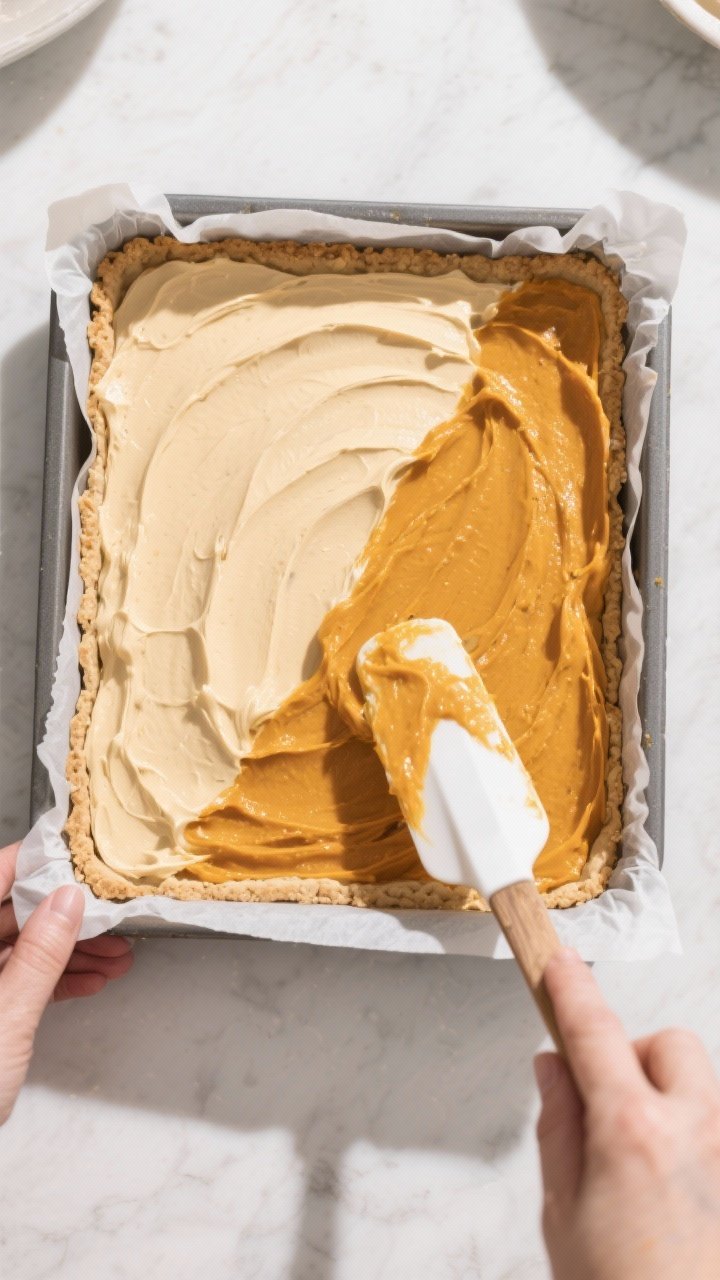
- Fold in the cream: Use a spatula to fold the whipped cream into the pumpkin mixture in two additions until smooth and airy.
- Fill and chill: Spread over the crust. Smooth the top with an offset spatula. Chill at least 4 hours, preferably overnight, until firm enough to slice.
- Finish and serve: Lift out using the parchment.
Cut into 12 to 16 bars with a warm knife (wipe between cuts). Top with whipped cream, cookie crumbs, or nuts. Flex a little—you’ve earned it.
Keeping It Fresh
These bars keep like champions.
Cover tightly and refrigerate for up to 4 days. For clean edges on day two or three, slice what you need and keep the rest uncut—less exposure, less drying. Want to make ahead?
Assemble fully, chill overnight, and add toppings right before serving. Freezing works too: freeze cut bars on a sheet pan, then wrap individually and store up to 1 month. Thaw in the fridge for best texture.
Health Benefits
Pumpkin is a legit nutrient powerhouse—rich in beta-carotene (hello, eye health) and fiber for a steadier blood sugar response.
Using real pumpkin plus spices like cinnamon and ginger brings antioxidant perks and warmth without excess sugar. Compared to traditional pie, this version skips a heavy pastry crust and relies on whipped cream for lightness, so the overall bite feels less dense. Want lighter?
Swap part of the cream cheese for Greek yogurt, and cut sugar by 2 tablespoons; flavor stays solid.

Common Mistakes to Avoid
- Skipping the bloom: Tossing dry gelatin into the mix = lumps and sadness. Always bloom first.
- Overmixing the whipped cream: If it looks like butter, you went too far. Aim for medium-stiff peaks.
- Warm crust + cold filling: If the crust isn’t chilled, the butter can melt into the filling and ruin the layers.
- Impatience: Cutting too soon gives you slumps, not slices.
Chill until set—4 hours minimum, overnight is better.
- Using pumpkin pie filling: That stuff’s pre-sweetened and spiced; your bars will be cloying. Puree only, please.
Variations You Can Try
- Chocolate crust twist: Use chocolate wafer cookies for the crust and add 2 tablespoons cocoa to the filling for a mocha-pumpkin vibe. Unexpected?
Yep. Delicious? Also yes.
- Nutty crunch: Fold 1/2 cup toasted pecans into the filling or sprinkle on top for texture that snaps back.
- Dairy-lighter option: Swap half the cream cheese with thick Greek yogurt and stabilize with an extra 1/2 teaspoon gelatin.
- Maple bourbon upgrade: Add 1 tablespoon bourbon and 1 extra teaspoon gelatin to compensate for the liquid.
Adults-only glow-up.
- Agar-agar vegan route: Use dairy-free cream cheese and coconut whip; activate agar by simmering and fold in once slightly cooled. FYI: coconut brings a tropical note—embrace it.
FAQ
Can I make these bars without gelatin?
Yes. Use agar-agar powder instead.
Simmer it with water for 1–2 minutes to activate, then temper into the filling. It sets more firmly than gelatin, so slice cleanly and keep chilled.
How do I prevent the crust from crumbling?
Pack the crumbs firmly and evenly, and don’t skimp on butter. If it still crumbles, add 1 extra tablespoon melted butter and press harder—use a flat-bottomed glass for compression.
Can I double the recipe?
Absolutely.
Use a 9×13-inch pan, increase gelatin to a heaping packet (or 1 tablespoon), and chill at least 6 hours. Slices will still hold like champs.
Is canned pumpkin okay?
Totally. Just make sure it’s pure pumpkin puree.
If it seems watery, blot it with paper towels to remove excess moisture for a firmer set.
Why is my filling grainy?
Likely overbeaten cream or undissolved gelatin. Next time, whip to medium-stiff peaks and fully melt the gelatin before tempering into the batter.
What’s the best way to cut clean slices?
Chill the bars thoroughly, use a sharp chef’s knife warmed under hot water, and wipe between cuts. It’s extra, but the edges will look bakery-level.
Final Thoughts
These No-Bake Pumpkin Pie Bars give you the nostalgia of pie with the speed of a weeknight dessert and the swagger of a bakery case.
Minimal effort, maximum payoff—exactly how dessert should be, IMO. Keep the base recipe, memorize the method, and riff with toppings and flavors. When the craving hits, you’ll be 15 minutes of work (and a chill session) away from pumpkin perfection.
Printable Recipe Card
Want just the essential recipe details without scrolling through the article? Get our printable recipe card with just the ingredients and instructions.