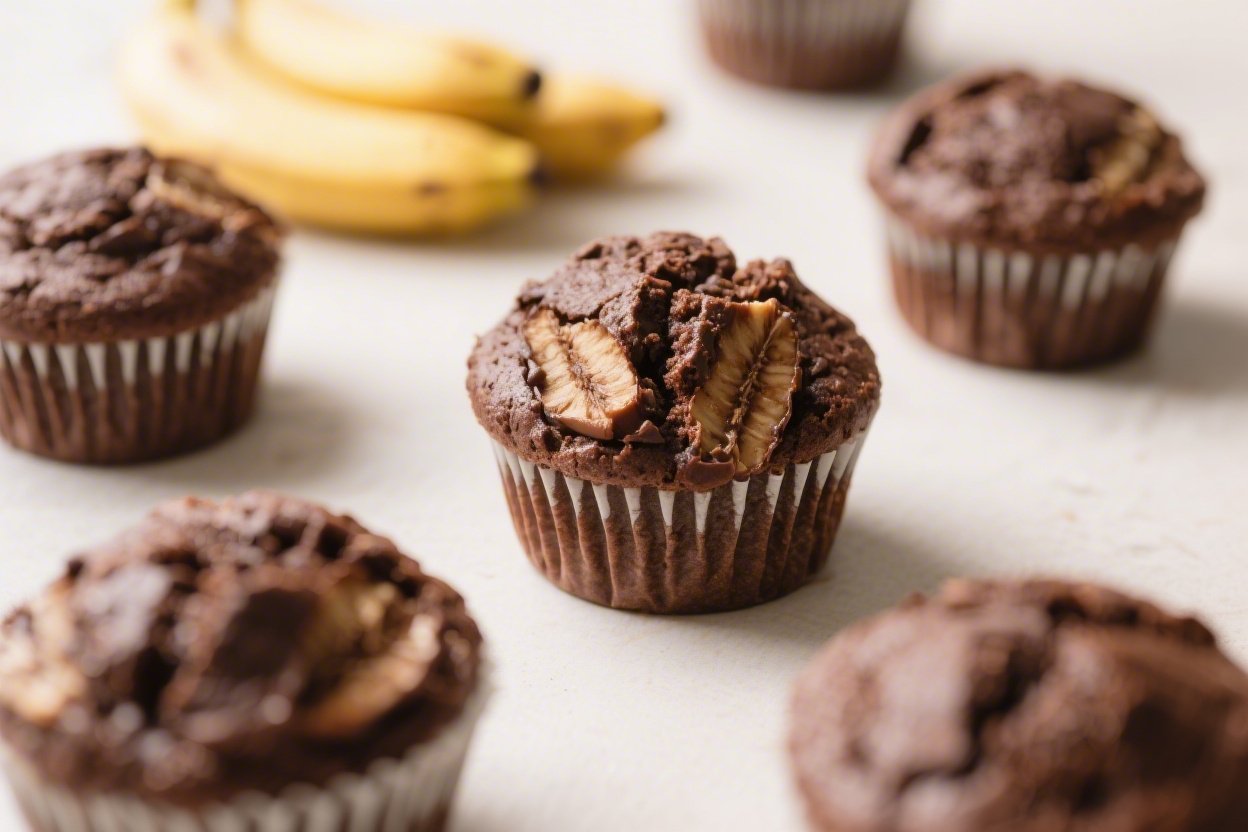
Chocolate Banana Protein Muffins – Easy, Moist, and Satisfying
These chocolate banana protein muffins are the kind of snack you’ll look forward to all day. They’re soft, deeply chocolatey, and naturally sweet from ripe bananas. You can enjoy them for breakfast, after a workout, or when that afternoon slump hits.
Need More Easy Dinner Ideas?
Get my FREE 7-Day Easy Dinner Reset and enjoy a full week of healthy dinners without the meal-planning stress.
Best of all, they come together with pantry staples and a few smart swaps that make them more nourishing than your average muffin. No fussy steps, just a simple, reliable recipe you’ll keep coming back to.
Ingredients
Method
- Prep your pan and oven: Heat the oven to 350°F (175°C). Line a 12-cup muffin tin with paper liners or grease lightly.
- Mash the bananas: In a large mixing bowl, mash the ripe bananas until mostly smooth with a few small lumps.
- Whisk in wet ingredients: Add the eggs, Greek yogurt, maple syrup, melted coconut oil, and vanilla. Whisk until well combined.
- Mix dry ingredients: In a separate bowl, whisk together the flour, cocoa powder, protein powder, baking soda, baking powder, and salt.
- Combine wet and dry: Add the dry ingredients to the wet. Stir gently with a spatula until just combined. If the batter is very thick, stir in milk 1 tablespoon at a time. You’re aiming for a thick but scoopable batter.
- Fold in chocolate chips: Gently fold in the chocolate chips, reserving a few for topping if you like.
- Fill the muffin cups: Divide the batter evenly among the 12 cups. Top with extra chips for a bakery-style look.
- Bake: Bake for 16–20 minutes, or until a toothpick comes out with a few moist crumbs. The tops should spring back lightly when touched.
- Cool: Let muffins cool in the pan for 5 minutes, then transfer to a rack to cool completely. This helps them set and stay tender.
What Makes This Recipe So Good

- Moist and tender: Mashed bananas keep the muffins soft without loads of oil or butter.
- Protein-packed: A scoop of protein powder gives each muffin staying power, perfect for busy mornings.
- Rich chocolate flavor: Cocoa powder and chocolate chips make these taste like a treat, not “health food.”
- Simple ingredients: Everything is easy to find and budget-friendly.
- Freezer-friendly: Make a batch, freeze, and reheat when you need a quick snack.
What You’ll Need
- 3 medium ripe bananas (the spottier, the better)
- 2 large eggs
- 1/3 cup plain Greek yogurt (or dairy-free yogurt)
- 1/4 cup maple syrup or honey
- 2 tablespoons melted coconut oil (or neutral oil)
- 1 teaspoon vanilla extract
- 1 cup white whole wheat flour (or all-purpose flour)
- 1/3 cup unsweetened cocoa powder
- 1/2 cup chocolate protein powder (whey or plant-based)
- 1 teaspoon baking soda
- 1/2 teaspoon baking powder
- 1/2 teaspoon fine sea salt
- 1/2 cup dark chocolate chips (optional but recommended)
- 2–4 tablespoons milk (dairy or non-dairy), as needed for batter consistency
Step-by-Step Instructions
- Prep your pan and oven: Heat the oven to 350°F (175°C). Line a 12-cup muffin tin with paper liners or grease lightly.
- Mash the bananas: In a large mixing bowl, mash the ripe bananas until mostly smooth with a few small lumps.
- Whisk in wet ingredients: Add the eggs, Greek yogurt, maple syrup, melted coconut oil, and vanilla.
Whisk until well combined.
- Mix dry ingredients: In a separate bowl, whisk together the flour, cocoa powder, protein powder, baking soda, baking powder, and salt.
- Combine wet and dry: Add the dry ingredients to the wet. Stir gently with a spatula until just combined. If the batter is very thick, stir in milk 1 tablespoon at a time.
You’re aiming for a thick but scoopable batter.
- Fold in chocolate chips: Gently fold in the chocolate chips, reserving a few for topping if you like.
- Fill the muffin cups: Divide the batter evenly among the 12 cups. Top with extra chips for a bakery-style look.
- Bake: Bake for 16–20 minutes, or until a toothpick comes out with a few moist crumbs. The tops should spring back lightly when touched.
- Cool: Let muffins cool in the pan for 5 minutes, then transfer to a rack to cool completely.
This helps them set and stay tender.
How to Store
- Room temperature: Store in an airtight container for up to 2 days. Add a paper towel to absorb extra moisture.
- Refrigerator: Keep up to 5 days. Warm in the microwave for 10–15 seconds to soften before eating.
- Freezer: Freeze in a zip-top bag for up to 3 months.
Thaw overnight in the fridge or microwave from frozen for 25–35 seconds.
Why This is Good for You
- Balanced macros: Protein powder and eggs add protein, while bananas and yogurt bring carbs for energy. A bit of healthy fat from coconut oil helps with satisfaction.
- Fiber and micronutrients: Whole wheat flour and bananas add fiber, potassium, and B vitamins.
- Lower added sugar: Ripe bananas and a modest amount of maple syrup keep sweetness in check without losing flavor.
- Smarter chocolate fix: Cocoa powder delivers deep chocolate taste and antioxidants with fewer calories than a frosting-heavy dessert.
Pitfalls to Watch Out For
- Dry muffins: Too much protein powder or overbaking can dry them out. Check early and add a splash of milk if the batter is stiff.
- Gummy texture: Overmixing makes muffins dense.
Stir just until no dry streaks remain.
- Flat tops: Old baking soda or baking powder won’t lift the muffins. Make sure they’re fresh.
- Bitter taste: Using too much cocoa or an unsweetened protein powder without adjusting sweetness can lead to bitterness. Taste the batter and add a touch more maple syrup if needed.
- Sticking to liners: Let muffins cool before peeling the liner, or use high-quality parchment liners.
Recipe Variations
- Peanut butter swirl: Dollop 1 teaspoon natural peanut butter on top of each muffin and swirl before baking.
- Oat flour version: Swap half the flour with oat flour for a heartier texture.
Add 1–2 extra tablespoons milk if needed.
- No oil: Replace the coconut oil with 2 extra tablespoons Greek yogurt. Texture will be slightly less tender but still good.
- Banana bread vibe: Skip the chocolate chips and add 1 teaspoon cinnamon and 1/2 cup chopped walnuts.
- Dairy-free: Use plant-based yogurt, non-dairy milk, and dairy-free chocolate chips. Choose a plant-based protein powder.
- Extra chocolate: Add 1 tablespoon espresso powder to boost the chocolate flavor without more sugar.
- Mini muffins: Bake in a mini muffin tin for 10–12 minutes.
Great for kids and portion control.
FAQ
Never Wonder What's For Dinner Again
Save time, eat healthier, and take the stress out of dinner. Get a full week of easy healthy dinners delivered straight to your inbox.
Can I use vanilla protein powder instead of chocolate?
Yes. The muffins will be slightly lighter in chocolate flavor, but still delicious. Keep the cocoa powder the same and consider adding a tablespoon of mini chocolate chips to make up for the difference.
How ripe should the bananas be?
Very ripe, with lots of brown spots.
The riper the banana, the sweeter and more flavorful your muffins will be. If your bananas are just yellow, the muffins may be less sweet and more dry.
Can I make these gluten-free?
Yes. Use a 1:1 gluten-free all-purpose flour blend and ensure your protein powder is gluten-free.
You may need 1–2 extra tablespoons of milk to reach the right batter consistency.
What if I don’t have Greek yogurt?
Use sour cream, cottage cheese blended smooth, or a thick dairy-free yogurt. The goal is to add moisture and a little tang to keep the crumb tender.
How much protein is in each muffin?
It depends on your protein powder. As a ballpark, with 1/2 cup of protein powder for 12 muffins, you’ll usually add 1–2 grams of protein per muffin on top of what’s already in the eggs, yogurt, and flour.
Check your label for exact numbers.
Why did my muffins sink in the middle?
They were likely underbaked or the leaveners were expired. Bake until a toothpick comes out with just a few moist crumbs, and make sure your baking soda and baking powder are fresh.
Can I reduce the sweetener?
You can, but keep in mind that sugar affects texture and moisture. If you cut the maple syrup, add a tablespoon of milk to keep the batter from getting too thick.
Wrapping Up
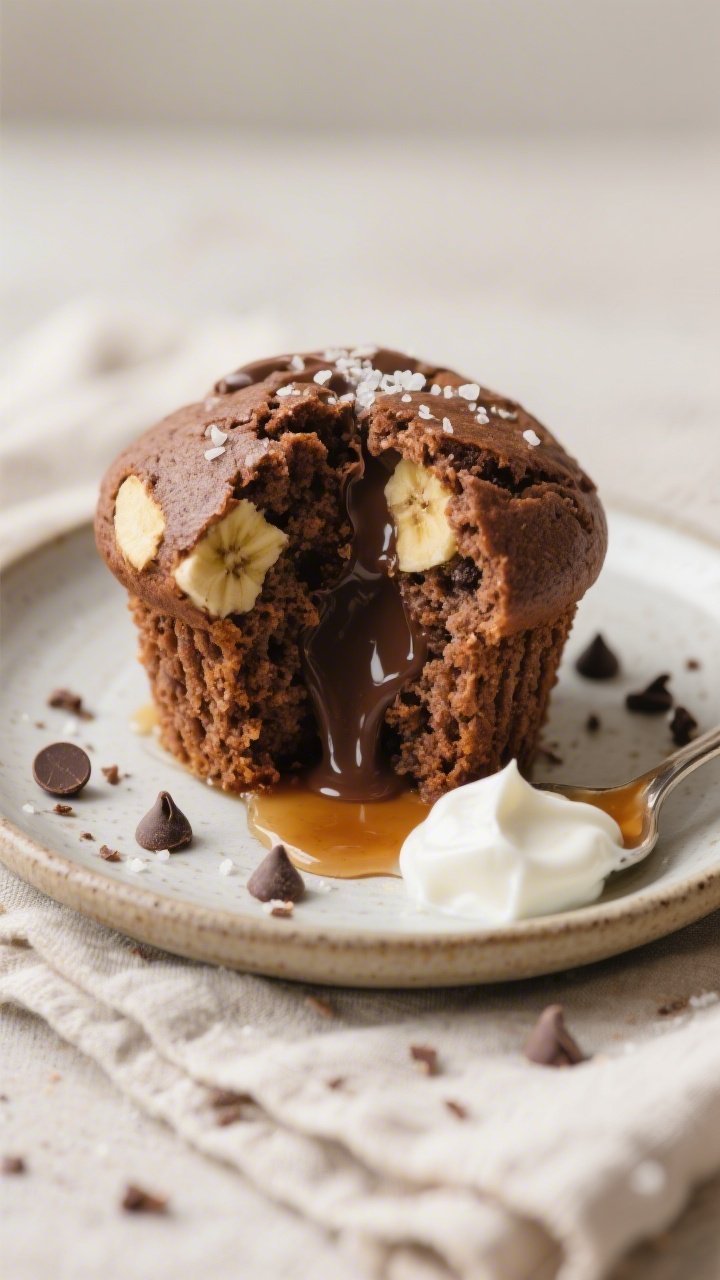
These chocolate banana protein muffins strike that sweet spot between wholesome and indulgent.
They’re easy to make, packed with real ingredients, and flexible enough to fit your routine. Bake a batch on Sunday, stash a few in the freezer, and you’ll have a satisfying, chocolatey snack ready whenever you are. Enjoy them warm with coffee, or grab one on your way out the door—it’s hard to go wrong.
Printable Recipe Card
Want just the essential recipe details without scrolling through the article? Get our printable recipe card with just the ingredients and instructions.
Loved This Recipe?
If you're looking for more simple, healthy dinners your family will actually eat, grab my FREE 7-Day Easy Dinner Reset. You'll get 7 easy dinner recipes, simple grocery lists, and a done-for-you plan that takes the stress out of mealtime.