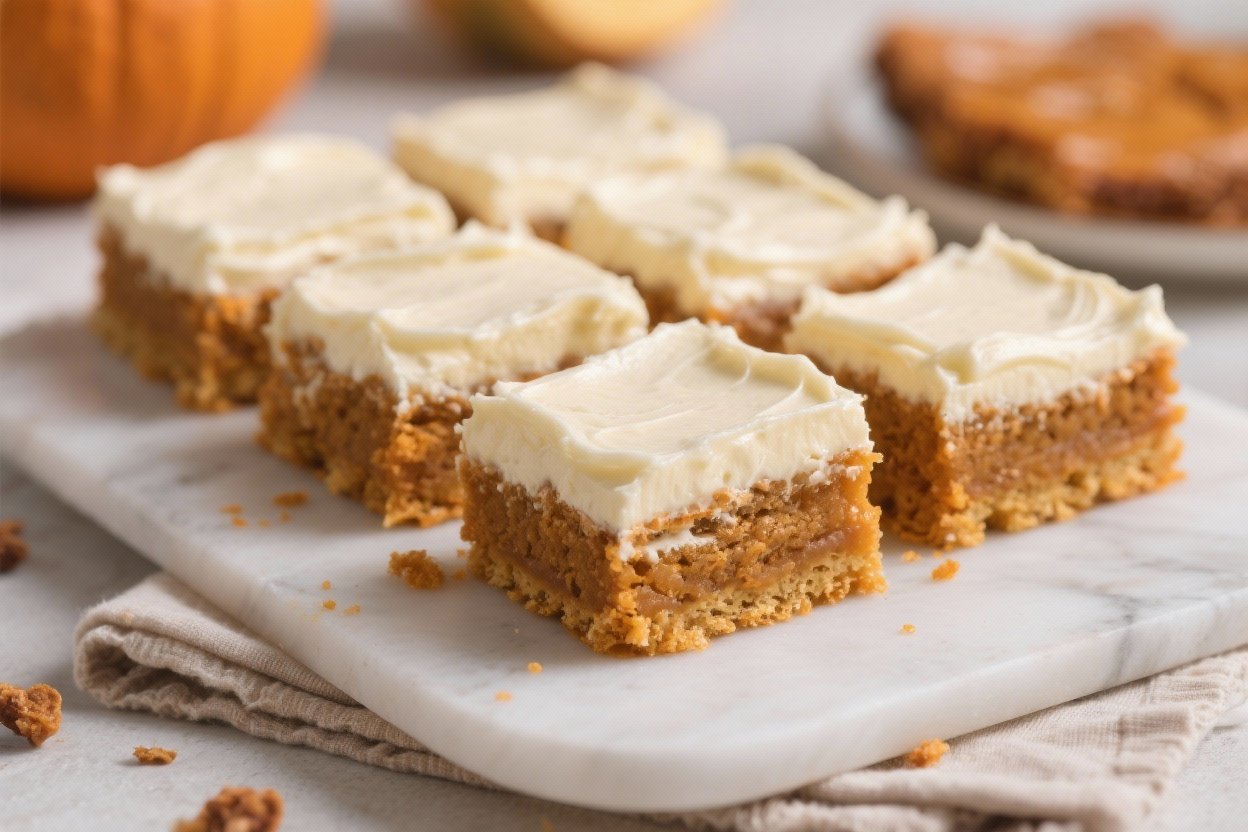
Classic Pumpkin Bars with Cream Cheese Frosting You’ll Brag About All Season (And Your Friends Will Beg For)
Imagine a dessert that tastes like the best parts of October decided to high-five your taste buds. No complicated techniques. No weird ingredients.
Need More Easy Dinner Ideas?
Get my FREE 7-Day Easy Dinner Reset and enjoy a full week of healthy dinners without the meal-planning stress.
Just absurdly moist pumpkin bars with a silky cream cheese frosting that makes store-bought treats look like they aren’t even trying. This is the kind of recipe that turns “I’ll bring dessert” into “Can you bring those again… forever?” Let’s make your kitchen smell like a cozy bakery and your guests think you’re secretly a pro.
What Makes This Special
These bars nail the balance: fluffy, tender crumb with a rich frosting that doesn’t overpower the pumpkin spice. The batter mixes in one bowl, so cleanup won’t ruin your vibe.
And the frosting? It’s smooth, tangy, and not too sweet—so you can actually eat more than one bar without hitting a sugar wall.
They’re crowd-proof: sliceable, stackable, and totally potluck-friendly. Plus, they stay moist for days—rare in the world of snack cakes.
Bake once, win the week.
GET 8-WEEKS OF WORKOUTS TO LOSE INCHES
What You’ll Need (Ingredients)
- For the Pumpkin Bars:
- 1 3/4 cups (220 g) all-purpose flour
- 1 cup (200 g) granulated sugar
- 1/2 cup (100 g) light brown sugar, packed
- 1 teaspoon baking soda
- 1 teaspoon baking powder
- 1/2 teaspoon fine sea salt
- 2 teaspoons ground cinnamon
- 1/2 teaspoon ground ginger
- 1/4 teaspoon ground nutmeg
- 1/8 teaspoon ground cloves (optional, but recommended)
- 1 cup (240 g) canned pumpkin puree (not pumpkin pie filling)
- 1/2 cup (120 ml) neutral oil (canola, vegetable, or light olive oil)
- 3 large eggs, room temperature
- 2 teaspoons pure vanilla extract
- 1/4 cup (60 ml) milk or buttermilk
- For the Cream Cheese Frosting:
- 8 ounces (225 g) cream cheese, softened
- 1/2 cup (113 g) unsalted butter, softened
- 2 1/2 to 3 cups (300–360 g) powdered sugar, sifted
- 1 teaspoon pure vanilla extract
- Pinch of fine sea salt
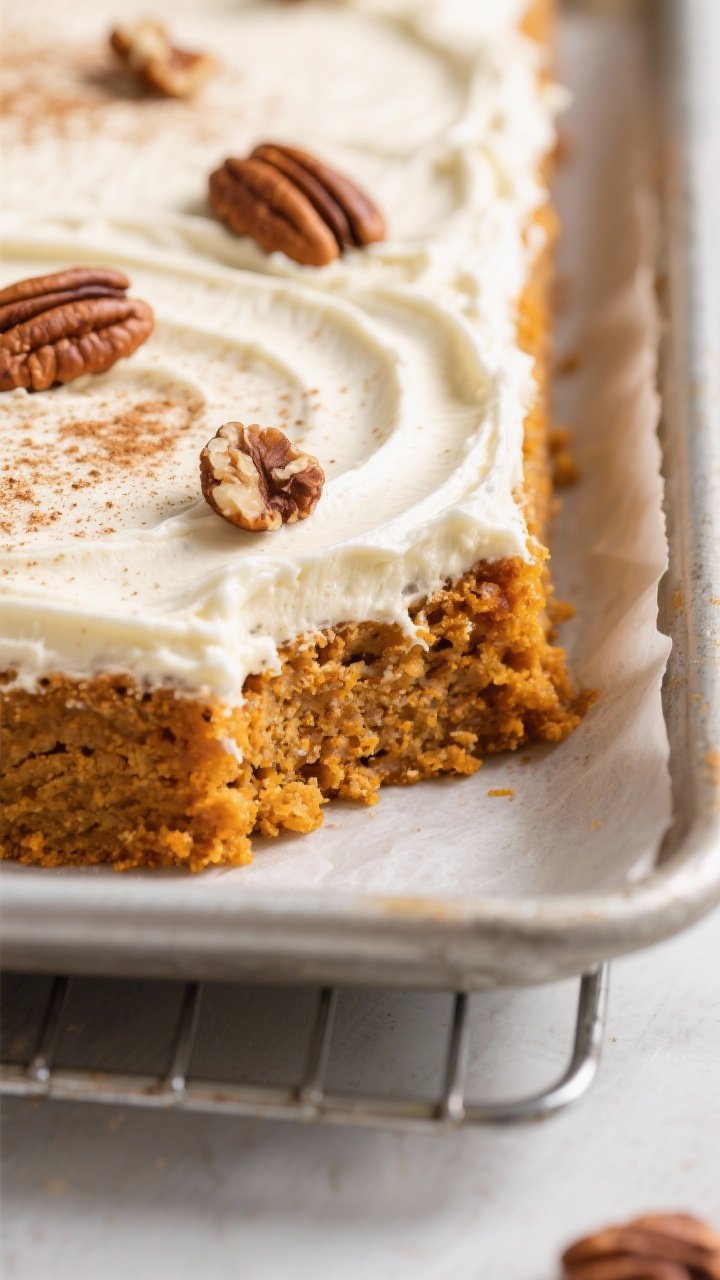
- Optional Toppings:
- Chopped toasted pecans or walnuts
- A light dusting of cinnamon
- Maple drizzle (1 tablespoon maple syrup whisked into the frosting)
Cooking Instructions
- Prep your pan and oven. Preheat the oven to 350°F (175°C). Line a 9×13-inch baking pan with parchment and lightly grease. This makes lifting and slicing clean and easy—no crumb casualties.
- Whisk the dry ingredients. In a large bowl, whisk flour, granulated sugar, brown sugar, baking soda, baking powder, salt, cinnamon, ginger, nutmeg, and cloves. Break up any brown sugar clumps now so they don’t surprise you later.
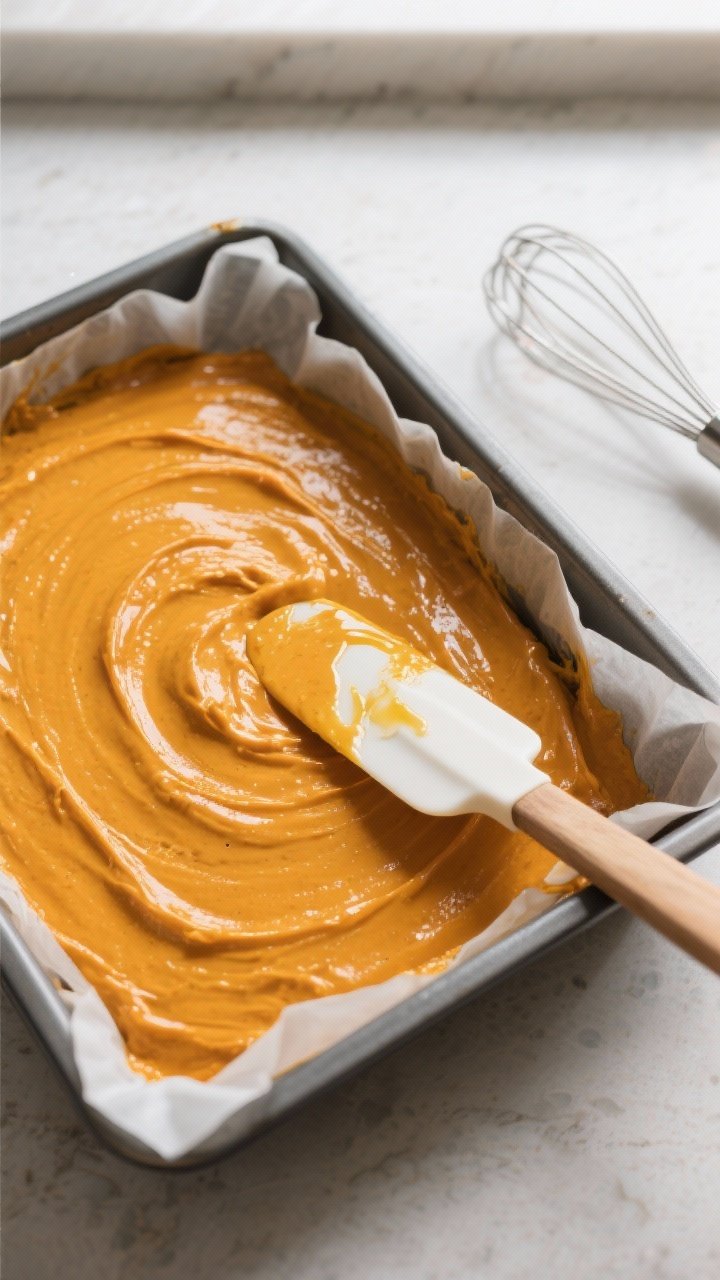
- Add the wet ingredients. Add pumpkin puree, oil, eggs, vanilla, and milk. Mix with a spatula or hand mixer on low until just combined. The batter should be smooth and thick—don’t overmix.
- Pour and level. Pour the batter into the prepared pan and smooth the top with a spatula. Even layers bake evenly—wild concept, right?
- Bake. Bake for 22–28 minutes, until a toothpick in the center comes out clean or with a few moist crumbs. The edges will look set and slightly pull away from the pan.
- Cool completely. Set the pan on a wire rack and cool fully, about 45–60 minutes. Frosting warm cake equals sliding, melty sadness. Patience pays.
- Make the frosting. Beat the softened cream cheese and butter together until creamy and fluffy, 2–3 minutes. Add vanilla and salt. Gradually add powdered sugar, beating until smooth and spreadable. Adjust sweetness and thickness to taste.
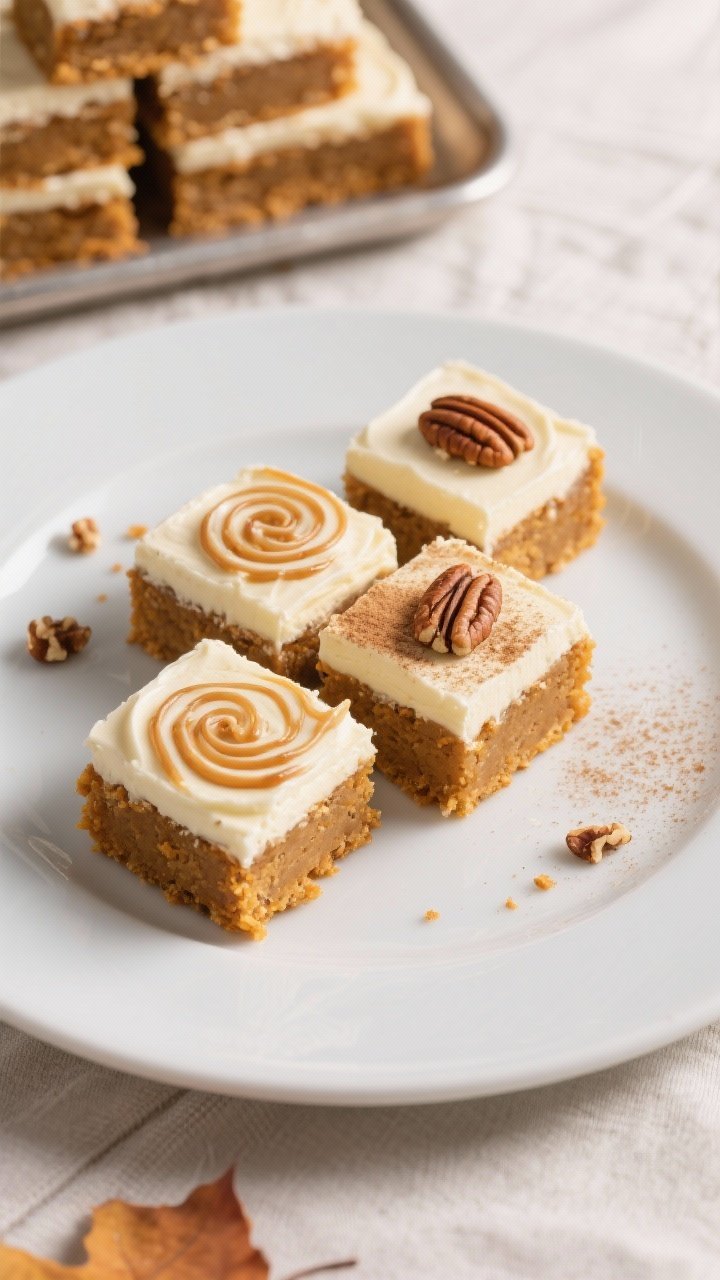
- Frost and finish. Spread frosting generously over cooled bars. Add nuts, a dusting of cinnamon, or a maple swirl if you’re feeling extra.
- Slice and serve. Lift the bars using the parchment and cut into 20–24 squares. Clean the knife between cuts for sharp edges if you’re going for that bakery flex.
GET 21 QUICK & EASY LOW-CALORIE MEAL PLANS
Storage Instructions
- Refrigerator: Store covered for up to 5 days.The frosting stays firm and the bars stay moist. Bring to room temp for 15–20 minutes before serving for the best texture.
- Freezer: Freeze frosted bars in a single layer until solid, then wrap and store for up to 2 months. Thaw overnight in the fridge, then let sit at room temp before serving.
- Make-ahead: Bake the bars a day ahead, wrap tightly, and frost the next day.Flavor actually deepens—chef’s kiss.
What’s Great About This
- Foolproof texture: Oil and pumpkin guarantee moist, plush bars that don’t dry out.
- Balanced sweetness: The tangy cream cheese frosting keeps everything in check—no sugar overload.
- Scale-friendly: Doubles easily for parties. Half batch? Use an 8×8 or 9×9 pan and increase bake time slightly.
- Customizable spice: Dial the spices up or down.Want chai vibes? Add cardamom.
- Zero fussy steps: One bowl batter. Simple frosting.Big payoff.
Pitfalls to Watch Out For
- Overbaking: These bars go from perfect to dry fast. Start checking at 22 minutes. Your nose is a timer too—when it smells amazing, you’re close.
- Frosting a warm cake: The frosting will slide and turn glossy.Cool completely. Yes, really.
- Lumpy frosting: Use softened butter and cream cheese, and sift the powdered sugar. Your mixer is not a magician.
- Using pumpkin pie filling: That’s pre-sweetened and spiced.You’ll throw off the whole balance. Stick to plain pumpkin puree.
- Skipping salt: A pinch in both batter and frosting makes flavors pop. It’s the secret handshake.
Alternatives
- Gluten-free: Use a 1:1 gluten-free all-purpose blend with xanthan gum. Texture remains tender—just don’t overbake.
- Dairy-free frosting: Swap in vegan cream cheese and plant-based butter. Use 2–2 1/2 cups powdered sugar to keep it smooth without getting too sweet.
- Maple cream cheese frosting: Replace 2 tablespoons powdered sugar with 2 tablespoons pure maple syrup and add 1/4 teaspoon maple extract if you have it.
- Brown butter twist: Brown the butter for the frosting, chill until spreadable, then beat with cream cheese. Nutty, toasty, outrageous.
- Spice boost: Add 1/4 teaspoon cardamom or allspice for depth. Prefer mild? Halve the cloves and ginger.
- Add-ins: Fold in 1/2 cup mini chocolate chips or chopped toasted pecans to the batter for texture and contrast.
Struggling to Stay on Track with Your Eating?
You’re not alone. One of the biggest obstacles I see people face is not knowing what to eat. Between busy schedules, endless diet advice online, and trying to cook healthy meals that actually taste good—it’s easy to feel stuck or overwhelmed.
That’s why I created my 21 Quick & Easy Custom Low-Calorie Meal Plans Program. These plans are built specifically for you—your goals, your lifestyle, and your food preferences. You won’t find any cookie-cutter diets here. Just real, satisfying meals that help you stay full, energized, and on track without the stress.
✅ No more guessing.
✅ No more skipping meals or eating “diet food” you hate.
✅ Just a clear, doable plan that fits your life.
👉 Ready to eat better, feel better, and finally make progress? [Click here to get your custom meal plans today.]
Not Seeing the Inches Drop No Matter What You Do?
If you’re working out but still not seeing the results in the mirror, I hear you. So many people come to me after months of doing cardio or random workouts—and still struggling to lose inches or tone up. The truth is, your body needs more than just movement. It needs a proven strategy.
Never Wonder What's For Dinner Again
Save time, eat healthier, and take the stress out of dinner. Get a full week of easy healthy dinners delivered straight to your inbox.
My 8-Week Workout Program to Lose Inches is designed to do just that—burn fat, tighten up, and give you visible results. These workouts are fun, effective, and designed for real people with real lives. Whether you’re getting back into fitness or ready to take it to the next level, this program gives you a clear path to success.
✅ Just 8 weeks to build strength, confidence, and a fitter shape.
✅ No endless cardio.
✅ No gym required (unless you want it).
👉 If you’re ready to drop inches and feel amazing in your own skin, [click here to start the 8-Week Workout Program].
FAQ
Can I use fresh pumpkin instead of canned?
Yes, but make sure it’s well-pureed and drained. Homemade puree tends to be wetter; blot with paper towels or simmer to reduce moisture.
You want a thick, scoopable consistency.
How do I know when the bars are done?
A toothpick should come out clean or with a couple of moist crumbs. The edges will look set and slightly pull from the pan. If the center jiggles, give it a few more minutes.
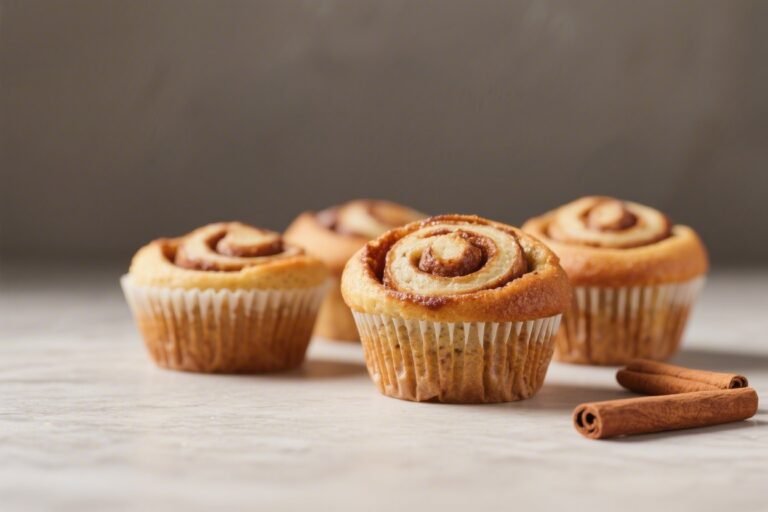
Can I make these into cupcakes?
Absolutely.
Line a muffin tin and fill each about 2/3 full. Bake at 350°F (175°C) for 16–20 minutes. Cool and frost as usual—now they’re portable, FYI.
Do I need to refrigerate after frosting?
Yes.
Because of the cream cheese, store them in the fridge. They’re best served slightly cool or at room temp after a short rest.
What if my frosting is too thin?
Add more powdered sugar, 2 tablespoons at a time, until it’s spreadable. If it’s still loose, chill it for 10–15 minutes, then re-beat.
Too thick? A teaspoon of milk brings it back.
Can I reduce the sugar in the bars?
You can cut the total sugar in the batter by about 1/4 cup without wrecking texture. Keep in mind the frosting adds sweetness too, so balance to taste.
What size pan works if I don’t have a 9×13?
A quarter sheet pan (9.5×13) or two 8×8 pans work.
For thicker bars, use a 9×9 and add a few extra minutes of bake time. Just watch for doneness cues.
Can I make these egg-free?
Use three flax eggs (1 tablespoon ground flax + 3 tablespoons water per egg, rest 5 minutes). Texture will be slightly denser but still moist and delicious.
In Conclusion
Classic Pumpkin Bars with Cream Cheese Frosting are the low-effort, high-impact dessert that crushes every fall craving.
The batter is simple, the frosting is luxurious, and the results taste like you baked for hours—without actually doing that. Slice, share, and accept compliments graciously (or not—your call). Ready to be the reason everyone asks for the recipe?
Cool. You’ve got it now.
Printable Recipe Card
Want just the essential recipe details without scrolling through the article? Get our printable recipe card with just the ingredients and instructions.
Loved This Recipe?
If you're looking for more simple, healthy dinners your family will actually eat, grab my FREE 7-Day Easy Dinner Reset. You'll get 7 easy dinner recipes, simple grocery lists, and a done-for-you plan that takes the stress out of mealtime.