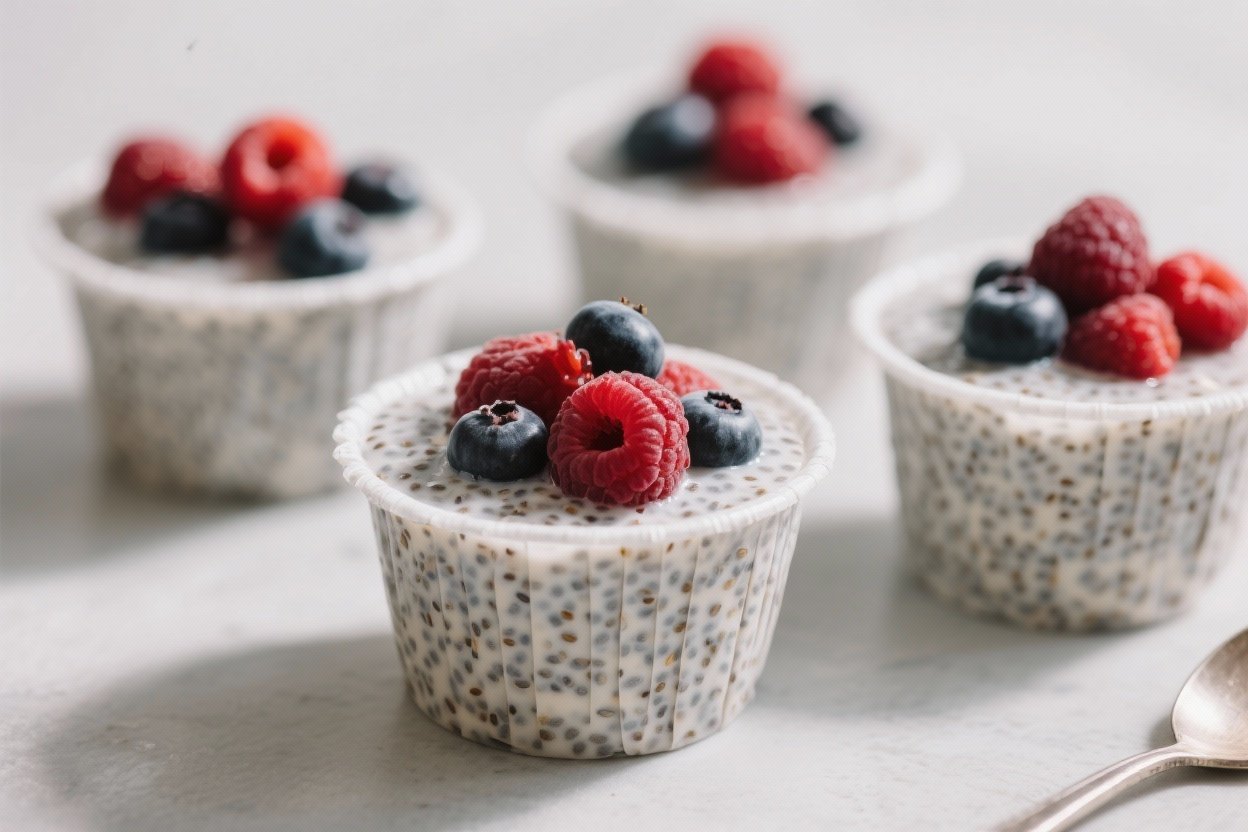
Healthy No-Bake Vanilla Berry Chia Pudding Cups – Simple, Fresh, and Satisfying
These cups are the kind of breakfast or snack you’ll actually look forward to. Creamy vanilla chia pudding, juicy berries, and a hint of natural sweetness come together with almost no effort. Everything sets in the fridge while you get on with your day.
No stove, no blender, no fussy steps—just stir, chill, and enjoy. They’re light, refreshing, and feel a little special without being high-maintenance.
Healthy No-Bake Vanilla Berry Chia Pudding Cups – Simple, Fresh, and Satisfying
Ingredients
Method
- Make the vanilla base: In a medium bowl, whisk 1 1/2 cups milk, 1/2 cup Greek or coconut yogurt (optional), 1–2 tablespoons maple syrup or honey, 1–1 1/2 teaspoons vanilla extract, and a small pinch of salt.
- Add chia seeds: Whisk in 1/2 cup chia seeds until evenly distributed, breaking up any clumps.
- Let it thicken: Rest the mixture for 10 minutes, then whisk again to prevent settling. Cover and refrigerate for at least 2 hours, or overnight, until thick and pudding-like.
- Prep the berries: If using strawberries, hull and slice. If using frozen berries, thaw and drain excess liquid. Toss with a squeeze of lemon and a touch of sweetener if you like.
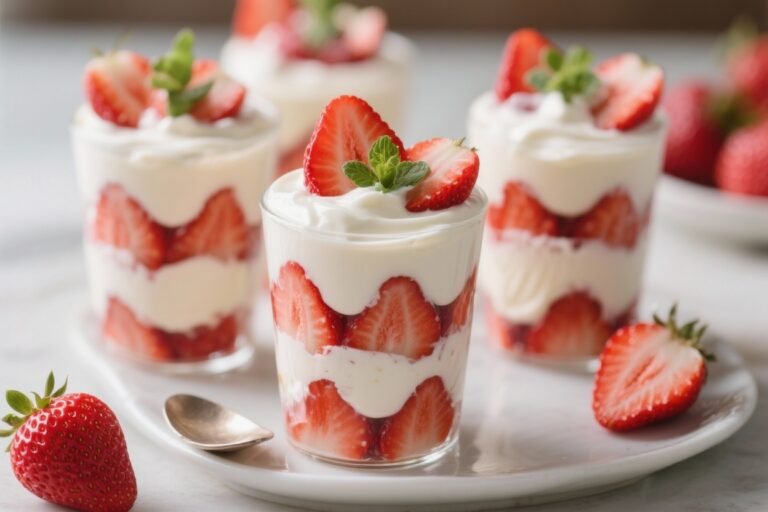
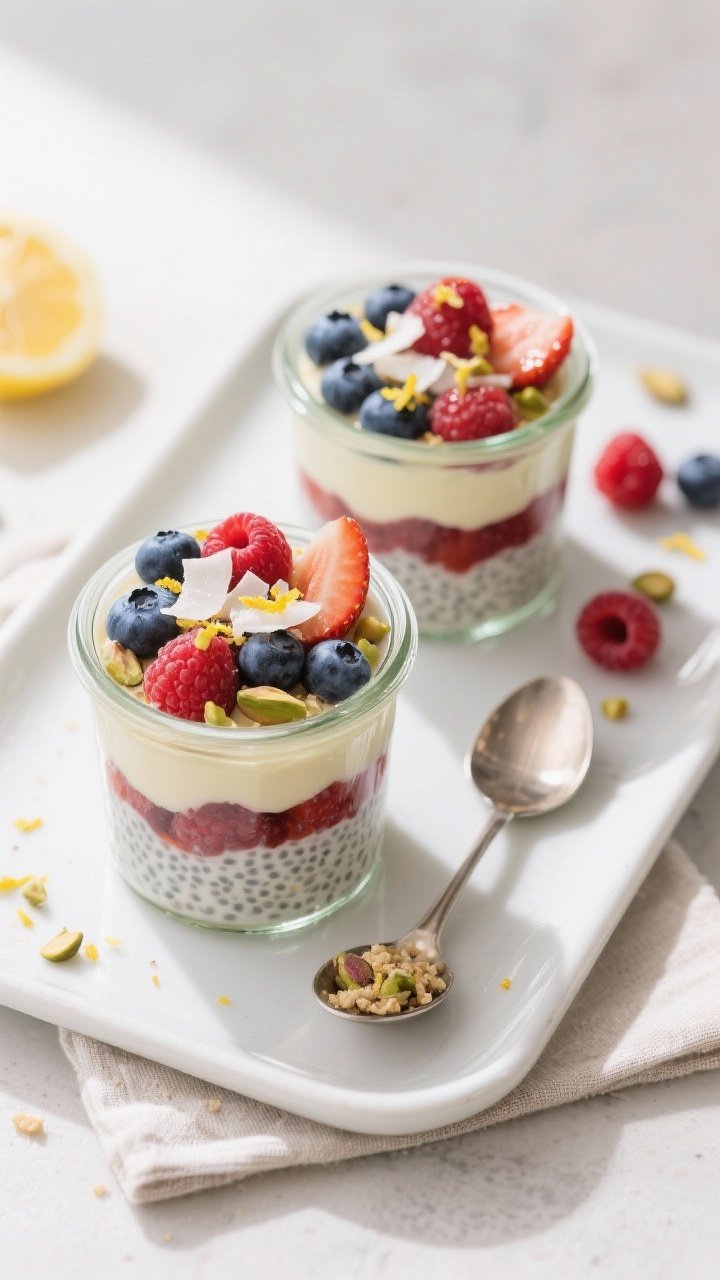
- Assemble the cups: Spoon chia pudding into jars or small glasses, alternating with layers of berries. Top with a few extra berries and any toppings you like.
- Chill briefly (optional): For a cleaner set, chill the assembled cups for 15–30 minutes before serving.
- Serve: Enjoy cold, and store the rest covered in the fridge.
Overeating is a pattern. This helps you fix that problem. A quick reset for cravings, snacking, and “I’ll start tomorrow” moments.
Built for busy home cooks who want real-life structure. Simple steps that fit meal prep, family dinners, and late-night snack attacks.
What Makes This Recipe So Good

- It’s truly no-bake and low-effort: Stir a handful of ingredients in a bowl, let it set, and you’re done. Minimal dishes, zero cooking.
- Balanced and satisfying: Chia seeds offer protein, fiber, and healthy fats, so the cups keep you full without weighing you down.
- Customizable sweetness: Use maple syrup, honey, or a zero-sugar sweetener to fit your taste and goals.
- Fresh, bright flavor: Vanilla pairs perfectly with berries, giving a dessert-like vibe while still staying wholesome.
- Perfect for meal prep: Make a batch, portion into cups, and you’ve got ready-to-grab breakfasts or snacks for days.
Shopping List
- Chia seeds: Black or white both work.
- Milk of choice: Unsweetened almond, oat, coconut, soy, or dairy milk.
- Vanilla extract: Pure vanilla for the best flavor.
- Sweetener: Maple syrup, honey, agave, or a sugar-free option like stevia or monk fruit.
- Greek yogurt or coconut yogurt (optional): Adds creaminess and protein.
- Mixed berries: Fresh or frozen blueberries, strawberries, raspberries, or blackberries.
- Lemon zest (optional): For a bright, fresh note.
- Pinch of salt: Enhances flavors.
- Toppings (optional): Toasted coconut, sliced almonds, crushed pistachios, granola, or extra berries.
Instructions
- Make the vanilla base: In a medium bowl, whisk 1 1/2 cups milk, 1/2 cup Greek or coconut yogurt (optional), 1–2 tablespoons maple syrup or honey, 1–1 1/2 teaspoons vanilla extract, and a small pinch of salt.
- Add chia seeds: Whisk in 1/2 cup chia seeds until evenly distributed, breaking up any clumps.
- Let it thicken: Rest the mixture for 10 minutes, then whisk again to prevent settling.
Cover and refrigerate for at least 2 hours, or overnight, until thick and pudding-like.
- Prep the berries: If using strawberries, hull and slice. If using frozen berries, thaw and drain excess liquid. Toss with a squeeze of lemon and a touch of sweetener if you like.
- Assemble the cups: Spoon chia pudding into jars or small glasses, alternating with layers of berries.
Top with a few extra berries and any toppings you like.
- Chill briefly (optional): For a cleaner set, chill the assembled cups for 15–30 minutes before serving.
- Serve: Enjoy cold, and store the rest covered in the fridge.
Keeping It Fresh
Chia pudding stays fresh in the fridge for 4–5 days when stored in airtight containers. If you’re using berries, add them on top right before eating for the best texture. If you want to pre-layer, use firm berries like blueberries and keep juicier berries for the day-of.
If the pudding thickens too much after a day or two, stir in a splash of milk to loosen it.
For meal prep, portion the pudding into single-serve jars and keep toppings separate. That way, everything tastes fresh when you’re ready to eat.

Health Benefits
- High in fiber: Chia seeds are loaded with soluble fiber, which supports digestion and helps you feel full longer.
- Healthy fats: Chia seeds contain omega-3 fatty acids, which support heart and brain health.
- Protein boost: Adding Greek yogurt or soy milk bumps up the protein, making this a balanced breakfast or snack.
- Antioxidants from berries: Berries bring vitamin C and polyphenols that support immune health and fight oxidative stress.
- Steady energy: The combo of fiber, fat, and protein helps maintain stable blood sugar levels.
Common Mistakes to Avoid
- Not whisking twice: Chia can clump. Stir once when you add the seeds, then again 10 minutes later for a smooth texture.
- Using too little liquid: If your ratio is off, the pudding can become dense.
A reliable base is about 1/2 cup chia seeds to 2 cups liquid (including any yogurt).
- Skipping the pinch of salt: A tiny pinch sharpens the vanilla and balances sweetness.
- Adding watery fruit too early: Very juicy berries can make the pudding runny over time. Add them right before serving or layer them on top.
- Over-sweetening: Chia pudding tastes sweeter after chilling. Start with less sweetener, then adjust before serving.
Variations You Can Try
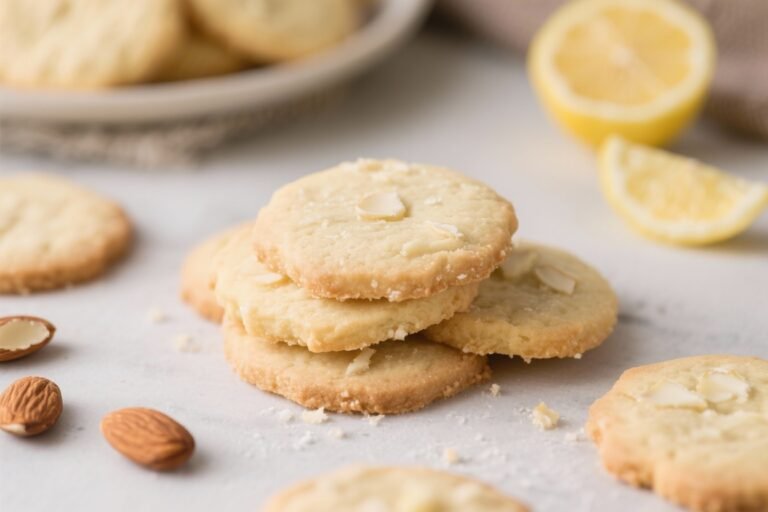
- Almond crunch: Add 1/4 teaspoon almond extract and top with toasted sliced almonds and blueberries.
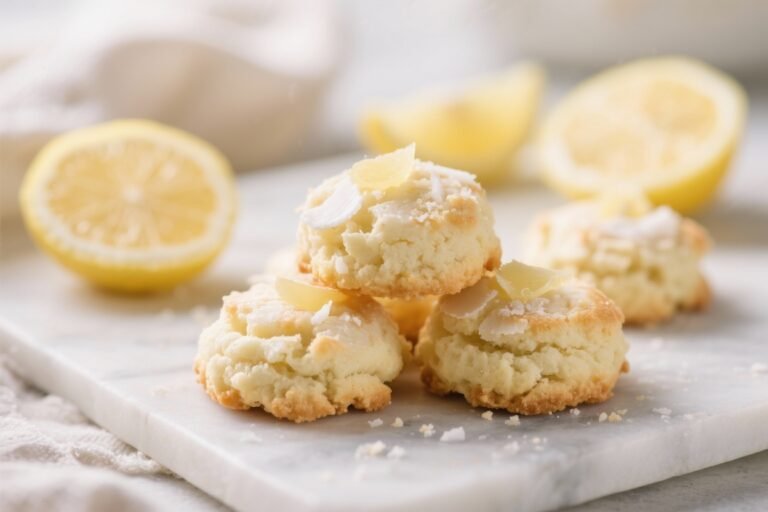
- Lemon cheesecake vibe: Stir in lemon zest and a spoonful of softened cream cheese or a dollop of vanilla Greek yogurt, then top with raspberries.
- Tropical twist: Use coconut milk, add shredded coconut, and top with mango and pineapple.
- Chocolate swirl: Mix 1 tablespoon cocoa powder into half the pudding and swirl with the vanilla layer.
Top with strawberries.
- Protein boost: Whisk in a half scoop of vanilla protein powder with the milk. Add more milk if it thickens too much.
- Low-sugar: Use unsweetened milk and a sugar-free sweetener, and choose lower-sugar berries like strawberries or raspberries.
- Spiced vanilla: Add a pinch of cinnamon or cardamom for warmth, especially good with blackberries.
FAQ
How long does chia pudding need to set?
It usually needs at least 2 hours in the fridge. For the best texture, let it set overnight.
You’ll get a thicker, creamier result by morning.
Why is my chia pudding runny?
Most often, it’s not enough chia or too much liquid. Aim for about 1/2 cup chia to 2 cups total liquid (milk plus any yogurt). Also, make sure you whisk twice to prevent clumps.
Can I use frozen berries?
Yes.
Thaw them first and drain any excess liquid. If you add them frozen, they’ll release water as they melt and can thin the pudding.
What milk works best?
Any milk works. Dairy milk makes it creamy, almond milk keeps it light, coconut milk adds richness, and soy milk boosts protein.
Choose what fits your taste and needs.
Can I make it dairy-free?
Absolutely. Use almond, coconut, oat, or soy milk and swap in coconut yogurt or skip yogurt entirely. It still sets nicely with just milk.
How sweet should I make it?
Start with 1 tablespoon sweetener and taste after chilling.
Chilled foods can taste slightly less sweet, but berries add natural sweetness, so adjust to your preference.
Is chia pudding good for kids?
Yes, it’s kid-friendly and easy to customize. Use a milder milk, add vanilla, and keep the texture smooth by whisking well. Let them pick their favorite berries and toppings.
Can I meal prep for the whole week?
Yes.
Make a batch on Sunday and store in single-serve jars for 4–5 days. Add berries and crunchy toppings right before eating to keep textures fresh.
Wrapping Up
Healthy No-Bake Vanilla Berry Chia Pudding Cups are simple, flexible, and genuinely satisfying. With a few pantry staples and fresh berries, you get a make-ahead breakfast or snack that tastes like a treat.
Keep the base recipe handy, then switch up the toppings and flavors to keep things interesting all week long. It’s an easy win for busy mornings and sweet, no-fuss cravings.
Printable Recipe Card
Want just the essential recipe details without scrolling through the article? Get our printable recipe card with just the ingredients and instructions.