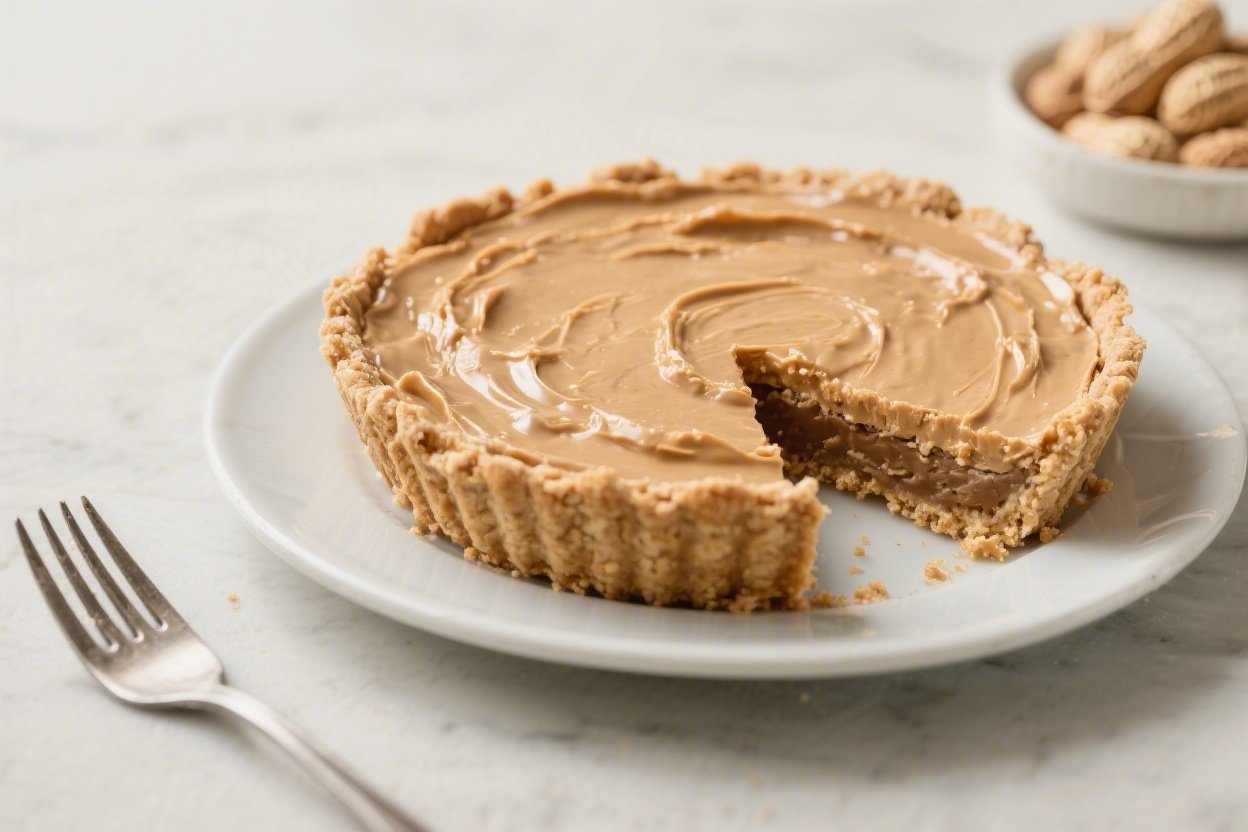
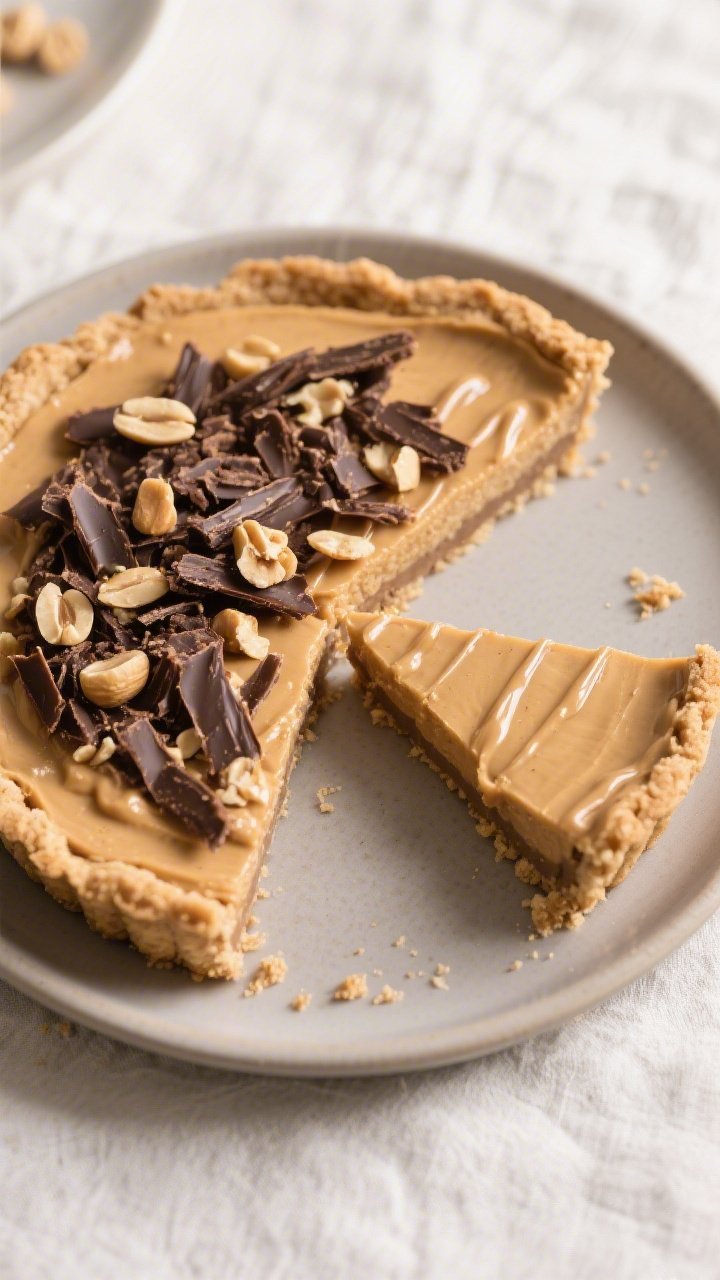
No-Bake Peanut Butter Protein Pie – Creamy, Easy, and Satisfying
If you want dessert without the fuss of baking, this pie is your new go-to. It’s rich and creamy like a classic peanut butter pie, but with a solid protein boost that actually leaves you feeling satisfied. The texture is silky, the flavor is pure peanut butter bliss, and the whole thing comes together in minutes.
Need More Easy Dinner Ideas?
Get my FREE 7-Day Easy Dinner Reset and enjoy a full week of healthy dinners without the meal-planning stress.
No oven, no drama—just mix, chill, and slice. It’s perfect for weeknights, parties, or any time you want something sweet that doesn’t derail your day.
Ingredients
Method
- Prep the pan. Lightly grease a 9-inch pie dish or line the bottom with parchment for easier slicing.
- Make the crust. In a bowl, combine crushed crackers, melted coconut oil or butter, sweetener (if using), and a pinch of salt. Stir until the crumbs are evenly moistened and hold together when pressed.
- Press and chill. Firmly press the crust mixture into the bottom and up the sides of the pie dish. Use the bottom of a measuring cup for a tight, even layer. Chill in the fridge for 15–20 minutes while you make the filling.
- Whip the base. In a large bowl, beat the cream cheese with an electric mixer until smooth, about 1 minute. Add peanut butter and beat until fully combined and fluffy.
- Blend in the protein. Add the protein powder, powdered sugar, vanilla, and salt. Mix on low at first to avoid a powder cloud, then increase speed until smooth.
- Lighten it up. Add the Greek yogurt and beat just until creamy. If the mixture seems too thick to spread, add milk 1 tablespoon at a time until silky and spreadable.
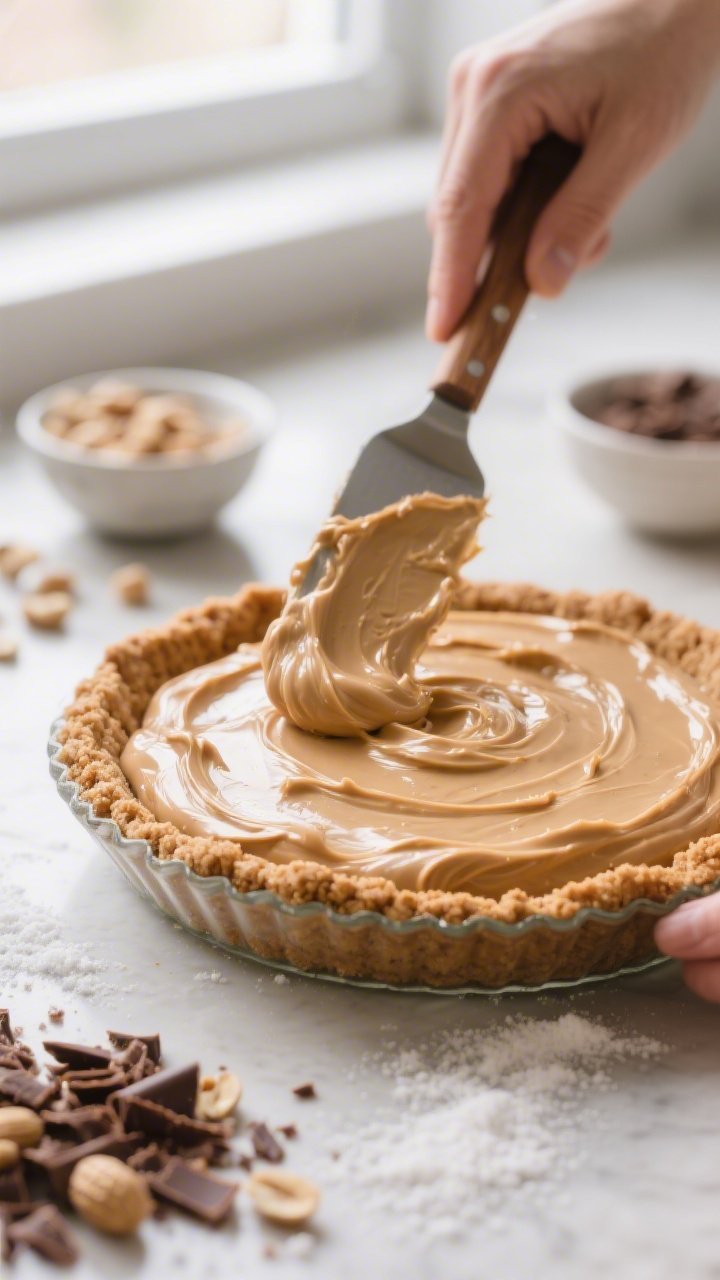
- Fill the crust. Spoon the filling into the chilled crust and smooth the top with a spatula.
- Chill to set. Refrigerate for at least 4 hours, or overnight for a cleaner slice. The filling will firm up as it chills.
- Finish and serve. Top with chocolate shavings, crushed peanuts, or a drizzle just before serving. Slice with a sharp knife, wiping between cuts for neat edges.
What Makes This Special
This pie strikes a sweet spot between indulgence and balance. You get the familiar comfort of peanut butter pie with extra staying power from protein-rich ingredients.
The crust is simple and crisp, the filling is light but luscious, and the sweetness is customizable. It also keeps well, so you can make it ahead for guests or portion it for the week. Best of all, it uses everyday ingredients and zero complicated techniques.
What You’ll Need
- For the crust:
- 1 1/2 cups crushed graham crackers or chocolate wafer cookies
- 3 tablespoons coconut oil or unsalted butter, melted
- 1 tablespoon honey or maple syrup (optional, for a slightly sweeter crust)
- Pinch of salt
- For the filling:
- 1 cup creamy peanut butter (natural or regular; see notes in FAQs)
- 8 ounces reduced-fat cream cheese or Neufchâtel, softened
- 1 cup plain Greek yogurt (2% or whole milk works best)
- 1/2 cup vanilla or unflavored whey or plant-based protein powder
- 1/3 to 1/2 cup powdered sugar or a powdered zero-calorie sweetener, to taste
- 1 teaspoon pure vanilla extract
- Pinch of salt
- 2–3 tablespoons milk (dairy or unsweetened almond), as needed for consistency
- Optional toppings:
- Dark chocolate shavings or mini chips
- Crushed peanuts
- Peanut butter drizzle or melted chocolate drizzle
- Whipped cream (regular or coconut)
Instructions
- Prep the pan. Lightly grease a 9-inch pie dish or line the bottom with parchment for easier slicing.
- Make the crust. In a bowl, combine crushed crackers, melted coconut oil or butter, sweetener (if using), and a pinch of salt.
Stir until the crumbs are evenly moistened and hold together when pressed.
- Press and chill. Firmly press the crust mixture into the bottom and up the sides of the pie dish. Use the bottom of a measuring cup for a tight, even layer. Chill in the fridge for 15–20 minutes while you make the filling.
- Whip the base. In a large bowl, beat the cream cheese with an electric mixer until smooth, about 1 minute.
Add peanut butter and beat until fully combined and fluffy.
- Blend in the protein. Add the protein powder, powdered sugar, vanilla, and salt. Mix on low at first to avoid a powder cloud, then increase speed until smooth.
- Lighten it up. Add the Greek yogurt and beat just until creamy. If the mixture seems too thick to spread, add milk 1 tablespoon at a time until silky and spreadable.
- Fill the crust. Spoon the filling into the chilled crust and smooth the top with a spatula.
- Chill to set. Refrigerate for at least 4 hours, or overnight for a cleaner slice.
The filling will firm up as it chills.
- Finish and serve. Top with chocolate shavings, crushed peanuts, or a drizzle just before serving. Slice with a sharp knife, wiping between cuts for neat edges.
How to Store
- Refrigerator: Cover tightly and keep in the fridge for up to 5 days. The crust stays crispest in the first 48 hours, but the flavor actually deepens after day one.
- Freezer: Freeze slices on a parchment-lined sheet, then wrap individually.
Store for up to 2 months. Thaw in the fridge for a few hours or enjoy slightly frozen for a firmer, ice-cream-like texture.
- Travel tip: If taking to a gathering, keep it chilled in a cooler pack and add toppings on site to prevent smudging.
Why This is Good for You
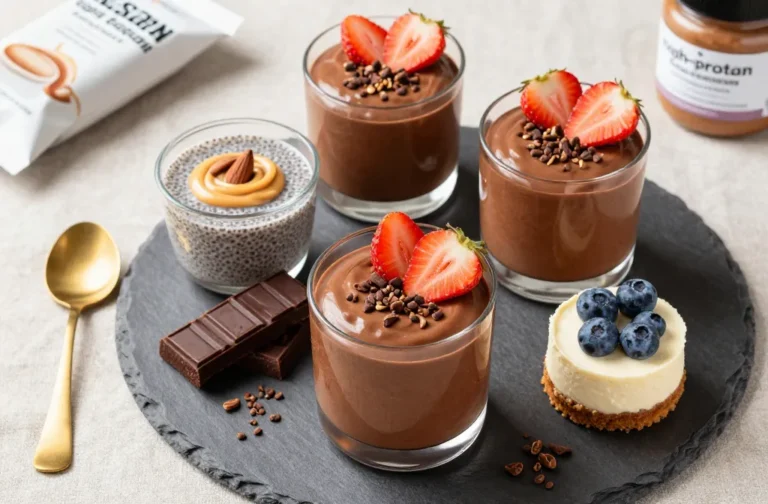
- Protein-packed: The combo of Greek yogurt, protein powder, and peanut butter helps you feel full and satisfied, making dessert less of a blood sugar roller coaster.
- Better fats: Peanut butter provides heart-friendly monounsaturated fats. Choose varieties with minimal added sugar and oil for the best profile.
- Lower sugar potential: You can control sweetness with powdered sugar alternatives or reduce the amount without sacrificing creaminess.
- No bake, no stress: Skipping the oven cuts down on time and effort, which makes this recipe more sustainable for everyday life.
What Not to Do
- Don’t skip the chill time. The pie needs several hours to set.
Rushing it leads to messy slices and a too-soft texture.
- Don’t over-sweeten. Protein powders and vanilla yogurt can add sweetness. Taste as you go to avoid a cloying pie.
- Don’t use gritty protein powders. Some brands don’t dissolve well and can make the filling chalky. Choose a fine, smooth-blending option.
- Don’t use oily, separated peanut butter without mixing. If using natural peanut butter, stir thoroughly until smooth to prevent a greasy, loose filling.
- Don’t skip the salt. A small pinch sharpens the peanut flavor and balances sweetness.
Recipe Variations
- Chocolate Peanut Butter Pie: Use chocolate wafer cookies for the crust and chocolate protein powder in the filling.
Finish with chocolate curls.
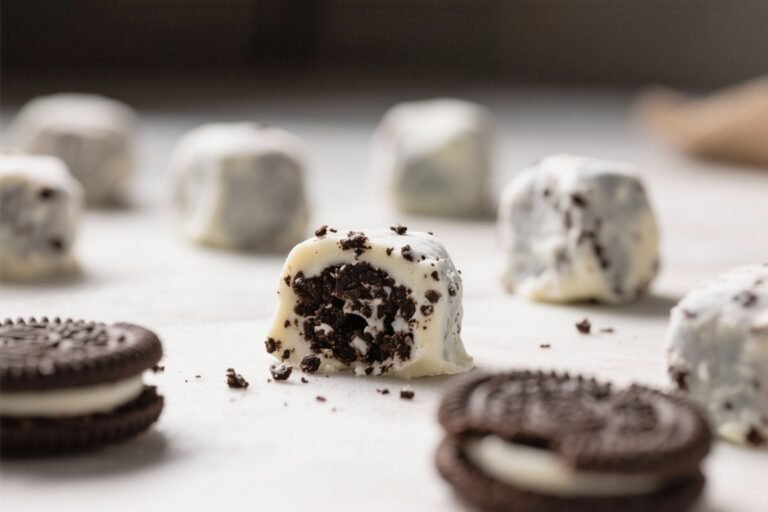
- High-Protein Oreo-Inspired: Swap the crust for chocolate sandwich cookies and use vanilla whey. Add a thin layer of crushed cookies on top.
- Peanut Butter Banana: Fold in 1 mashed ripe banana to the filling and reduce sweetener slightly. Top with banana slices just before serving.
- Salted Caramel Crunch: Drizzle sugar-free or light caramel sauce on top and add chopped salted peanuts.
A few crunchy flakes of sea salt make it pop.
- Dairy-Free: Use dairy-free cream cheese, coconut yogurt, and a plant-based protein powder. Choose coconut oil for the crust.
- Almond or Cashew Butter: Swap the peanut butter for another nut butter. Adjust sweetness to taste since flavors vary.
- Mini Pies: Press crust into a muffin tin lined with parchment cups, fill, and chill.
Great for portion control and parties.
FAQ
Never Wonder What's For Dinner Again
Save time, eat healthier, and take the stress out of dinner. Get a full week of easy healthy dinners delivered straight to your inbox.
Can I use natural peanut butter?
Yes, but mix it very well so the oil is fully incorporated. Natural peanut butter can make the filling looser, so start with less milk and add only if needed. If you prefer a firmer set, regular creamy peanut butter is more forgiving.
Which protein powder works best?
Whey isolate or a fine whey blend gives the smoothest texture.
For dairy-free, use a high-quality pea or brown rice blend that mixes easily. Avoid gritty or strongly flavored powders that could overwhelm the peanut butter.
How do I make it lower in sugar?
Use unflavored or lightly sweetened protein powder, reduce the powdered sugar to 1/4 cup, and add a few drops of liquid stevia or monk fruit to taste. The peanut butter and vanilla still carry plenty of flavor.
My filling is too thick.
What should I do?
Add milk a teaspoon at a time and beat briefly until it loosens. Stop as soon as it’s silky and spreadable. Over-mixing with lots of liquid can make it too soft to slice cleanly.
Can I make it gluten-free?
Absolutely.
Use gluten-free graham crackers or cookies for the crust and confirm your protein powder is certified gluten-free. Everything else in the recipe is naturally gluten-free.
How much protein is in a slice?
It varies by ingredients, but a typical slice (1/8 of the pie) often lands around 12–18 grams of protein, depending on the protein powder and yogurt you use. If you want more, bump the protein powder to 2/3 cup and add a splash more milk to keep it smooth.
Can I make it ahead?
Yes.
It’s even better the next day. Assemble the day before, chill overnight, and add toppings just before serving for the best texture and presentation.
What if I don’t have an electric mixer?
You can use a sturdy whisk and some elbow grease. Soften the cream cheese well and whisk in stages to avoid lumps.
A silicone spatula helps fold everything smooth.
In Conclusion
No-Bake Peanut Butter Protein Pie brings dessert and balance to the same plate. It’s simple to make, easy to customize, and satisfying enough to enjoy any day of the week. Whether you’re sharing it with friends or stashing slices for later, this pie delivers creamy comfort with a protein boost.
Keep it chilled, slice it clean, and enjoy every peanut-buttery bite.
Printable Recipe Card
Want just the essential recipe details without scrolling through the article? Get our printable recipe card with just the ingredients and instructions.
Loved This Recipe?
If you're looking for more simple, healthy dinners your family will actually eat, grab my FREE 7-Day Easy Dinner Reset. You'll get 7 easy dinner recipes, simple grocery lists, and a done-for-you plan that takes the stress out of mealtime.