No-Bake Vanilla Chia Pudding Dessert Cups – Simple, Creamy, and Make-Ahead
This is the kind of dessert that feels fancy with almost no effort. No stove, no oven, and no complicated steps—just a few ingredients and a little patience while the fridge does the work. The result is a creamy vanilla chia pudding you can layer with fruit, cookies, or chocolate, depending on your mood.
It’s light yet satisfying, sweet but not heavy, and perfect for when you want something quick and pretty. Make it for a weeknight treat or stack up dessert cups for easy entertaining.
Ingredients
Method
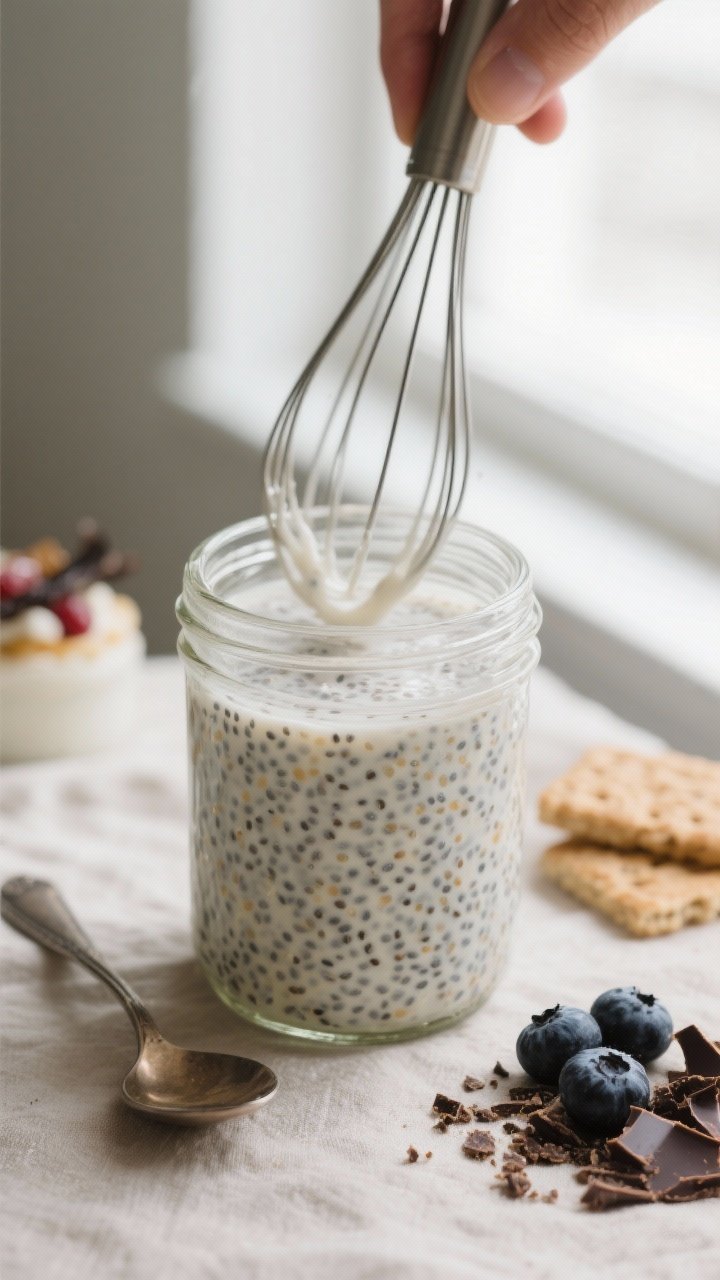
- Mix the base: In a medium bowl or large jar, whisk together 2 cups milk, 6 tablespoons chia seeds, 2–3 tablespoons maple syrup, 1.5 teaspoons vanilla extract, and a small pinch of salt. Whisk for a full 30–45 seconds so the seeds are evenly distributed.
- Let it sit briefly, then whisk again: After 10 minutes, whisk once more to break up any clumps that formed as the seeds began to gel. This step helps ensure a smooth, uniform texture.
- Chill until thick: Cover and refrigerate for at least 2 hours, ideally 4 hours or overnight. The pudding should be thick and scoopable. If it’s too thick, stir in a splash of milk. If too loose, add 1 more tablespoon of chia seeds and chill 15–20 minutes longer.
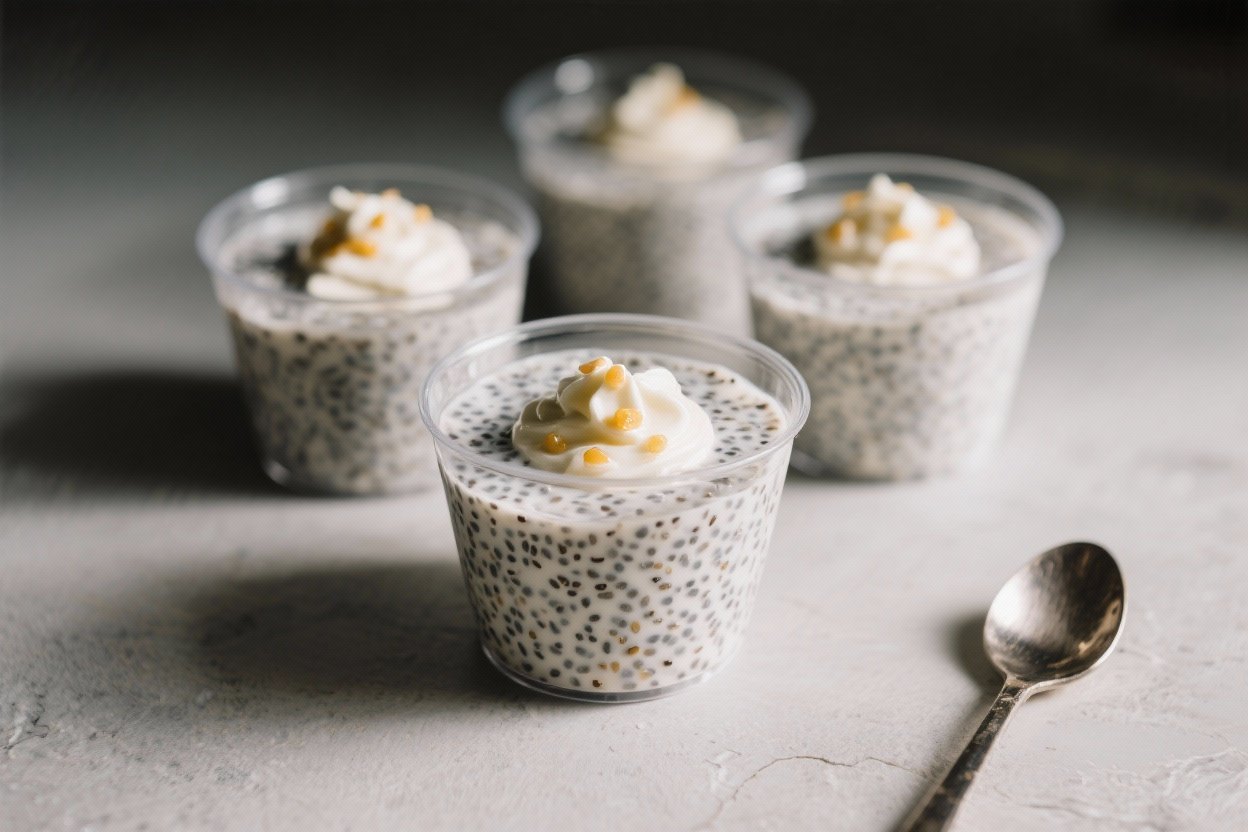
- Prep your cups and layers: Set out 4–6 small dessert cups, ramekins, or jars. Arrange your fruit, cookie crumbs, granola, or toppings nearby so assembly is quick.
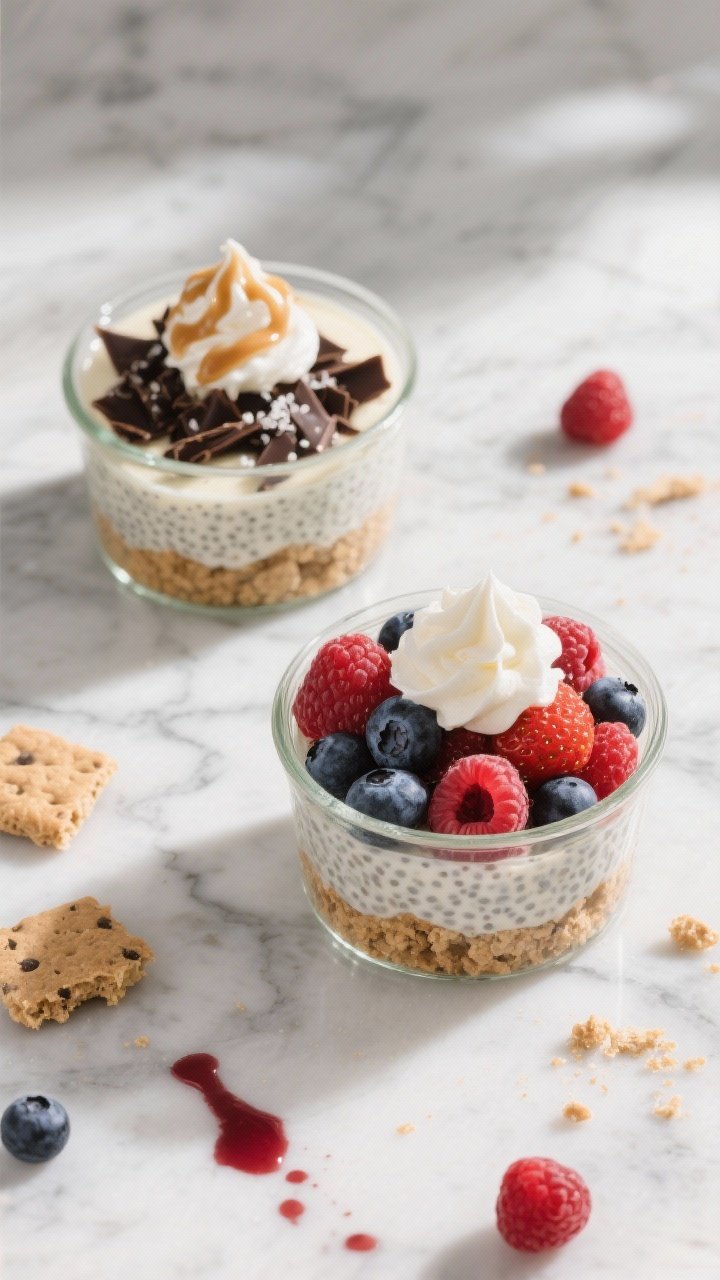
- Layer: Spoon a layer of chia pudding into each cup. Add fruit or crushed cookies. Repeat layers as desired. Finish with a small dollop of whipped cream, a sprinkle of chocolate shavings, or a drizzle of sauce.
- Chill briefly before serving (optional): If you layered with warm sauces or want a firmer set, chill the assembled cups for 15–20 minutes before serving.
Overeating is a pattern. This helps you fix that problem. A quick reset for cravings, snacking, and “I’ll start tomorrow” moments.
Built for busy home cooks who want real-life structure. Simple steps that fit meal prep, family dinners, and late-night snack attacks.
What Makes This Recipe So Good
- Effortless and no-bake: You stir, chill, and serve. That’s it.
- Balanced sweetness: Vanilla and a touch of maple syrup keep it simple and not too sugary.
- Creamy texture without cream: Chia seeds swell in milk and create a pudding-like consistency.
- Endlessly customizable: Layer with fresh berries, granola, cookie crumbs, or a drizzle of caramel.
- Meal-prep friendly: Make a batch and portion into cups for grab-and-go desserts or snacks.
- Naturally gluten-free and easy to make dairy-free: Works beautifully with almond, oat, or coconut milk.
What You’ll Need
- Chia seeds: Whole black or white chia seeds both work.
- Milk of choice: Dairy, almond, oat, or coconut milk.
Full-fat options make it richer.
- Pure vanilla extract: The star flavor. Use good quality for the best taste.
- Maple syrup or honey: Natural sweetener for a smooth, mellow sweetness.
- Pinch of salt: Rounds out the flavor and keeps the sweetness balanced.
- Optional add-ins for the pudding base: Ground cinnamon, a touch of almond extract, or the seeds of half a vanilla bean.
- For layering and topping (optional but recommended):
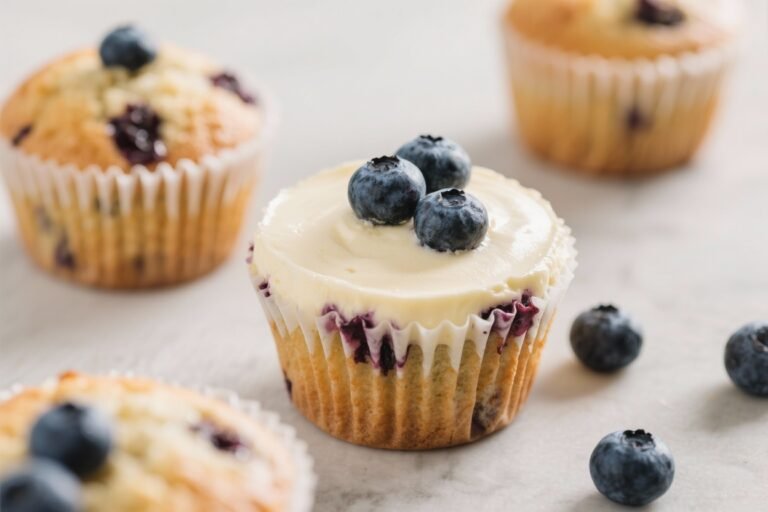
- Fresh berries (strawberries, blueberries, raspberries)
- Banana slices
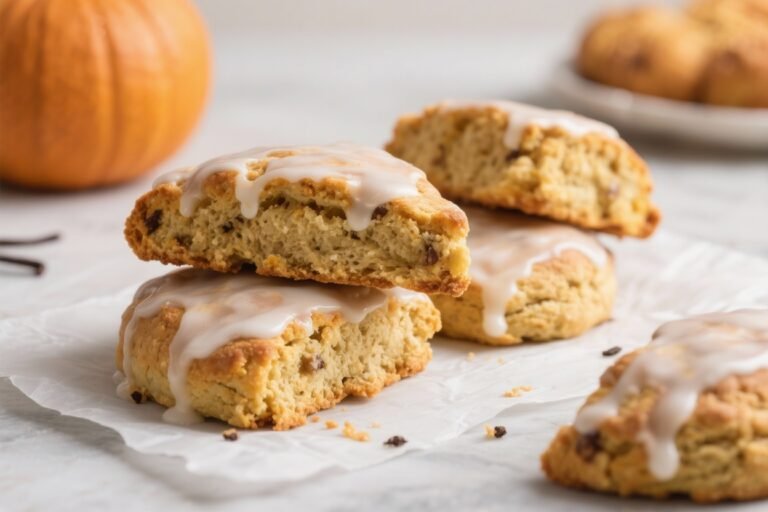
- Crushed cookies, graham crackers, or granola
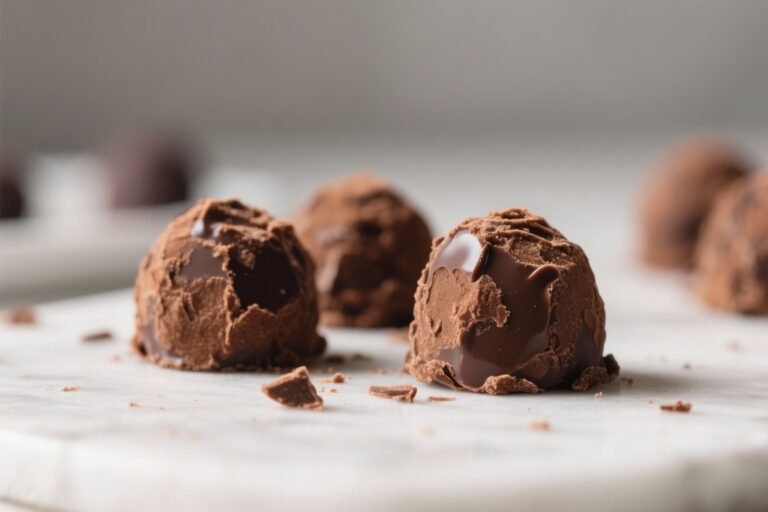
- Dark chocolate shavings or mini chips
- Toasted coconut flakes or chopped nuts
- Whipped cream or coconut whip
- Caramel or chocolate sauce
How to Make It
- Mix the base: In a medium bowl or large jar, whisk together 2 cups milk, 6 tablespoons chia seeds, 2–3 tablespoons maple syrup, 1.5 teaspoons vanilla extract, and a small pinch of salt. Whisk for a full 30–45 seconds so the seeds are evenly distributed.
- Let it sit briefly, then whisk again: After 10 minutes, whisk once more to break up any clumps that formed as the seeds began to gel.
This step helps ensure a smooth, uniform texture.
- Chill until thick: Cover and refrigerate for at least 2 hours, ideally 4 hours or overnight. The pudding should be thick and scoopable. If it’s too thick, stir in a splash of milk.
If too loose, add 1 more tablespoon of chia seeds and chill 15–20 minutes longer.
- Prep your cups and layers: Set out 4–6 small dessert cups, ramekins, or jars. Arrange your fruit, cookie crumbs, granola, or toppings nearby so assembly is quick.
- Layer: Spoon a layer of chia pudding into each cup. Add fruit or crushed cookies.
Repeat layers as desired. Finish with a small dollop of whipped cream, a sprinkle of chocolate shavings, or a drizzle of sauce.
- Chill briefly before serving (optional): If you layered with warm sauces or want a firmer set, chill the assembled cups for 15–20 minutes before serving.
How to Store
- Refrigerator: Keep the chia pudding base in an airtight container for up to 5–6 days. If already layered with fruit or crunchy toppings, it’s best within 2–3 days to preserve texture.
- Make-ahead tips: Store pudding, fruit, and crunchy elements separately, then assemble just before serving to keep layers crisp.
- Freezer: Not ideal for the pudding base.
Freezing can make the texture uneven and watery once thawed.

Benefits of This Recipe
- Quick and flexible: Minimal prep with tons of flavor options.
- Texture you can tailor: Adjust milk-to-chia ratios to get it softer or thicker.
- Great for portion control: Dessert cups make it easy to serve and store individual portions.
- Naturally nutritious: Chia seeds bring fiber and plant-based omega-3 fats, and you control the sweetness.
- All-season friendly: Use fresh berries in summer, spiced apples or pears in fall, and citrus segments in winter.
Pitfalls to Watch Out For
- Clumping: If you don’t whisk twice—once right away and again after 10 minutes—the seeds can clump and leave the texture uneven.
- Too thin or too thick: Milk and chia brands vary. Fix thin pudding by adding 1 tablespoon chia and chilling a bit longer. Loosen thick pudding with a splash of milk.
- Using only low-fat milks: Ultra-light milks can lead to a watery pudding.
Add a spoon of yogurt or use part coconut milk for creaminess.
- Overly sweet layers: If you’re adding cookie crumbs or sauces, keep the base lightly sweet to avoid a cloying dessert.
- Soggy crunch: Add granola or cookie crumbs just before serving to keep them crisp.
Recipe Variations
- Vanilla Bean Luxe: Stir in the seeds of half a vanilla bean for a richer vanilla flavor and pretty specks.
- Creamy Vanilla-Coconut: Use half coconut milk and half almond milk; top with toasted coconut and pineapple.
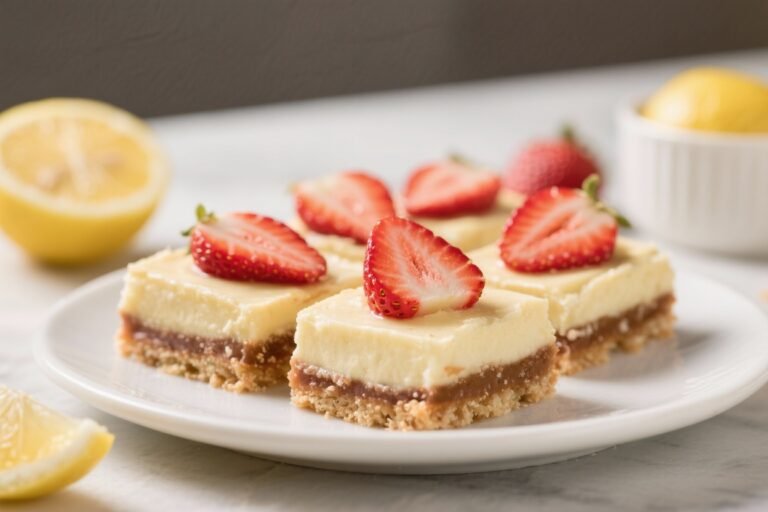
- Berry Cheesecake Cups: Add 2–3 tablespoons of plain Greek yogurt to the base, sweeten to taste, and layer with crushed graham crackers and berries.
- Chocolate Swirl: Whisk 1 tablespoon cocoa powder with a splash of warm milk and a little maple syrup; swirl into the vanilla pudding before layering.
- Banoffee Style: Layer with banana slices, a thin drizzle of caramel, and crushed digestive biscuits or grahams.
- Mocha Crunch: Add 1 teaspoon instant espresso to the base and finish with shaved dark chocolate and cacao nibs.
- Salted Caramel Almond: A pinch of flaky sea salt on top with caramel sauce and toasted almonds.
FAQ
How long does chia pudding need to set?
Most batches thicken in 2 hours, but 4 hours or overnight gives the best texture. If you’re short on time, stir a few times during the first 30 minutes to speed up even hydration.
What’s the best milk to use?
Use what you like. For extra creaminess, choose whole dairy milk or a mix of almond and coconut milk.
Oat milk also works well but can be slightly sweeter, so adjust the sweetener.
Can I reduce the sweetener?
Yes. Start with 1 tablespoon maple syrup and taste after chilling. You can stir in a bit more later.
Ripe fruit and sweet toppings can make up the difference.
Why is my chia pudding runny?
You may need more chia seeds or more time. Add 1 tablespoon chia, whisk well, and chill another 15–30 minutes. Very thin milks can also cause runny results—use part full-fat milk for structure.
Is there a way to make it smoother?
For an ultra-smooth texture, blend the mixture before chilling.
This breaks down the seeds and creates a silky pudding, closer to traditional custard.
Can I make it protein-rich?
Stir in 2–3 tablespoons Greek yogurt after chilling, or whisk in a scoop of vanilla protein powder with the milk. You may need a splash more milk if it gets too thick.
Do chia seeds need to be rinsed?
No. They can go straight into the bowl.
Just whisk well to avoid clumps.
How many servings does this make?
With 2 cups of milk and 6 tablespoons chia seeds, you’ll get about 4–6 small dessert cups, depending on how many layers and toppings you add.
Final Thoughts
No-Bake Vanilla Chia Pudding Dessert Cups are the kind of recipe you keep in your back pocket. They’re simple, reliable, and easy to dress up for any occasion. With a handful of pantry ingredients and a few fresh toppings, you get a dessert that looks polished and tastes creamy and light.
Make a batch tonight, chill it, and tomorrow you’ll have dessert ready to go—no oven required.
Printable Recipe Card
Want just the essential recipe details without scrolling through the article? Get our printable recipe card with just the ingredients and instructions.