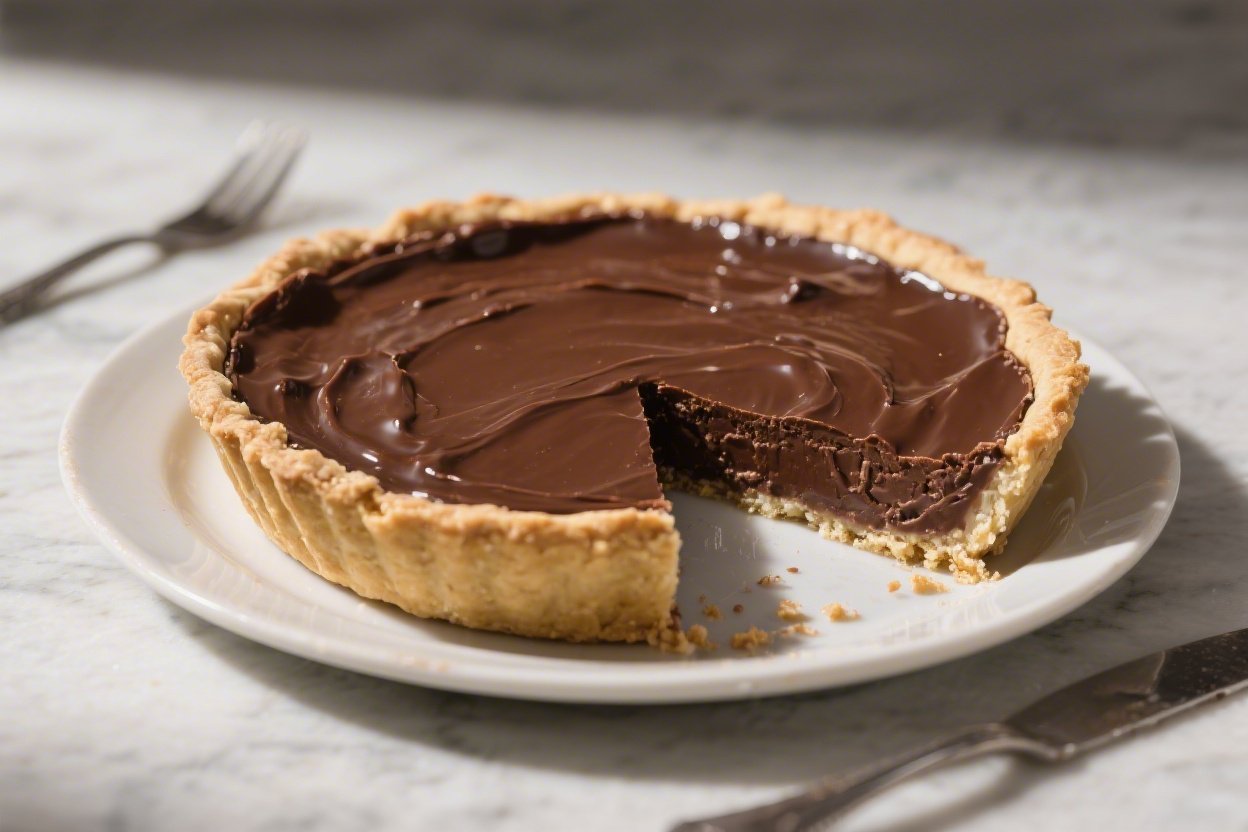
Vegan Protein Chocolate Pie – Rich, Creamy, and Surprisingly Simple
This Vegan Protein Chocolate Pie is one of those desserts that feels special without being fussy. It’s silky, deeply chocolatey, and loaded with plant-based protein, so you can actually feel good about slicing into it. The texture is lush, like a classic French silk pie, but made with wholesome ingredients you probably already have.
Need More Easy Dinner Ideas?
Get my FREE 7-Day Easy Dinner Reset and enjoy a full week of healthy dinners without the meal-planning stress.
No baking, no complicated steps, and no weird aftertaste. It’s the kind of treat you’ll want to bring to potlucks, birthdays, or just a quiet night in.
Ingredients
Method
- Make the crust. In a bowl, combine cookie crumbs, melted coconut oil, maple syrup, and a pinch of salt. Mix until the crumbs feel like damp sand and hold together when pressed.
- Press and chill. Press the mixture firmly into a 9-inch pie dish, pushing up the sides. Use the bottom of a measuring cup to pack it tight. Chill in the fridge while you make the filling.
- Melt the chocolate. Gently melt chocolate in a double boiler or microwave in 20–30 second bursts, stirring until smooth. Let it cool for 3–4 minutes so it’s warm but not hot.
- Blend the base. In a high-speed blender or food processor, add silken tofu, nut butter, maple syrup, plant milk, protein powder, cocoa powder (if using), vanilla, and salt. Blend until completely smooth and glossy, scraping the sides as needed.
- Add the chocolate. With the blender running on low, stream in the melted chocolate. Blend until fully incorporated. Taste and adjust sweetness or salt if needed.
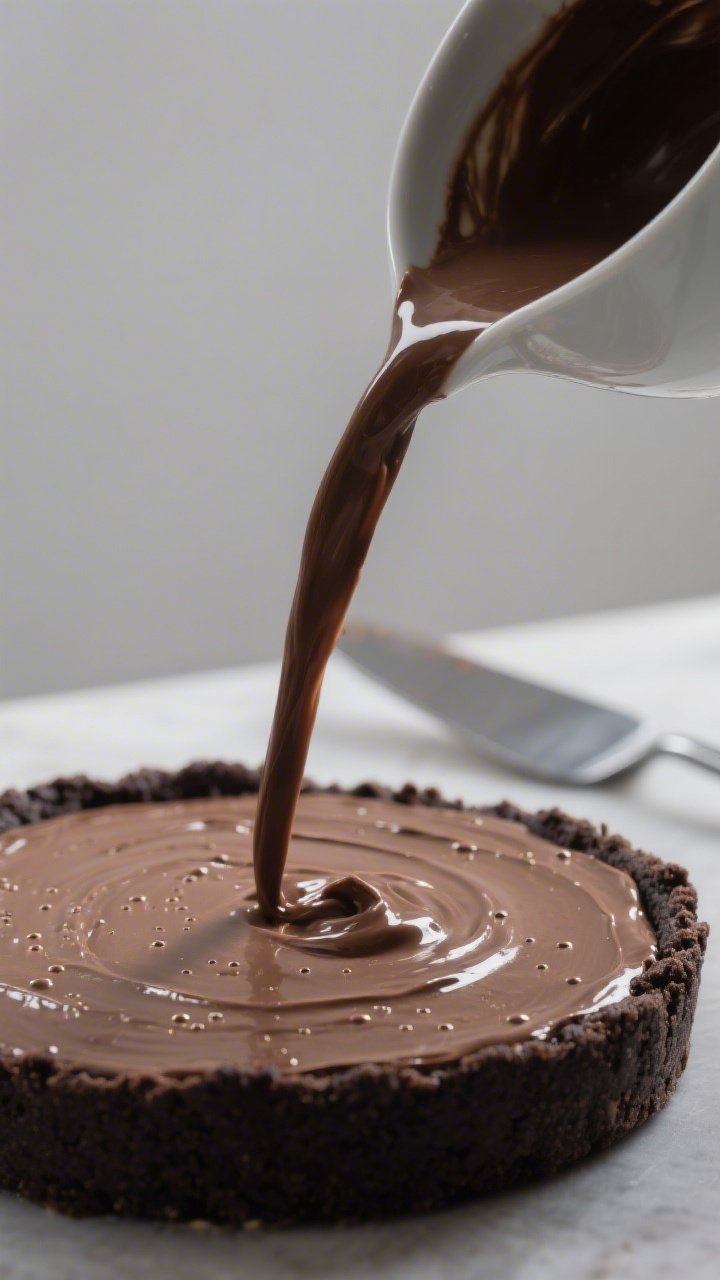
- Fill the crust. Pour the filling into the chilled crust and smooth the top with a spatula. Tap the pie dish gently on the counter to release air bubbles.
- Set the pie. Cover and refrigerate for at least 4 hours, or overnight for the cleanest slices. The filling will firm as the chocolate sets.
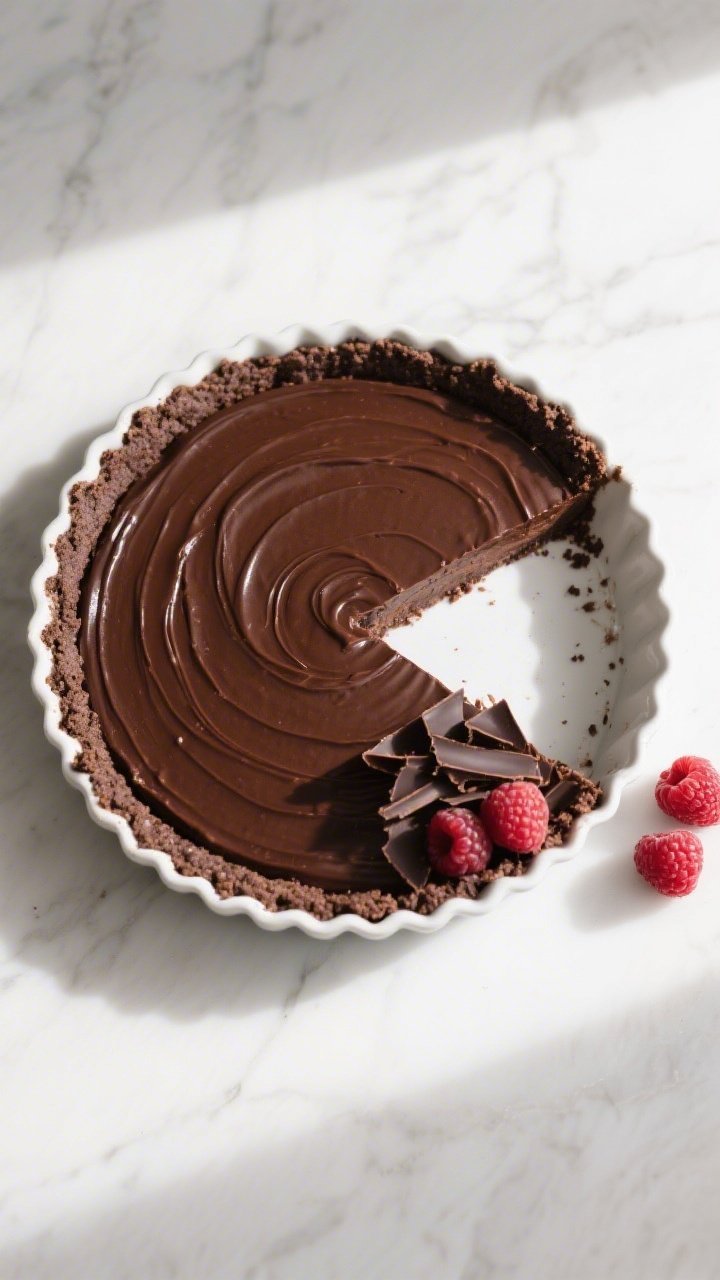
- Garnish and serve. Before serving, add coconut whipped cream, chocolate shavings, or berries if you like. Slice with a sharp knife wiped clean between cuts.
What Makes This Recipe So Good
- Protein-packed yet indulgent: Each slice delivers a solid dose of plant protein from tofu, nut butter, and vegan protein powder.
- No-bake ease: The crust sets in the fridge, and the filling blends up in minutes. Perfect for hot days or busy schedules.
- Silky texture: Using tofu and melted chocolate creates a creamy, truffle-like filling that holds its shape.
- Balanced sweetness: Dark chocolate and a touch of maple syrup keep it sweet without being cloying.
- Customizable: Swap nut butters, use gluten-free cookies, or adjust the sweetness to taste.
Ingredients
- For the crust:
- 2 cups vegan chocolate cookie crumbs (or graham cracker crumbs, gluten-free if needed)
- 1/4 cup melted coconut oil (refined for no coconut flavor)
- 1 tablespoon maple syrup
- Pinch of salt
- For the filling:
- 12 ounces silken tofu (firm silken works best), drained and patted dry
- 1 cup dark chocolate chips or chopped dark chocolate (60–72%), melted and slightly cooled
- 1/2 cup creamy almond butter or peanut butter (unsweetened)
- 1/3–1/2 cup maple syrup, to taste
- 1/3 cup unsweetened plant milk (almond, soy, or oat)
- 1/4 cup vegan chocolate or vanilla protein powder
- 2 tablespoons cocoa powder (optional, for extra depth)
- 2 teaspoons pure vanilla extract
- 1/4 teaspoon fine sea salt
- For topping (optional):
- Coconut whipped cream
- Shaved dark chocolate or cacao nibs
- Fresh berries or toasted nuts
Instructions
- Make the crust. In a bowl, combine cookie crumbs, melted coconut oil, maple syrup, and a pinch of salt.
Mix until the crumbs feel like damp sand and hold together when pressed.
- Press and chill. Press the mixture firmly into a 9-inch pie dish, pushing up the sides. Use the bottom of a measuring cup to pack it tight. Chill in the fridge while you make the filling.
- Melt the chocolate. Gently melt chocolate in a double boiler or microwave in 20–30 second bursts, stirring until smooth.
Let it cool for 3–4 minutes so it’s warm but not hot.
- Blend the base. In a high-speed blender or food processor, add silken tofu, nut butter, maple syrup, plant milk, protein powder, cocoa powder (if using), vanilla, and salt. Blend until completely smooth and glossy, scraping the sides as needed.
- Add the chocolate. With the blender running on low, stream in the melted chocolate. Blend until fully incorporated.
Taste and adjust sweetness or salt if needed.
- Fill the crust. Pour the filling into the chilled crust and smooth the top with a spatula. Tap the pie dish gently on the counter to release air bubbles.
- Set the pie. Cover and refrigerate for at least 4 hours, or overnight for the cleanest slices. The filling will firm as the chocolate sets.
- Garnish and serve. Before serving, add coconut whipped cream, chocolate shavings, or berries if you like.
Slice with a sharp knife wiped clean between cuts.
Keeping It Fresh
- Fridge: Store the pie covered in the refrigerator for 4–5 days. Keep toppings separate until serving to prevent weeping.
- Freezer: Freeze slices on a baking sheet, then transfer to an airtight container for up to 2 months. Thaw in the fridge for a few hours or at room temperature for 20–30 minutes.
- Transporting: If taking it to a gathering, chill the pie well and transport in a cooler bag.
Add toppings on arrival.
Why This is Good for You
- Protein boost: Tofu, nut butter, and protein powder provide a satisfying amount of protein that helps steady energy and curb cravings.
- Healthy fats: Nut butter and coconut oil deliver fats that support satiety and help absorb fat-soluble nutrients.
- Lower refined sugar: Maple syrup and dark chocolate keep sweetness balanced. You control how much you add.
- Fiber and minerals: Cocoa and nuts bring fiber, iron, and magnesium. Dark chocolate also contains antioxidants.
Pitfalls to Watch Out For
- Watery tofu: If the tofu isn’t drained well, the filling can turn runny.
Pat it dry and avoid using refrigerated “firm” tofu that isn’t silken.
- Overheating chocolate: Scorched chocolate can seize or taste bitter. Melt gently and let it cool slightly before blending.
- Gritty protein powder: Some powders can be chalky. Choose a smooth, neutral-flavored vegan protein and blend thoroughly.
- Crust crumble: If the crust doesn’t hold, add 1–2 teaspoons more melted coconut oil or press it in more firmly.
- Too sweet or too bitter: Taste as you go.
Adjust maple syrup or add a splash more plant milk if the chocolate is very dark.
Alternatives
Never Wonder What's For Dinner Again
Save time, eat healthier, and take the stress out of dinner. Get a full week of easy healthy dinners delivered straight to your inbox.
- Crust swaps: Use dates and nuts (1 1/2 cups nuts + 1 cup dates + pinch salt) for a no-oil, naturally sweet crust. Press and chill as usual.
- Nut-free: Swap almond/peanut butter for sunflower seed butter or tahini. Use oat milk and a nut-free crust.
- High-protein twist: Replace some plant milk with silken tofu (add 2–3 ounces more) and increase protein powder by 1–2 tablespoons, adding a splash more milk if too thick.
- Flavor upgrades: Add 1 teaspoon espresso powder for mocha vibes, a pinch of cinnamon and cayenne for a Mexican chocolate kick, or orange zest for brightness.
- Lower sugar: Use stevia or monk fruit to replace part of the maple syrup.
Start small and adjust to taste.
FAQ
Can I make this without tofu?
Yes. Replace the tofu with 1 1/2 cups chilled full-fat coconut cream and reduce the plant milk to 2–3 tablespoons. The texture will be richer and slightly softer.
What kind of vegan protein powder works best?
A smooth pea, brown rice, or blend with natural vanilla or chocolate flavor works well.
Avoid gritty or heavily sweetened powders, which can overpower the chocolate.
Does it taste like tofu?
No. The chocolate, vanilla, and nut butter dominate the flavor. Properly draining the tofu and using good-quality dark chocolate ensures a clean, rich taste.
Can I use a premade crust?
Absolutely.
A store-bought vegan chocolate or graham crust saves time. Make sure it’s labeled vegan and not overly sweet.
How do I get clean slices?
Chill the pie overnight. Use a hot, dry knife (dip in hot water, wipe, then slice) and clean the blade between cuts.
Is this recipe gluten-free?
It can be.
Choose gluten-free cookies or a nut-and-date crust, and check that your protein powder and chocolate are certified gluten-free.
Can I make it ahead?
Yes. The pie keeps well for several days. Make it 1–2 days ahead and add toppings just before serving.
In Conclusion
This Vegan Protein Chocolate Pie brings the best of both worlds: a dessert that tastes luxurious and a nutrition profile that won’t leave you sluggish.
It’s simple to make, adaptable to your pantry, and always a crowd-pleaser. Keep the base recipe as your go-to, then switch up crusts, flavors, and toppings to match the moment. When you want a treat that feels special and supports your goals, this pie delivers every time.
Printable Recipe Card
Want just the essential recipe details without scrolling through the article? Get our printable recipe card with just the ingredients and instructions.
Loved This Recipe?
If you're looking for more simple, healthy dinners your family will actually eat, grab my FREE 7-Day Easy Dinner Reset. You'll get 7 easy dinner recipes, simple grocery lists, and a done-for-you plan that takes the stress out of mealtime.